
Hello again!
Recently I was asked to paint several Warmachine warjacks for the client (yes Natalya, that's about you ;-) ):
Mecenary Mariner, Khador Juggernaut and plastic Cygnar and Manoth jacks (no idea what are the names, don't like these factions ;-P ).
Natalya wanted these models to be used in Dungeons and Dragons rpg therefore decission was made to give them something more than just standard, flat wargaming bases.
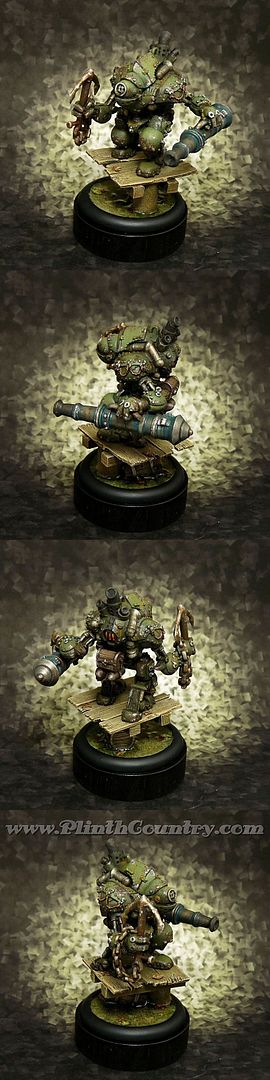
Mariner was the models I started painting: I painted this model already but really like it and most important - when I saw it I immediately got the idea for the base. The plan was to make gaming variant of Red Hook's base (the piece made it to be published in one of PP No Quarter magazines).
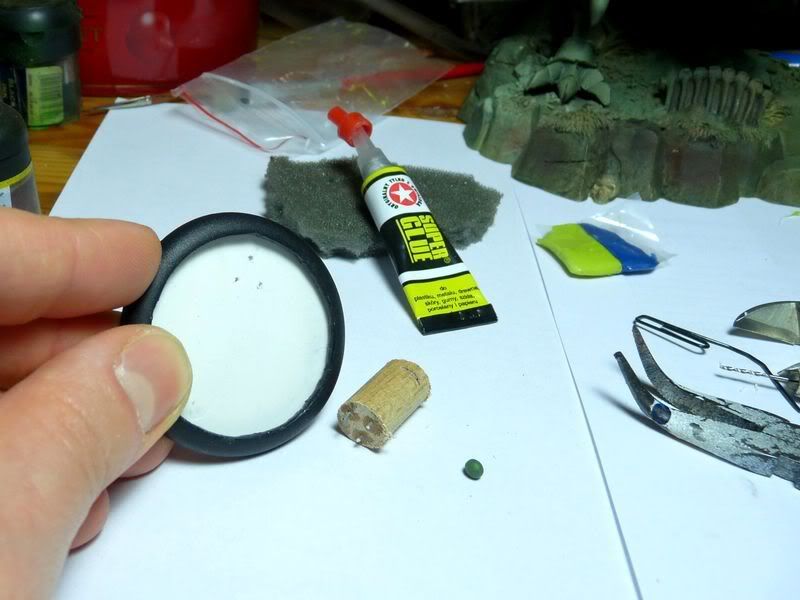
Works were started by choosing the proper base: not much more here to write about, it's simple 50mm warjack base.
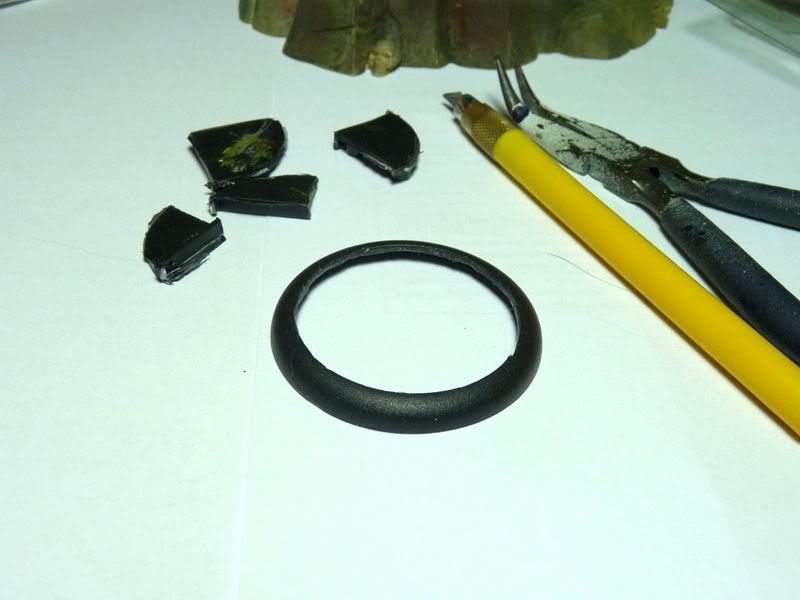
 The base is planned to be "watery" - not as much as Red Hook piece but still there will be water. Using sharp modeling knife (watch while using this damn thing: the blade is VERY sharp...) I cut out inner circle of the base so there's only rim left.
This was pretty easy to execute because the inner circle of bases PP models stand on is a bit lower than the rim.
 The idea is to fill the cavity with artifical water so I had to secure base's bottom somehow. I found thin PVC sheet great for the task: it's very easy to cut. I started by drawing circle around the base and then cutting the PVC along the line.
Because the line has been drawn around the base the circle we got was too large to be put inside the rim so small correction was required: a minute later scissors did the job. As you can see the so-called circle is pretty far from round shape but no worries: this part won't be seen in the end.

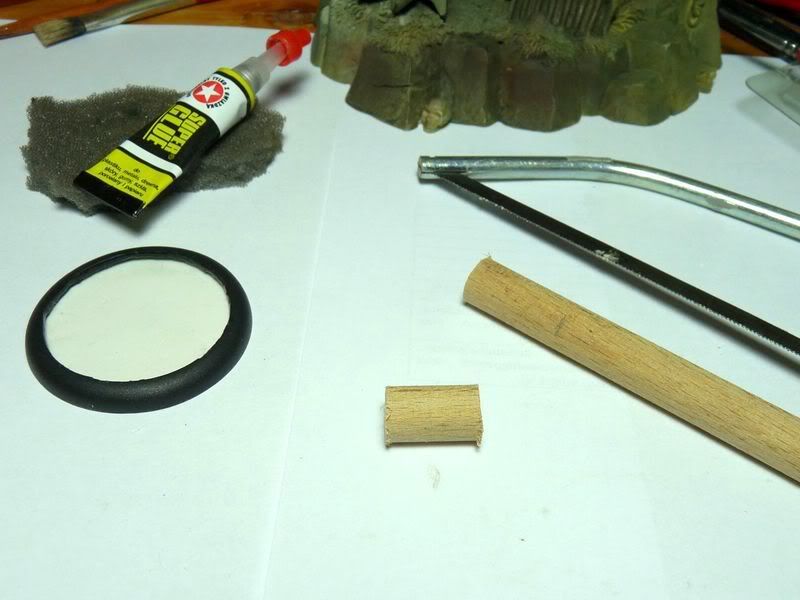
 PVC bottom has just been attached into the rim: some superglue did the job really well. I poured it from the above but also on the bottom to be sure no artifical water can leak out later. I had to clean such a mess once or twice and believe me - it was not much fun.
While superglue was drying I took some thick stick to start preparing main construction of the platform Mariner is supposed to stand on. I cut about 2cm of it: about 5mm will be under the water. I could make the base much taller but the client wanted me to make it gaming base: taller platform would be much harder to transport, easier to break etc.
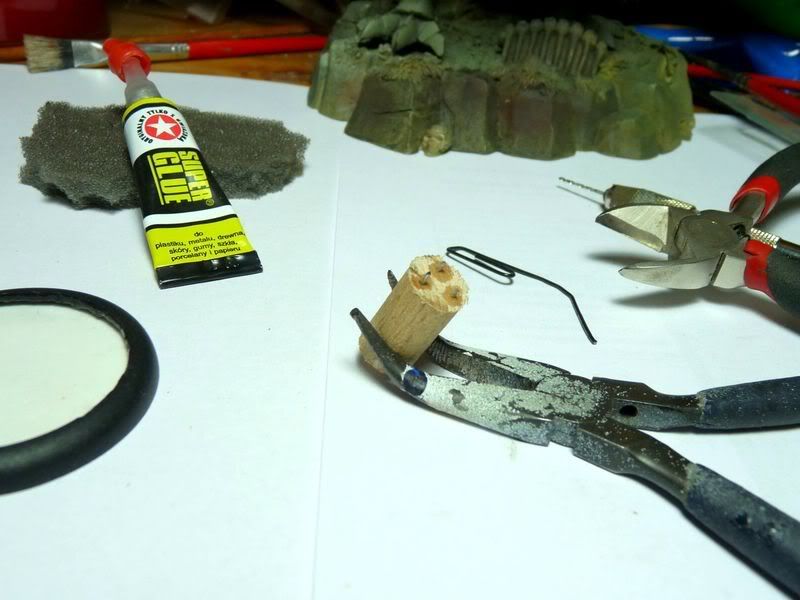
 Bonding between PVC and platform must be much stronger than simple drop of superglue: I wouldn't have to make it so strong in case of small models but Mariner is pretty big and heavy model so I don't want to risk. I started by adding 3 long paper clip pins.
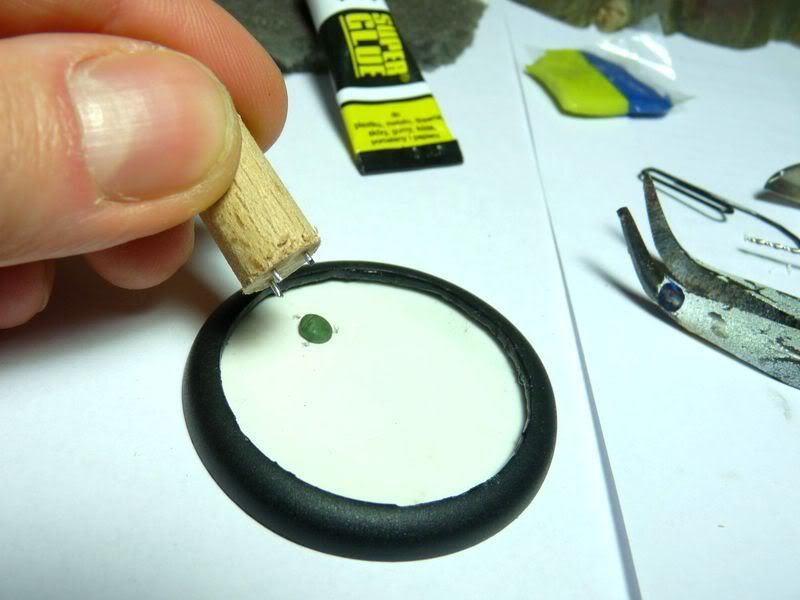
Next I drilled holes in the base fitting pins and prepared some green stuff - this modeling mass combined with superglue is just great for assembling heavy models.
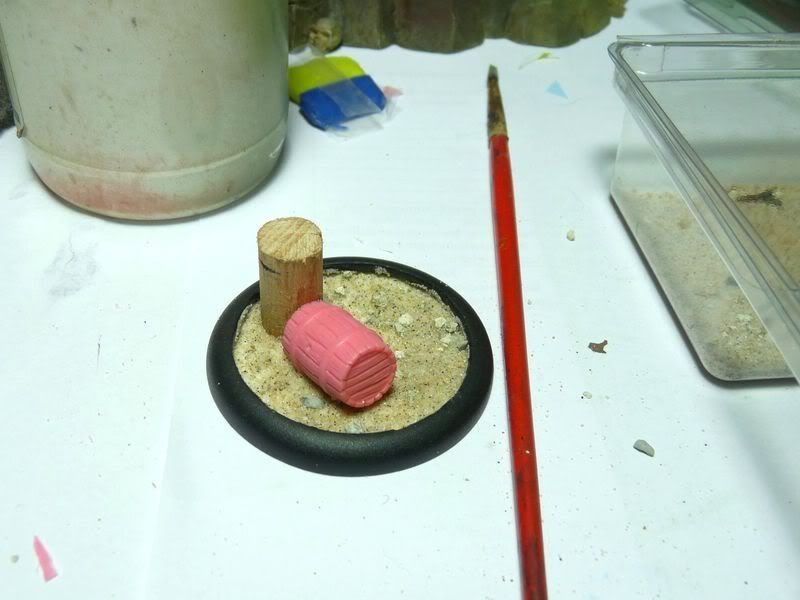
Green stuff was placed between the pin-holes, some glue was poured on it and then wooden pillar was pressed.
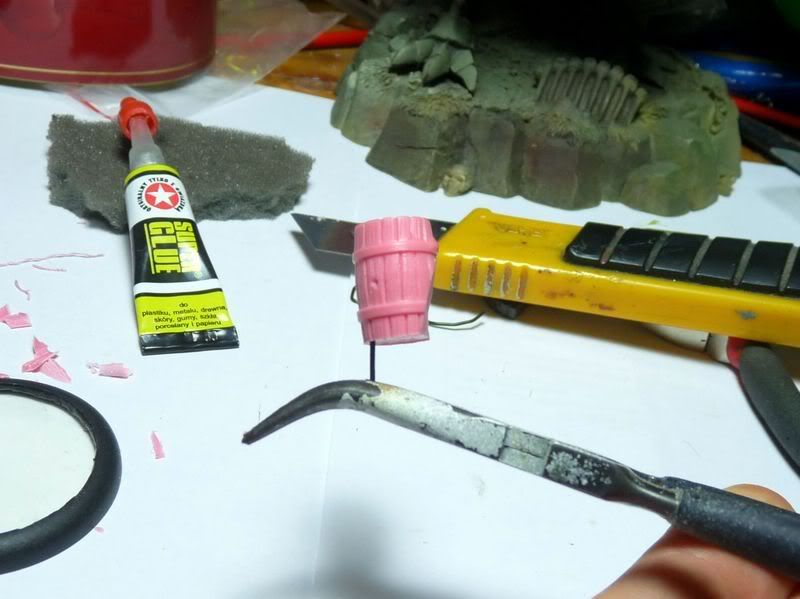
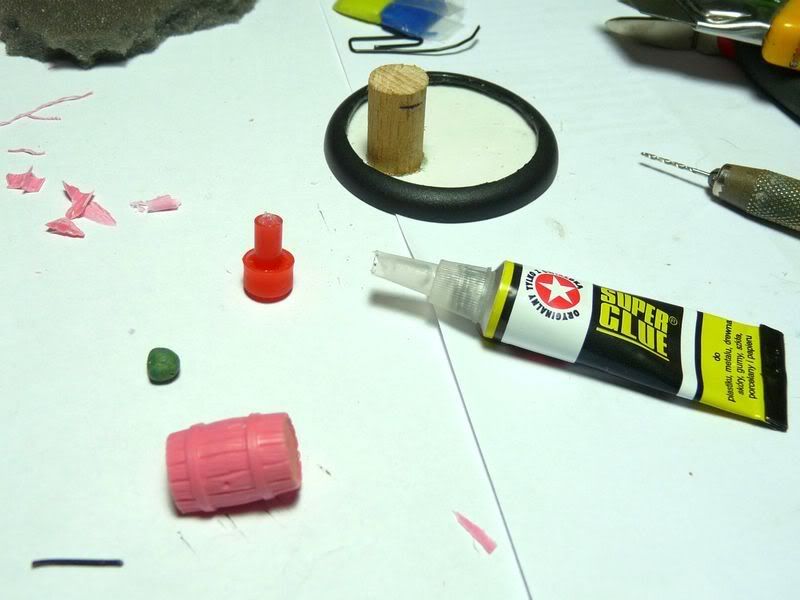
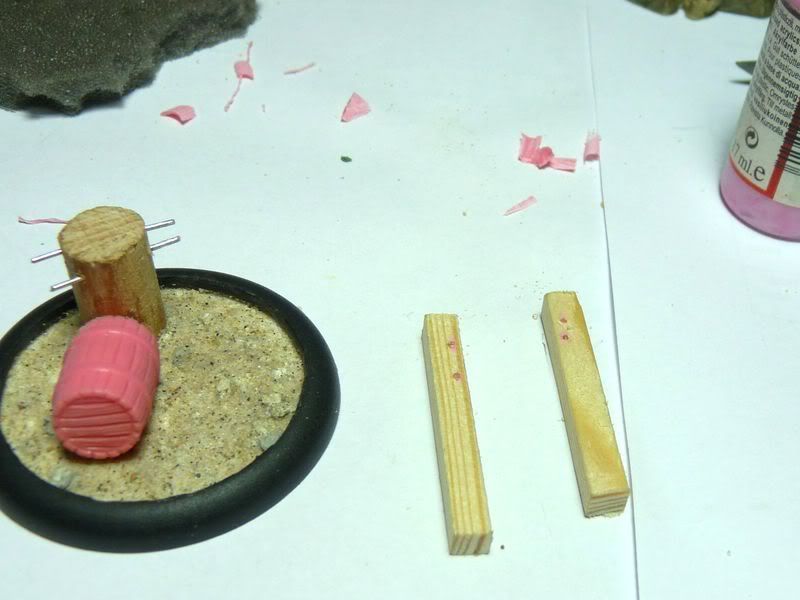
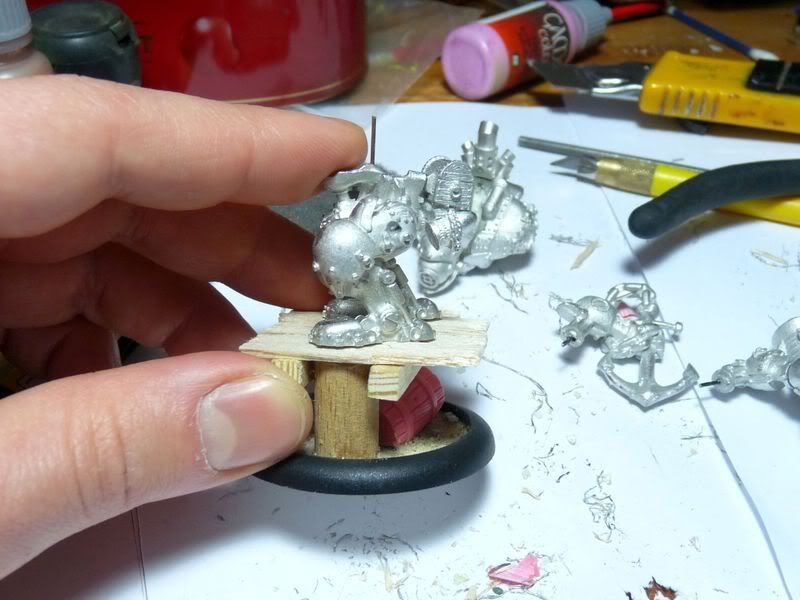
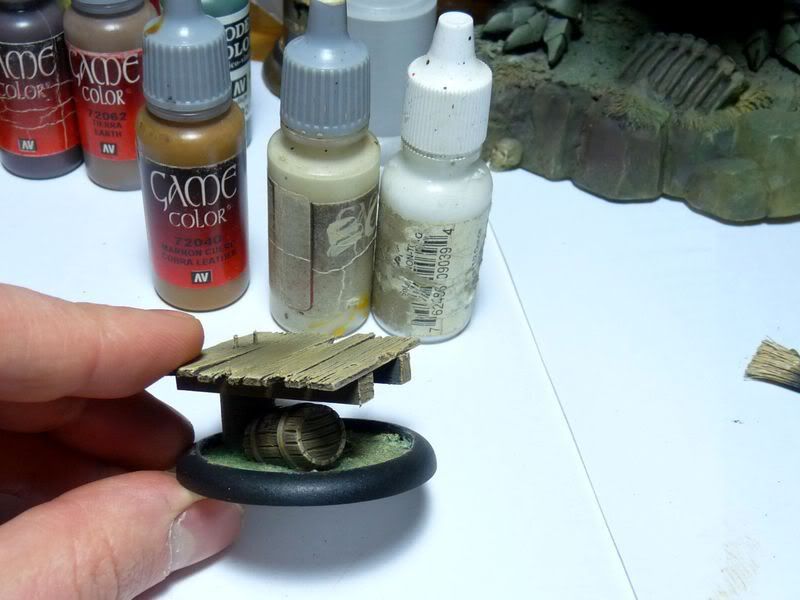
 To add some variery I decided to add a resin barrel next to the pillar. I grabbed a resin part, cut off a bit of it to make it leaning and added a pin.
As you can notice the pin is pretty long. It's because the barrel will be attached to the base and also the the pillar to make the whole construction more stable and strong.
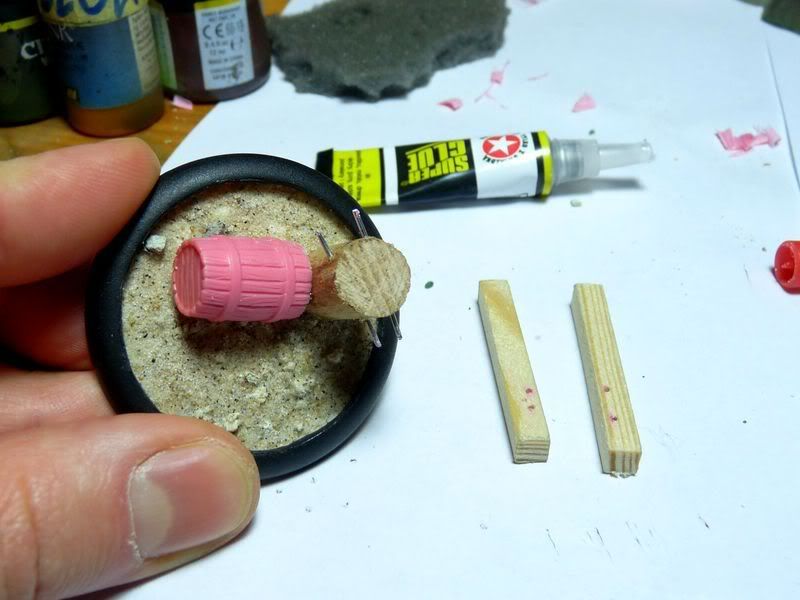
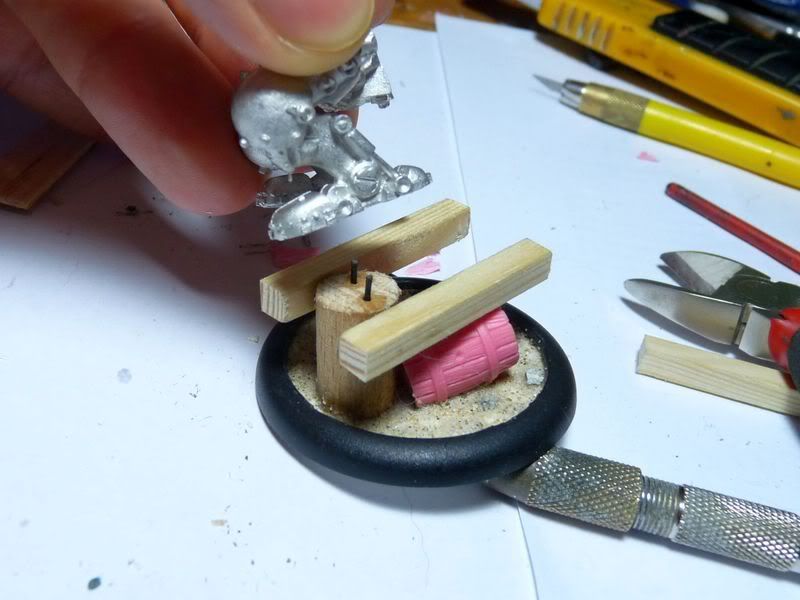
 To attach the barrel I used glue + green stuff combo again: wooden pillar was drilled, small green stuff globe was sticked to the barrel's flat part (the part I prepared a picture above) and then whole element was glued to the wood and PVC. Give it some time to dry: have a beer, go out with the dog or whatever ;-)
 PVC was treated with white glue and then some small gravel and sand were sprinkled. There was really thin layer of this because there will be only about 5mm layer of water: the more sand you add the less water can be poured. White glue is also really fine material because it seals the base. I am now quite sure no water should leak out.
 It takes diluted white glue some time to dry so once again you can take a dog for a walk, have another beer or even better: start building a platform.
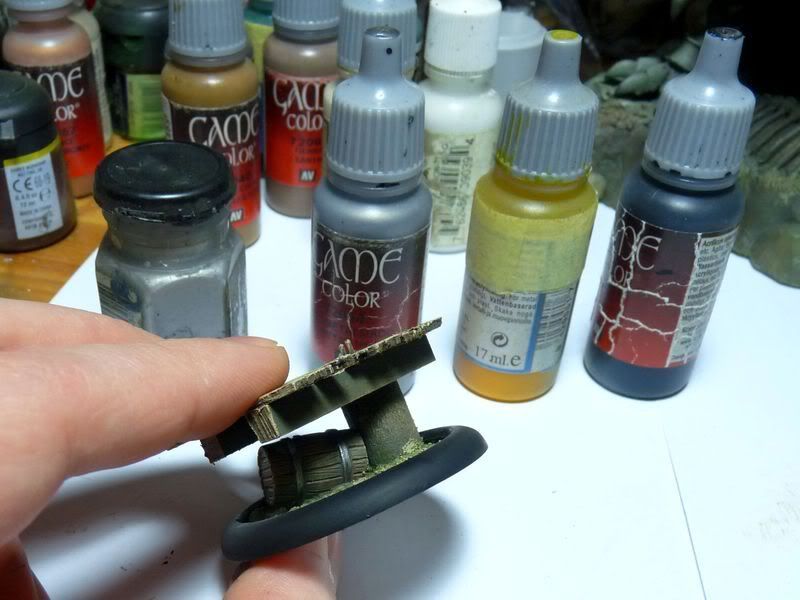
The supports were made using square cross-section wooden stick (you can get it in hobby stores). I cut ~4,5 cm long pieces.
 Once again strong bonding is the key to success. I made 2 holes thru the wooden pillar and put 2 long pins inside. A single pin is stronger and more reliable than 2 short wires.
I marked spots where pins contacted supports and prepared 4 holes. As you can see on the pics below all elements fit well each other.

 Since everything seems to be ok - whole construction was assembled with supergle.
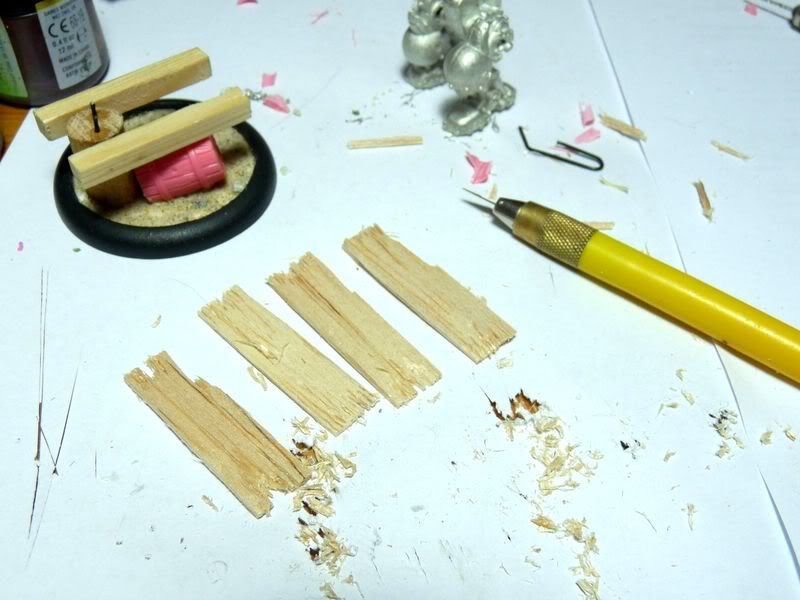
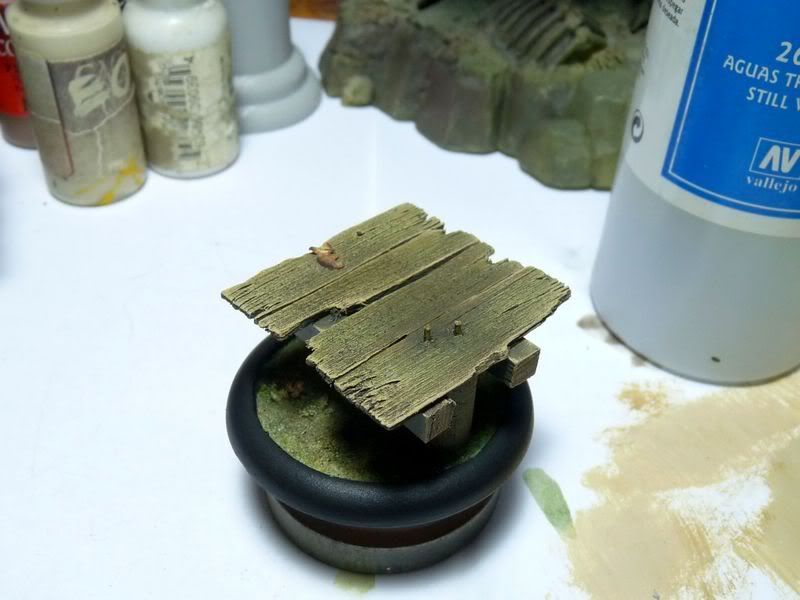
 Planks were made using balsa wood. It's very soft material which can be easily cut and carved.
I prepared several planks to see if the elements fit well.

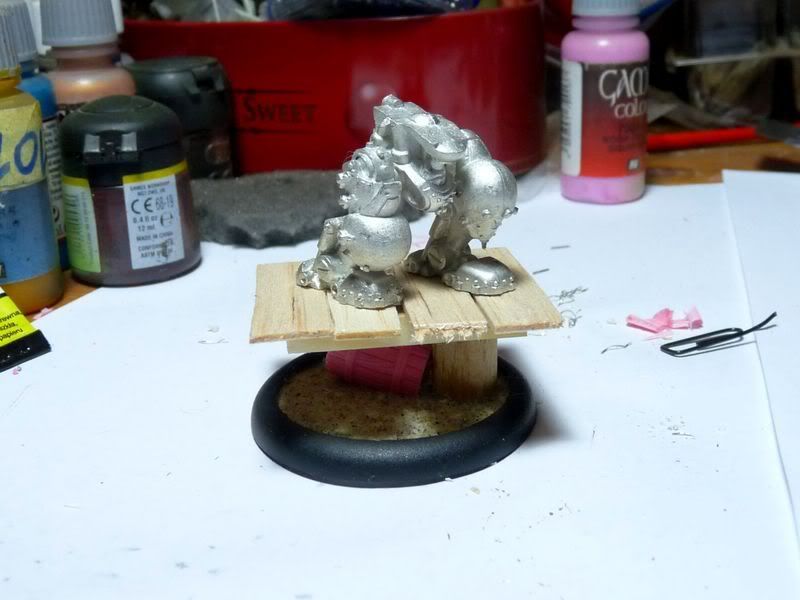

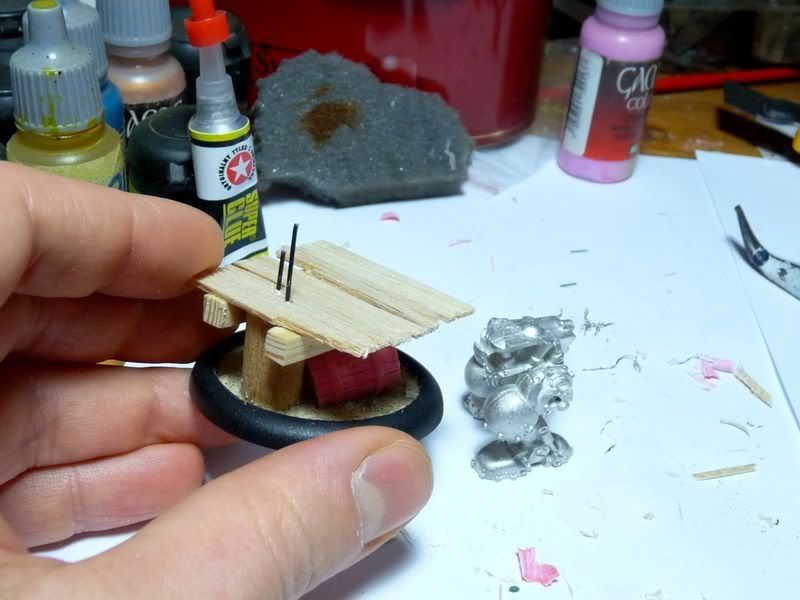
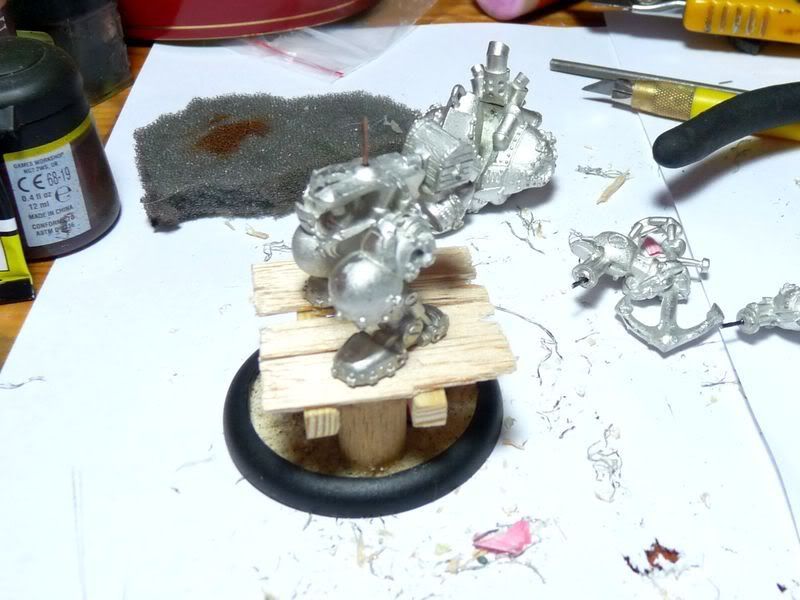
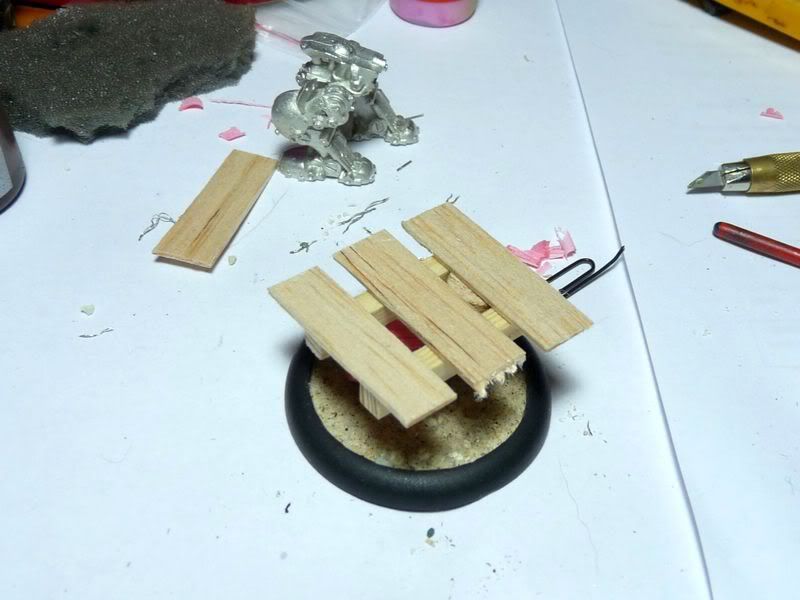 Next thing to do was adding pins in the wooden column: Mariner will be standing on it. There are 2 pins because these are pain bonding between model and base. There's also planned another pin under second leg - it should make model more stabile.
 Planks cannot be nice, not on the base I made!
Short sparring with modeling knife and suddenly lots of splinters appeared on the hobby station.
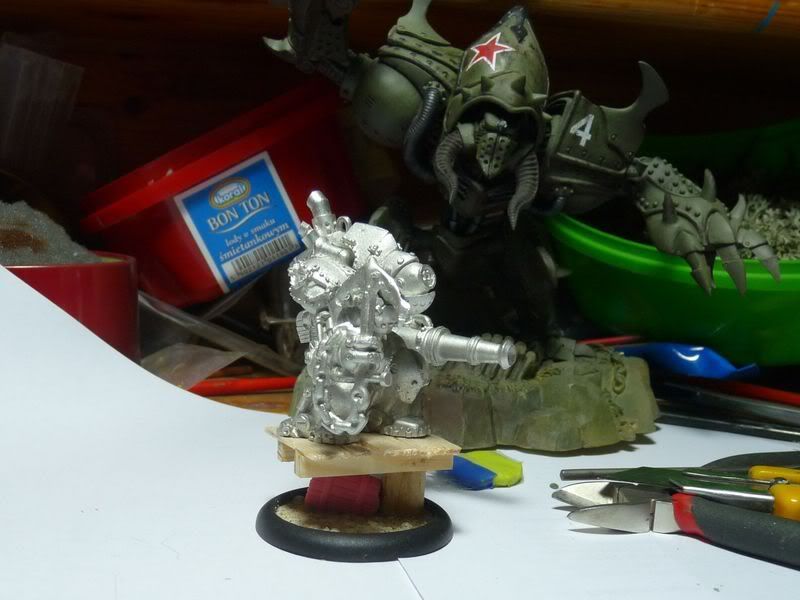
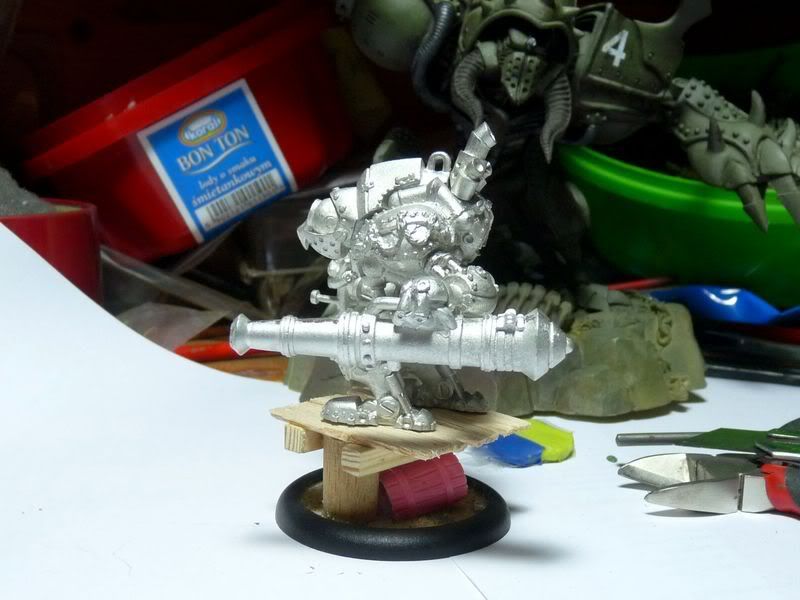
 And the base is finished - at least the first part.
I can now slap some paint on it.
 The client didn't have any specific vision of model and base, I was told to paint it battle-worn and in my style.
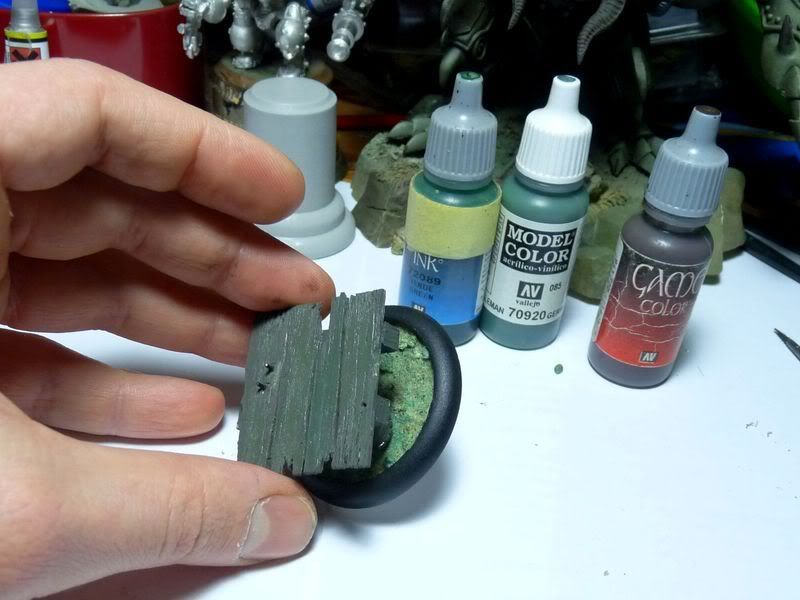
For the base color I mixed dark brown (whatever the name is) from Vallejo range with some German Uniform and painted all wooden elements with this mixture.
Sand Was painted with diluted Green Ink. And because there's pretty lot of water added to paint you can have the third beer this evening - I am quite sure the dog doesn't want go out to take a leak anymore ;-)

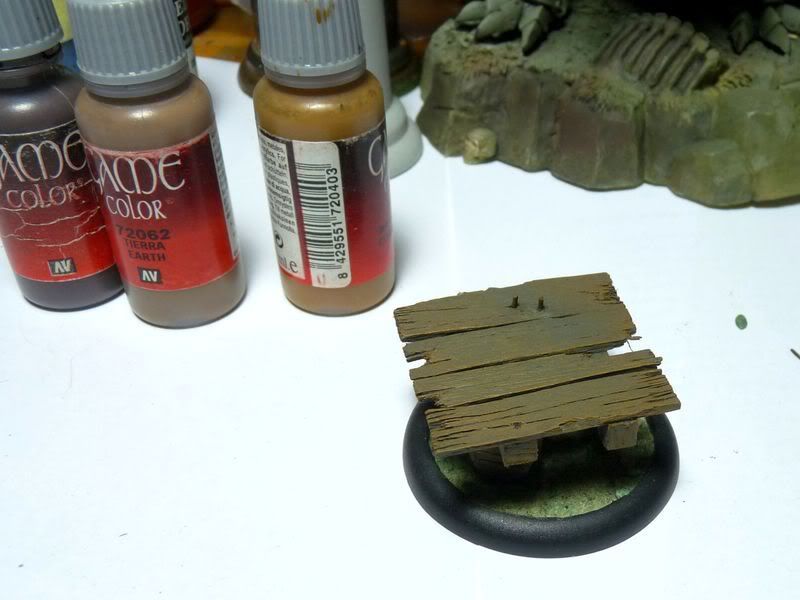
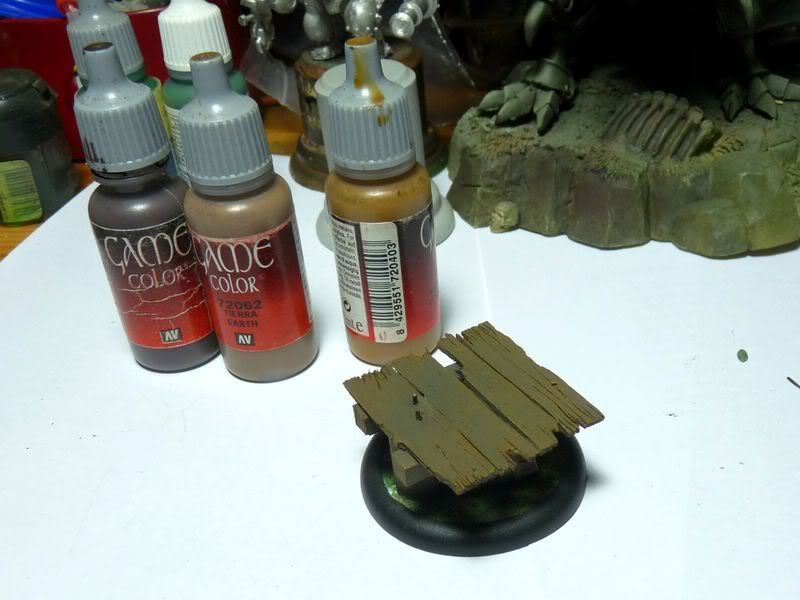
 After base coar dried well I highlighted base first using mix of dark brown + Earth and then Earth + Cobra Leather. 5 minutes, large brush and drybrush technique is all you need for this step.
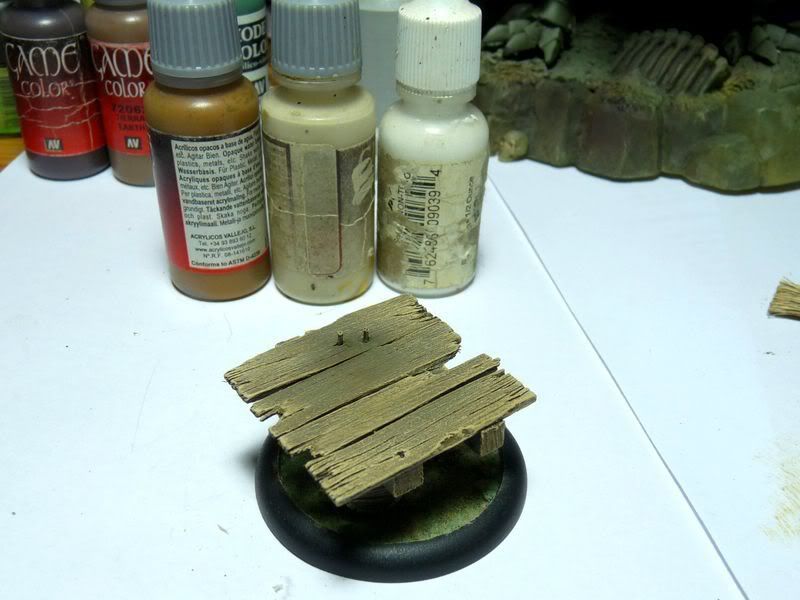
 For the final highlights I mixed Cobra Leather and Bleached Bone and then Bleached Bone + Skull White. I didn't use pure white to make the base look more natural: it would be odd to find such a striking highlighs on damp and wet platform... Imho of course.
 Metal rims around a barrel were painted with Bolrgun Metal + some black and then highlighted using Mithril Silver. Sand was slightly highlighted with diluted Yellow Ink: it is very intensive tone so adding water is a must unless you want the base look like a lemon.
Also base's rim has been painted black: after drybrushing some paint got on it.
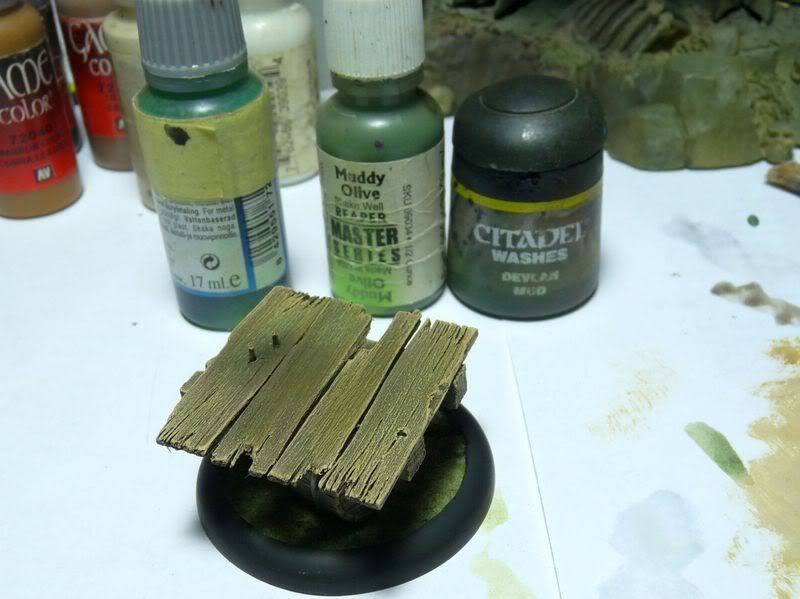
 I wanted to add some green and dark hue before varnishing so I got some Muddy Olive, Green Ink and Devlan Mud and glazed the base. Again with heavily watered down paints - I didn't want to repaint the base but add deeper hue. Besides I will use these colors for painting Mariner as well so base and warjack should look coherent.
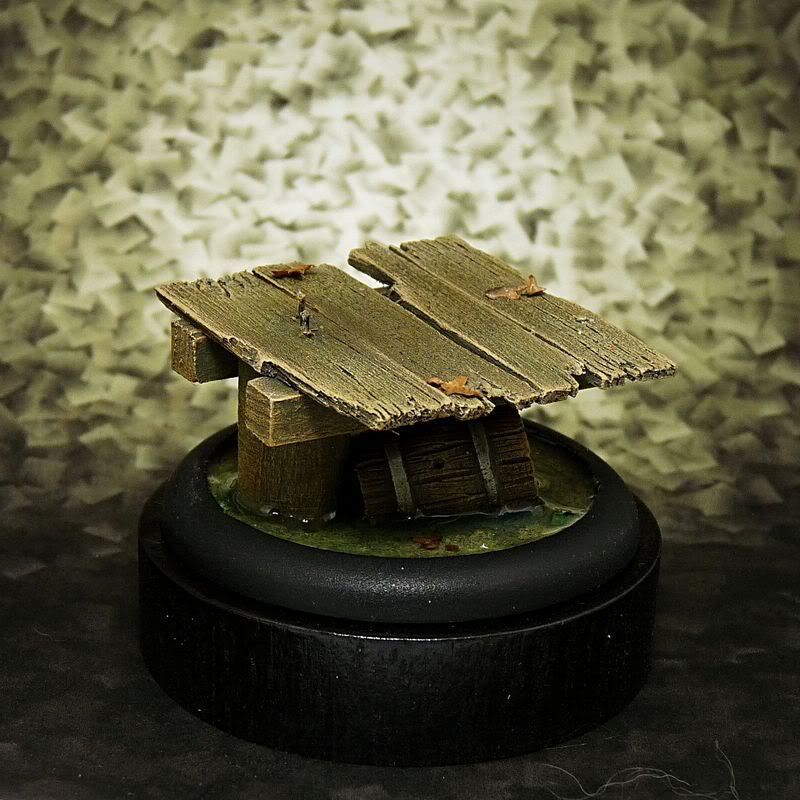
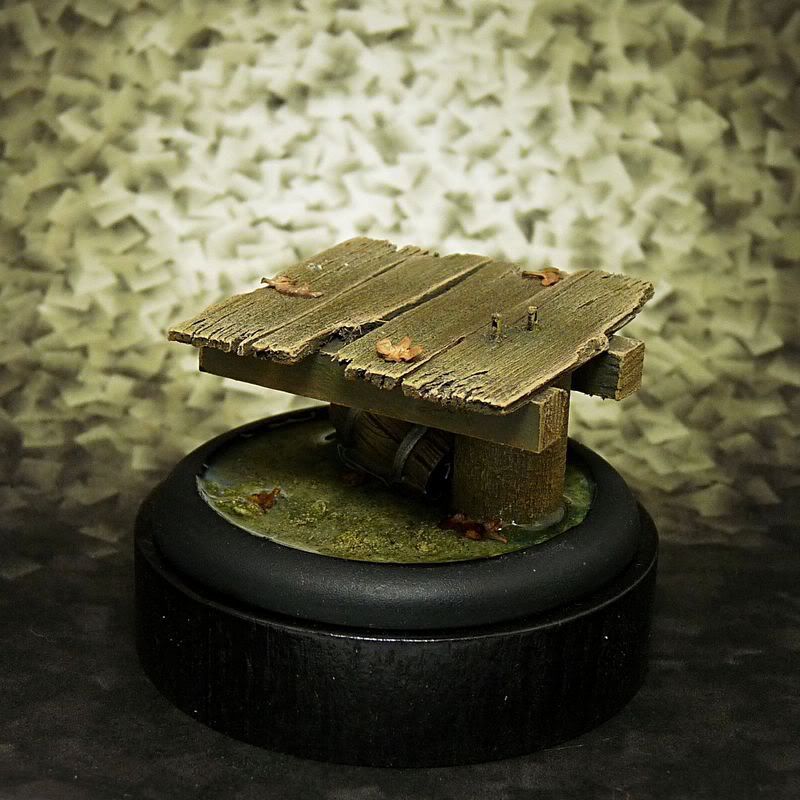
 Painting is done so the base was varnished. At this stage I also added some leaves - I think such details make base more interesting.
As for water effect I chose Vallejo Still Water. It's really fine for filling cavities but unfortunately probably for not much more else. Be careful while pouring the resin - it's very easy to spill it and ruin the base.
Also remember it takes several long hours to get Vallejo stuff dry so pouring several thin layers is much better solution than trying to fill whole cavity at once. Besides Vallejo water seems to "shrink" while drying so applying several layers gives you better control ove the situation.

 The base is done waiting for the model and of course - for the client's smile.
 Once again I hope you found my stuff useful.
If you'd lke to see any specific tutorial you can always drop me an e-mail. Cheers! Demi Morgana
No comments:
Post a Comment