
 Hello miniatures fans!
It's been a while since my previous article was assembled and posted so it's high time for new text. This time I want to share with you my way of creating sci-fi display base or to be more specific - plinth .
Please note the article is only the first part of whole text: although miniature is nearly done whole this preparing-photos business, uploading them and assembling the text is pretty time consuming (well at least in my case ;-) ). So much that I decided to divide the text into 2 parts.
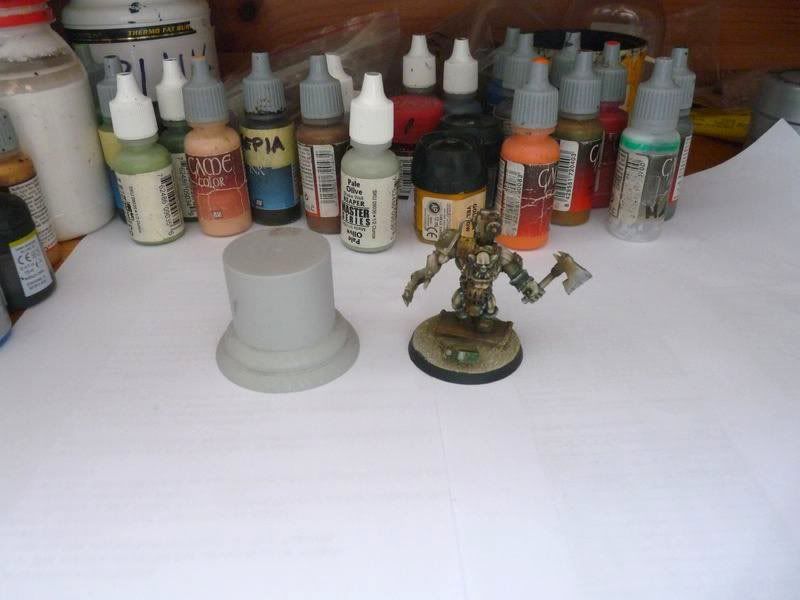
During time spent in hobby I painted many of futuristic / science fiction models but some time ago I realised I have never built display base which could be used for contest purposes. Therefore I opened bits box, chose a model to re-base, grabbed the camera and you can see results of my work below.
I decided to write it step-by-step so it's as clear and easy as possible. That is also the reason of pretty grappy photos...
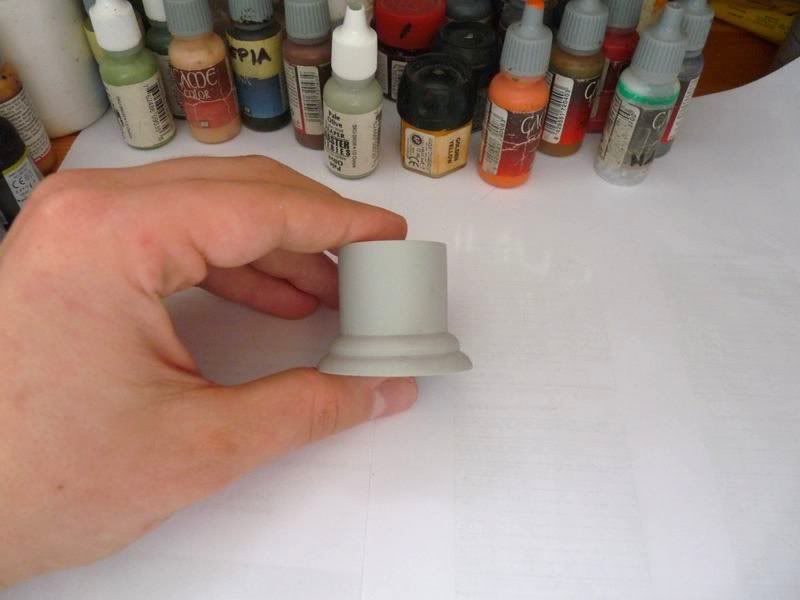
Crappy or not the very first thing you have to do is choosing proper base. As always there are many possibilities: you can use plastic coffee jar lid, block of wood or whatever else but this time I decided to use resin socle from Plinth Country . The reason is quite simple: such socles are bit cheaper than quality wood and I found working with resin easier than with hard wood.
As mentioned above my goal is creating new display base for converted ork boss I painted some time ago so it looks nice in my glass case.
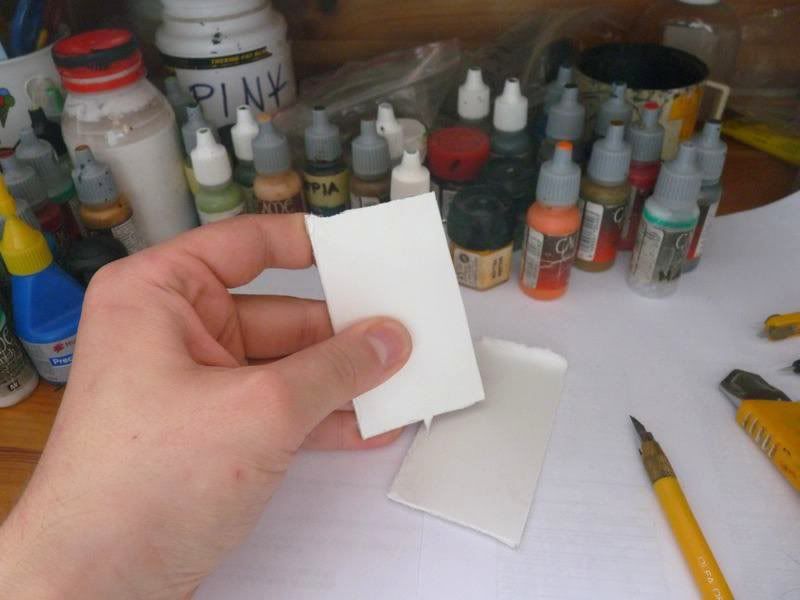
 Another step was preparing floor section. Great material for this purpose is this sheet of thin PCV: many hobby stores sells such stuff. PCV sheet is very easy to cut and shape - as you can see on photos below.
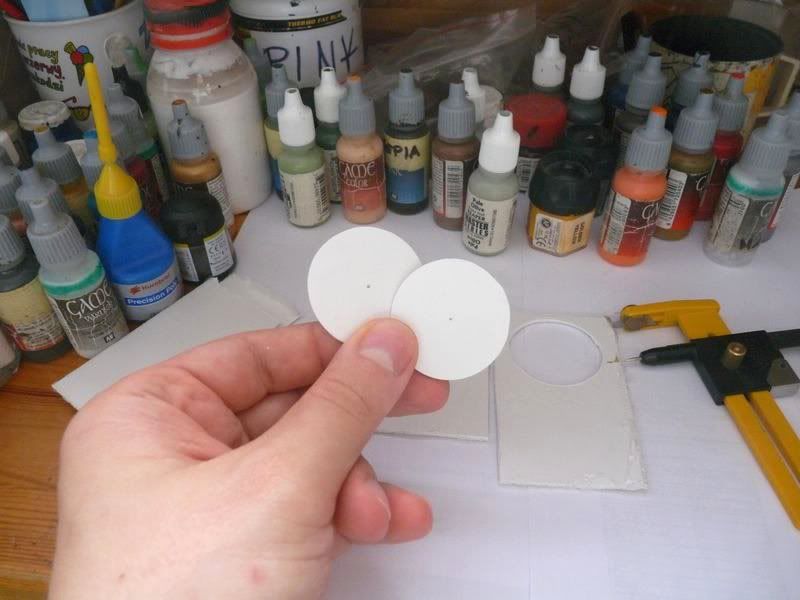
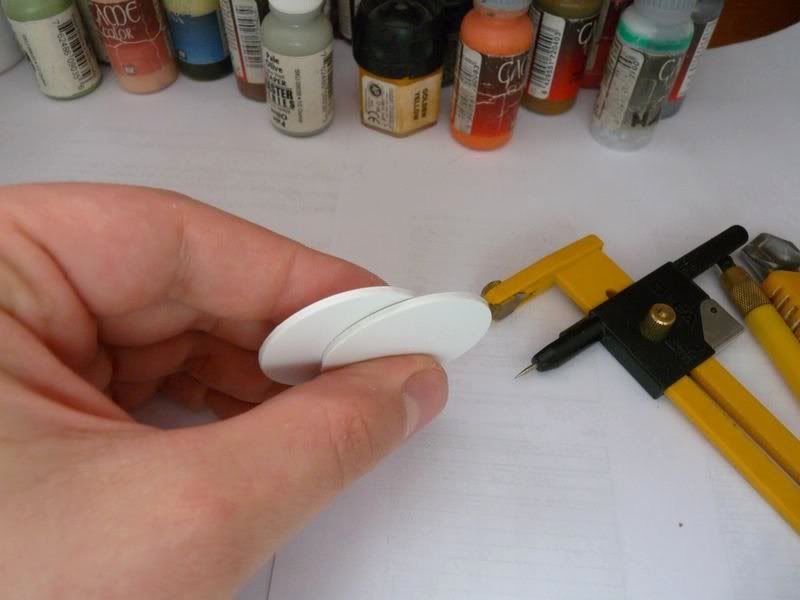
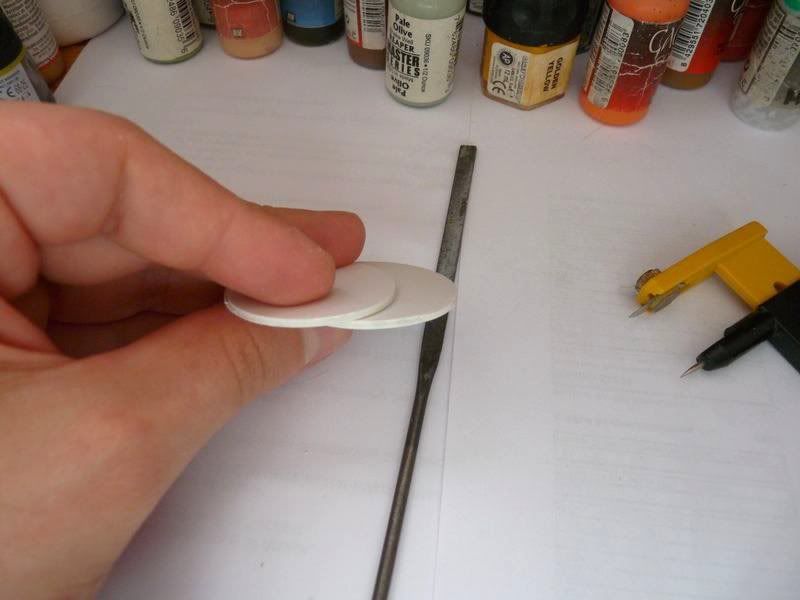
I chose small pieces of PCV and cut off two circles: one slightly larger than plinth's diameter and another - a bit wider. Don't worry if you won't get nice and smooth edge - it is pretty soft material so you can easily shape it with model knife, sandpaper or file.

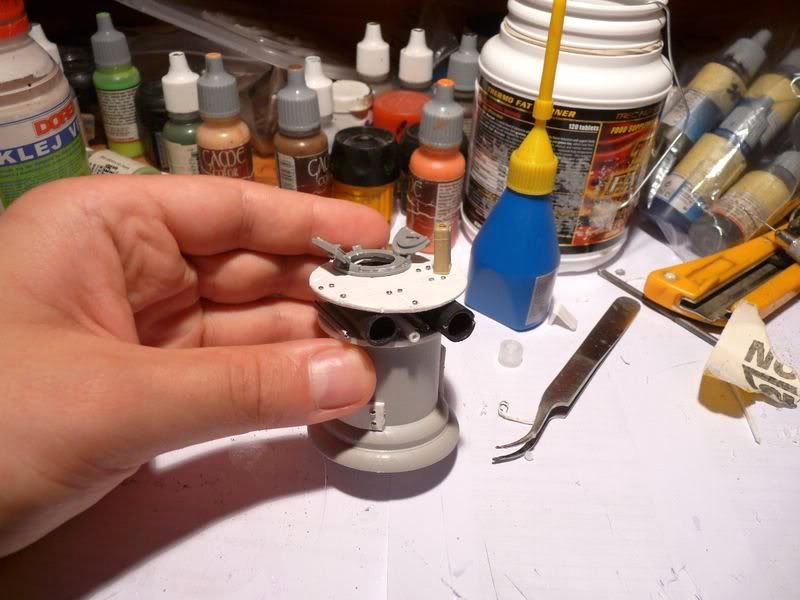
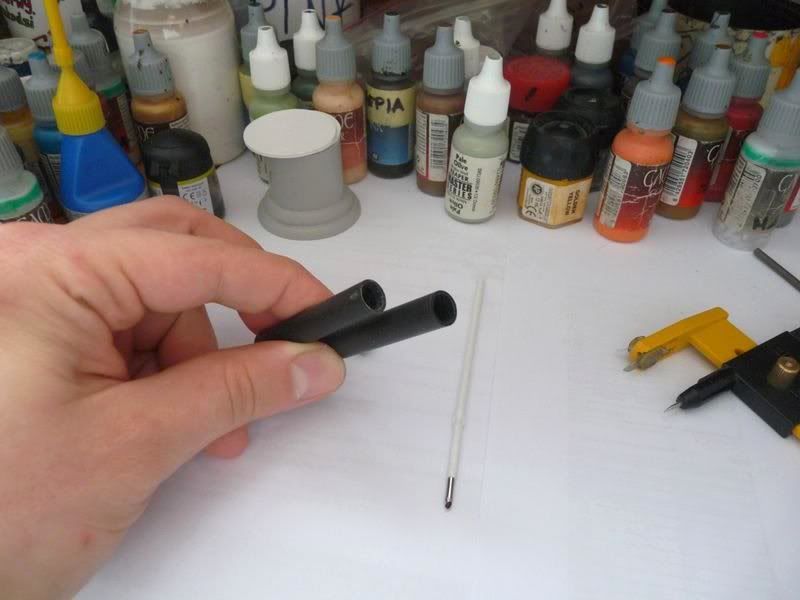
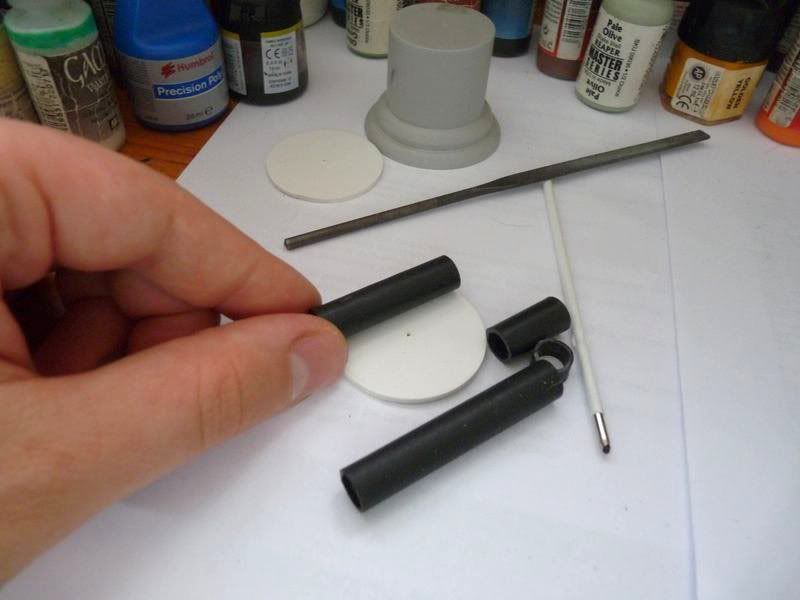
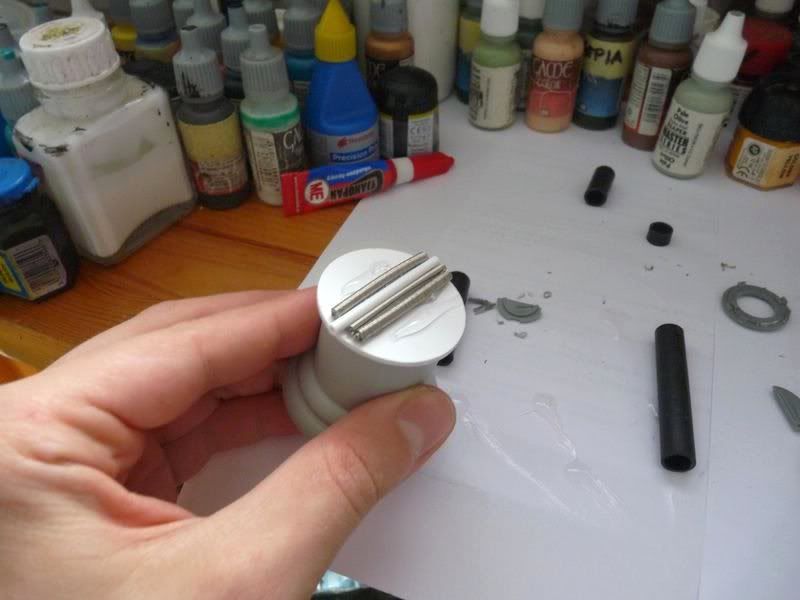
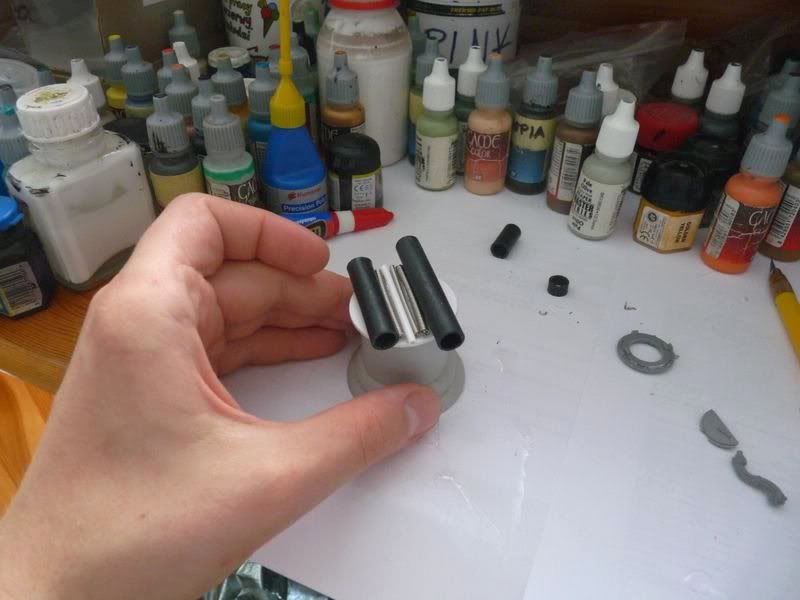
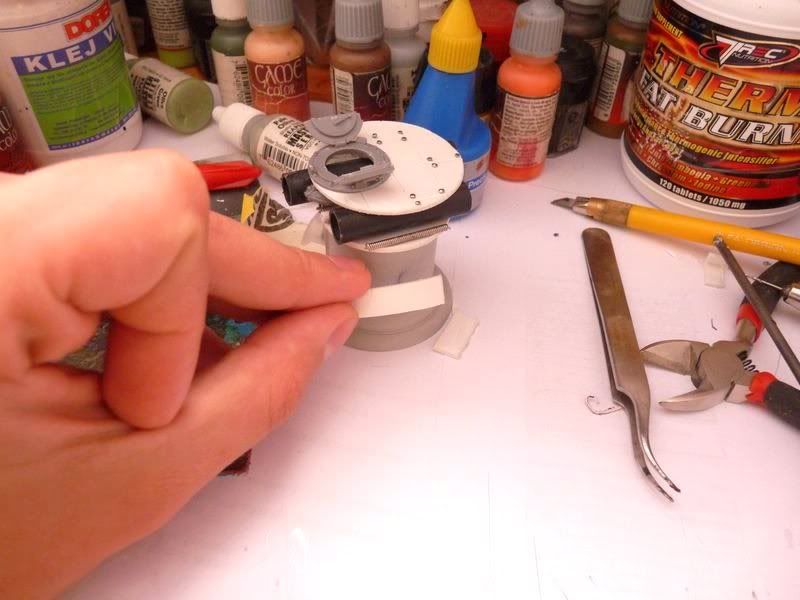
 In the meantime I prepared some parts to use shortly: we all know bits boxes are full of goodies. I cut plastic pipes (no idea where did I get them from) and ball-point catridge to desired length (just slightly longer than socle diameter) and sandpapered the edges. I also took some parts from plastic Rhino transporter model: hatch set to be more specific which I thought would fit well my vision of the base.
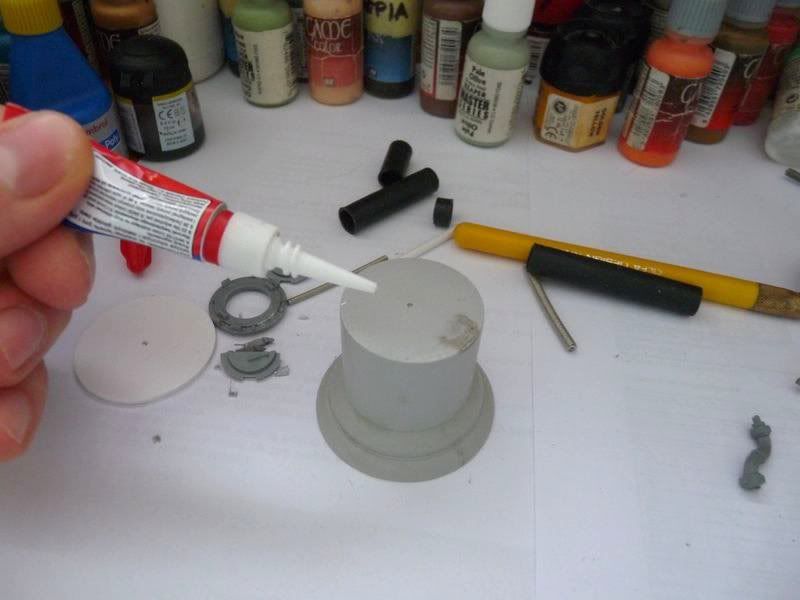
 Then PCV sheet was glued to the
socle
- two or three drops of superglue are more than enough. After glue dried I added some pipes: I used mentioned ball-point cartridge, thick guitar strings and plastic pipe which I found on the bottom of bits box. The idea was to create space under proper floor (kinda technical canal) where all wires, tubes etc are installed.
Then PCV sheet was glued to the
socle
- two or three drops of superglue are more than enough. After glue dried I added some pipes: I used mentioned ball-point cartridge, thick guitar strings and plastic pipe which I found on the bottom of bits box. The idea was to create space under proper floor (kinda technical canal) where all wires, tubes etc are installed.
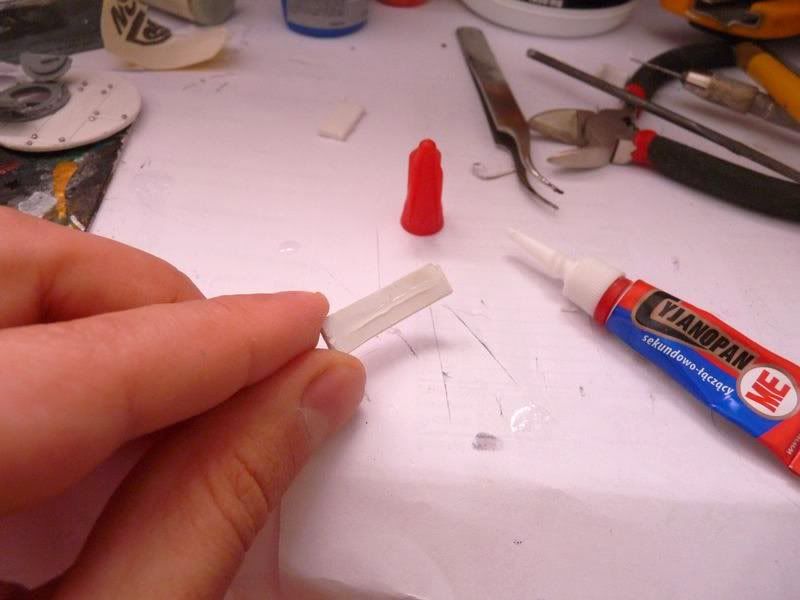
This time I used polymer glue - it dries pretty long but thanks to this you don't have to rush with adding elements onto the PCV.

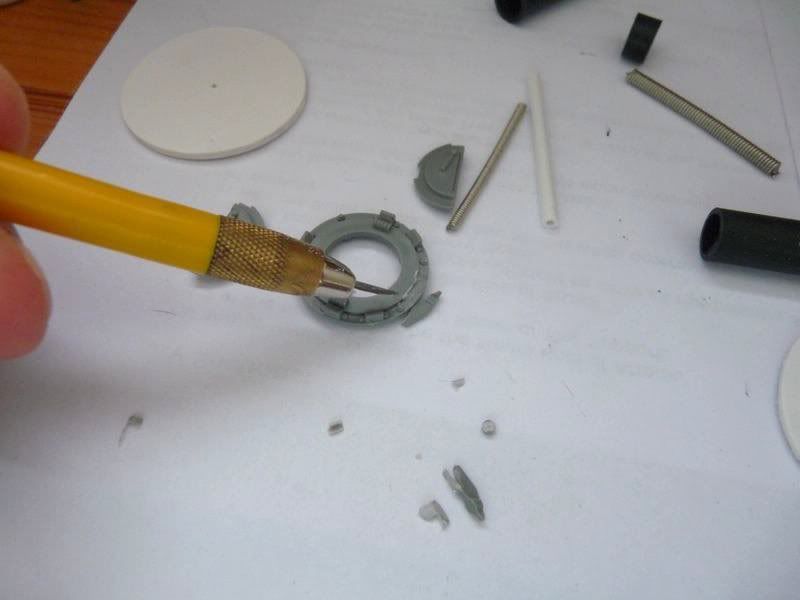
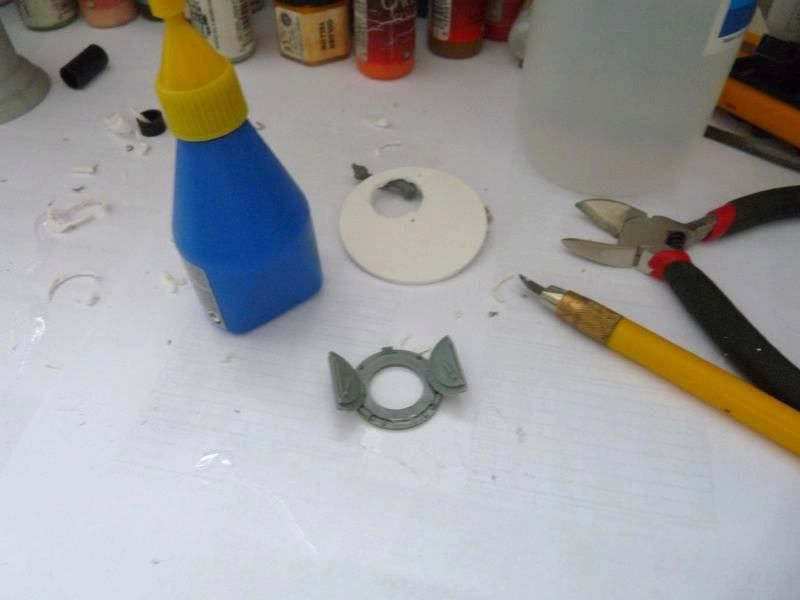
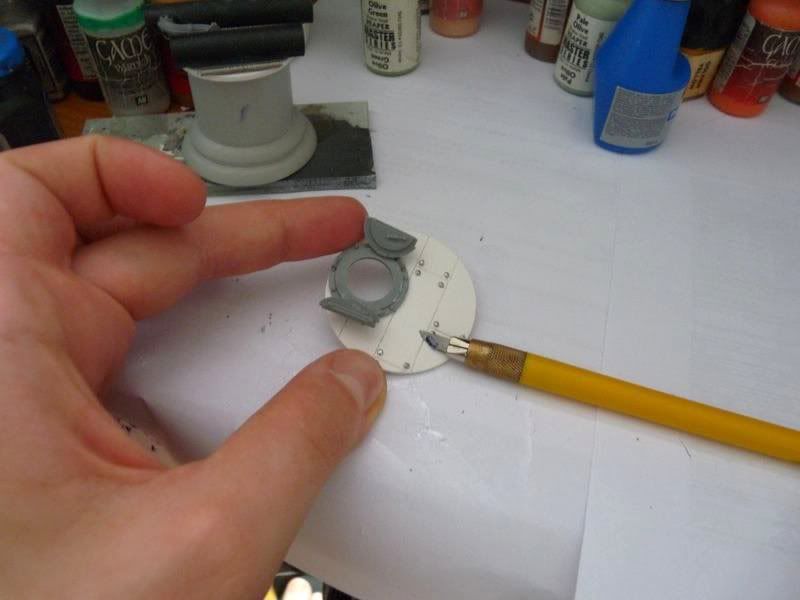
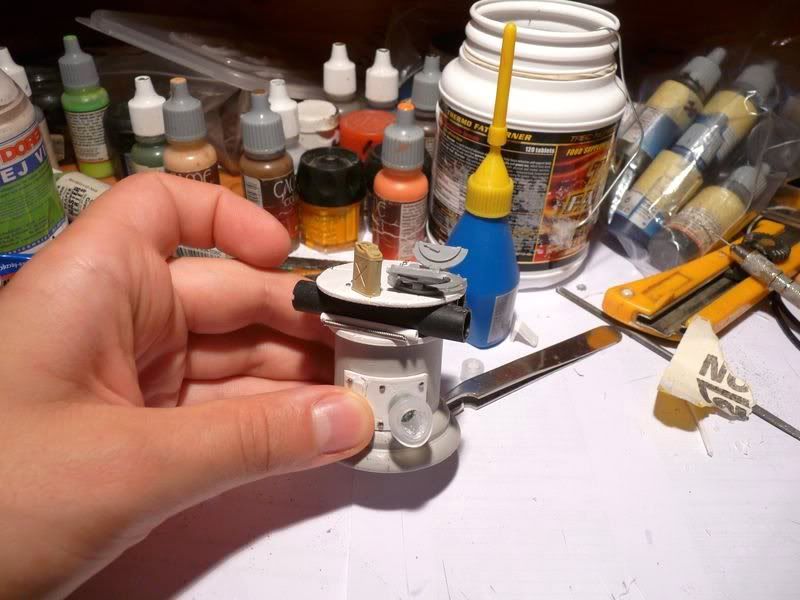
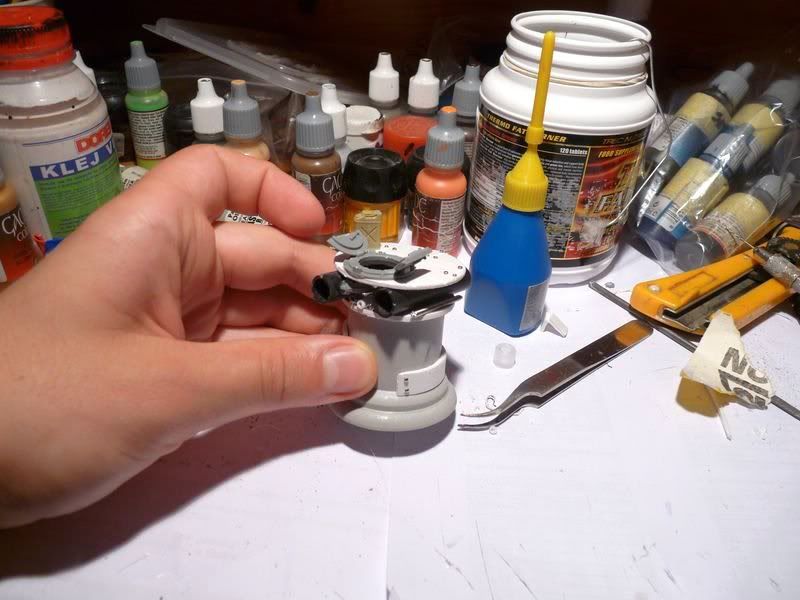
 As for "upper floor" I decided to add a hatch (the piece is the mentioned part of old Rhino a.p.c. model): I cut a hole in the sheet - as you can see it was a bit rough and messy but no worries, it will be covered by collar of the hatch so it should look just fine.
You can add this element now or wait a bit...


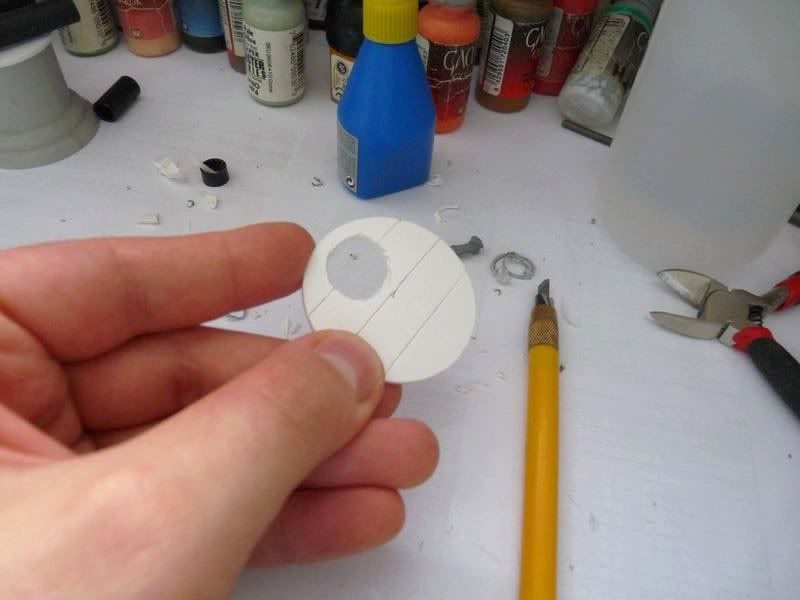
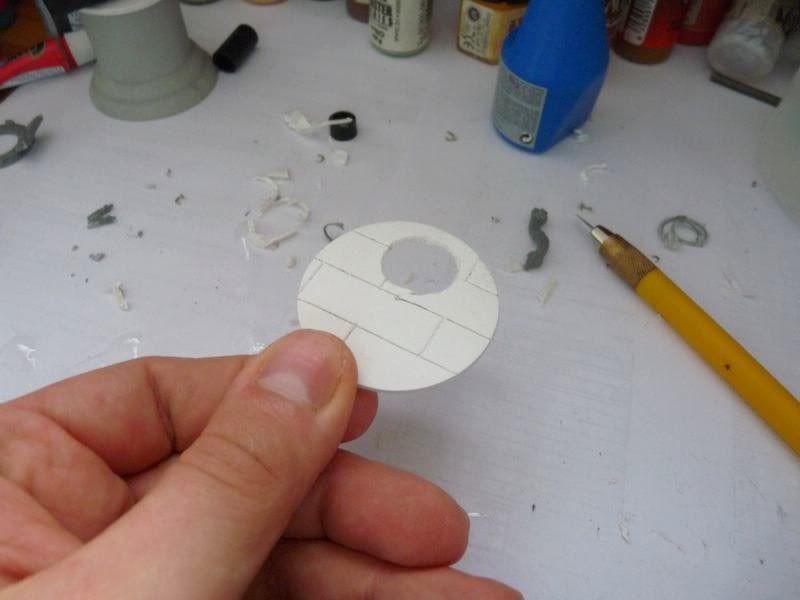
 ...to add some texture on the floor:
The base is part of futuristic structure so I decided to carve floor tiles. PCV is very easy to form so it took me just a minutes to prepare all tiles: take a ruler and simply draw "tile grid" or any other pattern you wish using hobby knife, thick needle or paper clip. You can glue the hatch now.
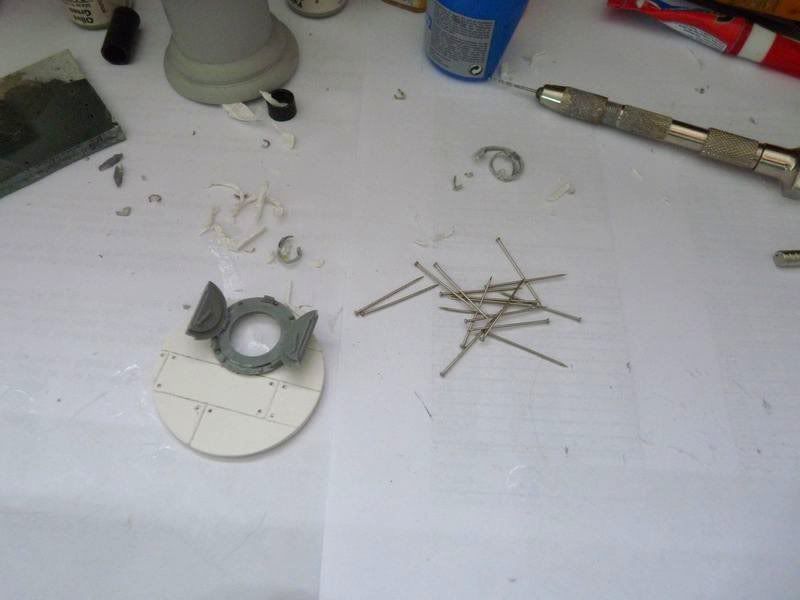
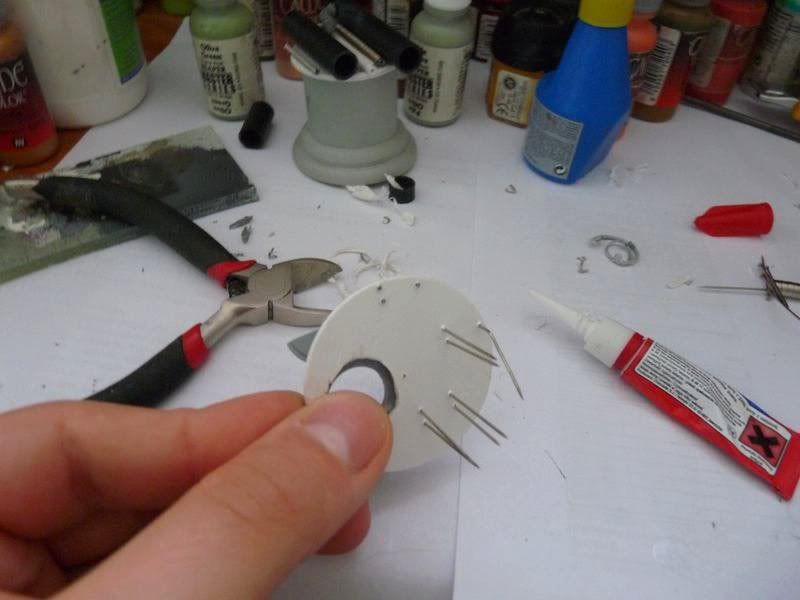
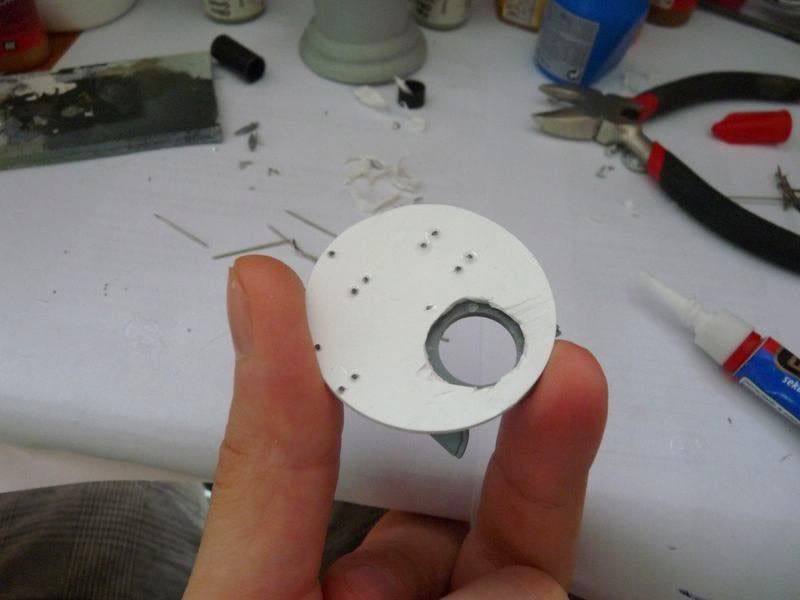
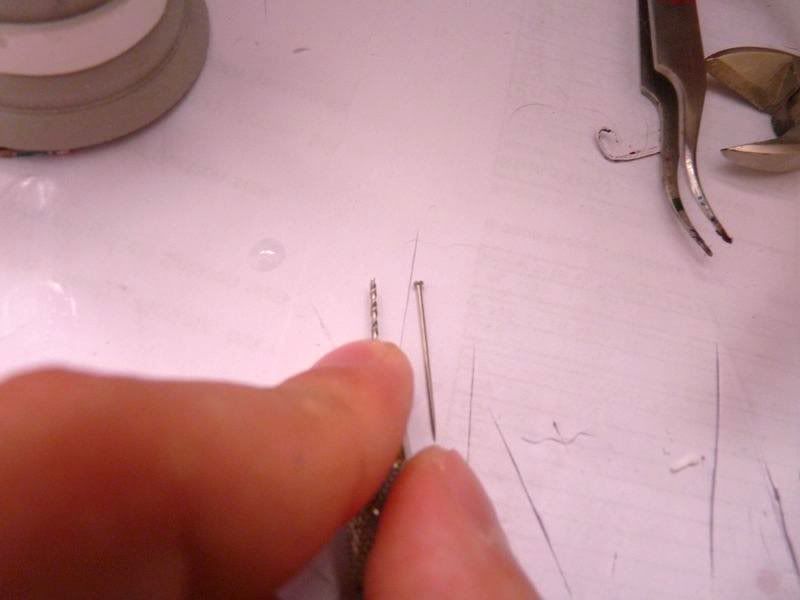
To make the floor even more detailed I decided to add some rivets: once again - there are MANY ways to make rivets but I used the easiest one in my opinion (the easies solutions all in all turn out to be the best ones). First I drilled holes where I wanted to see rivets. Thru the holes pins were pierced. To make upper floor tidy I glued every pin under the floor and after superglue dried - pins were cut off leaving only heads on a top.

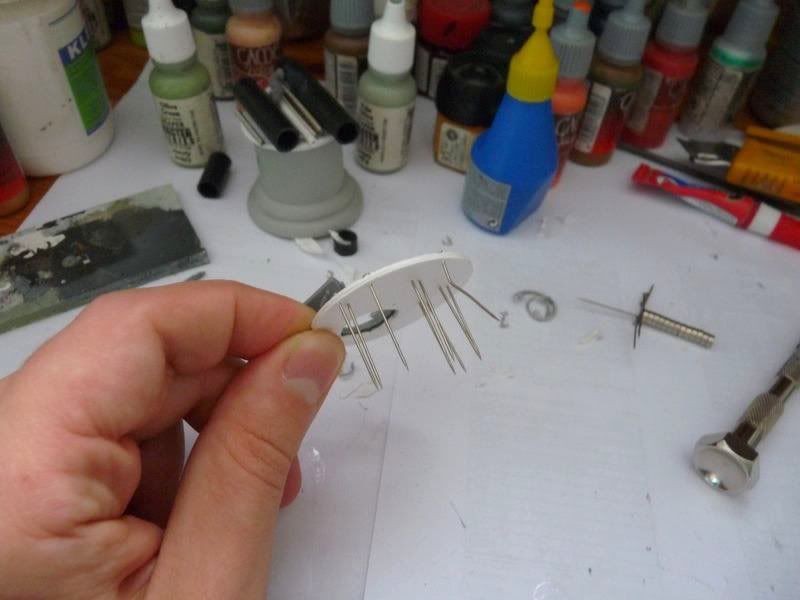
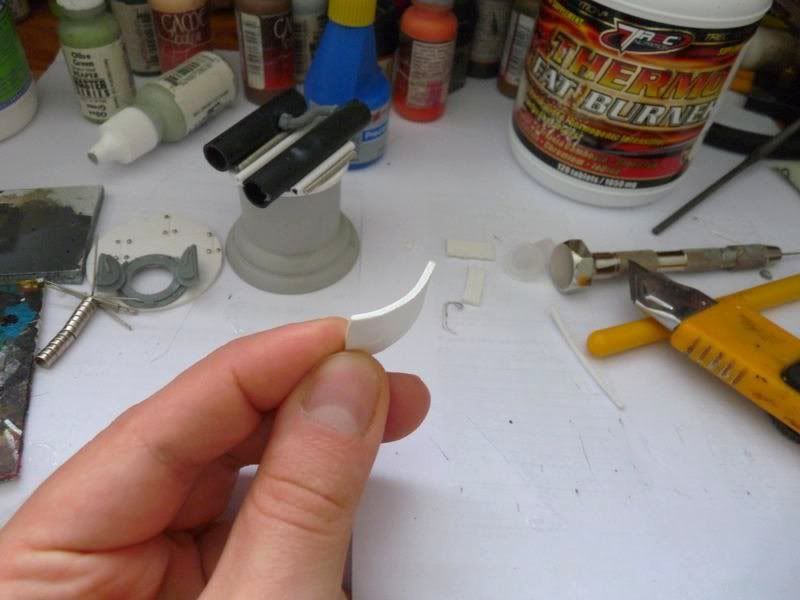
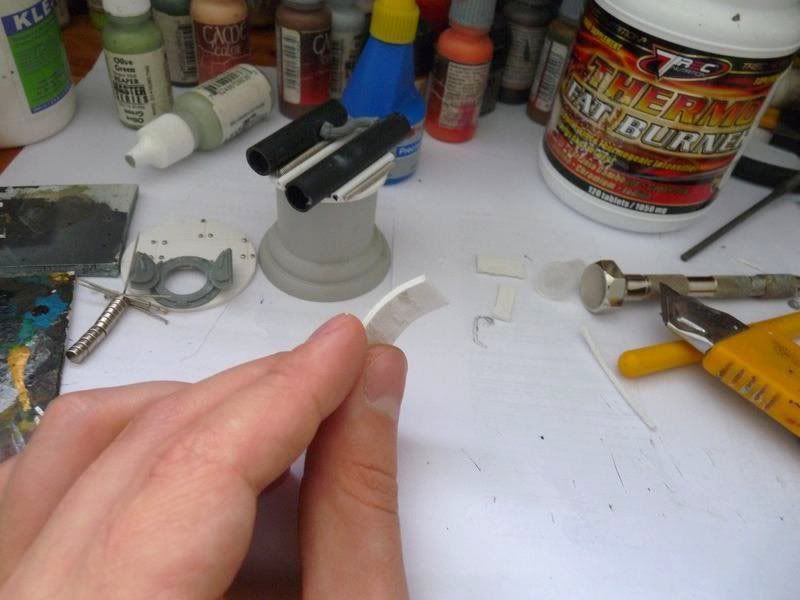
 I liked the final look of floor rivets so much I decided to add another panel on the side: basic rule is exactly the same like in paragraph above: cut PCV, attach to socle and add rivets. But there are two things you have to remember about while working on curved surface:
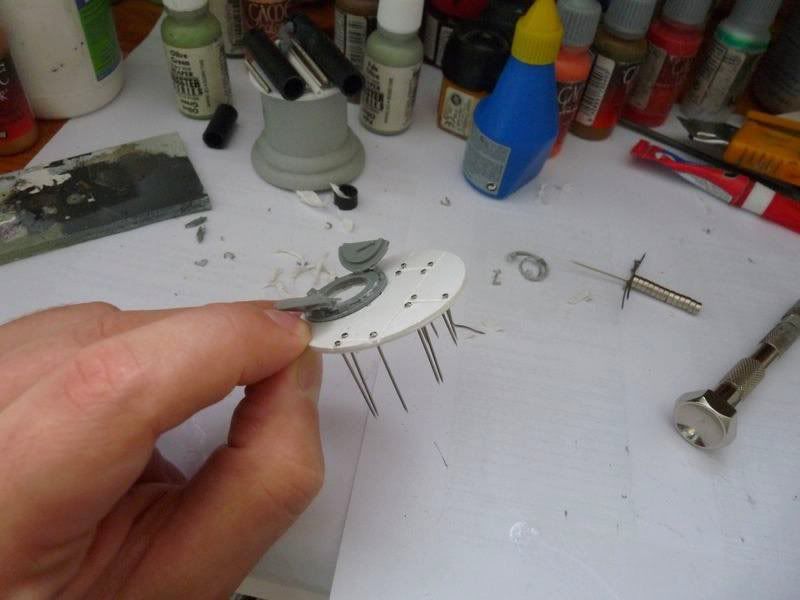
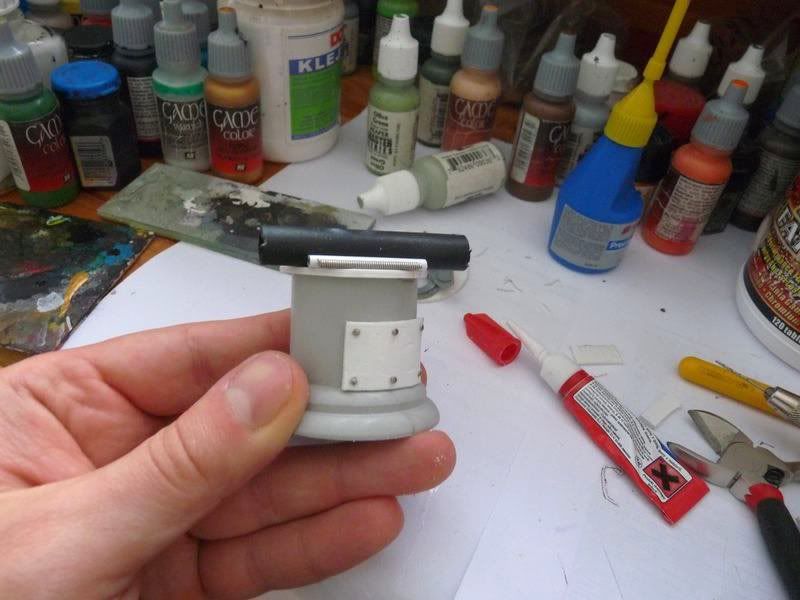
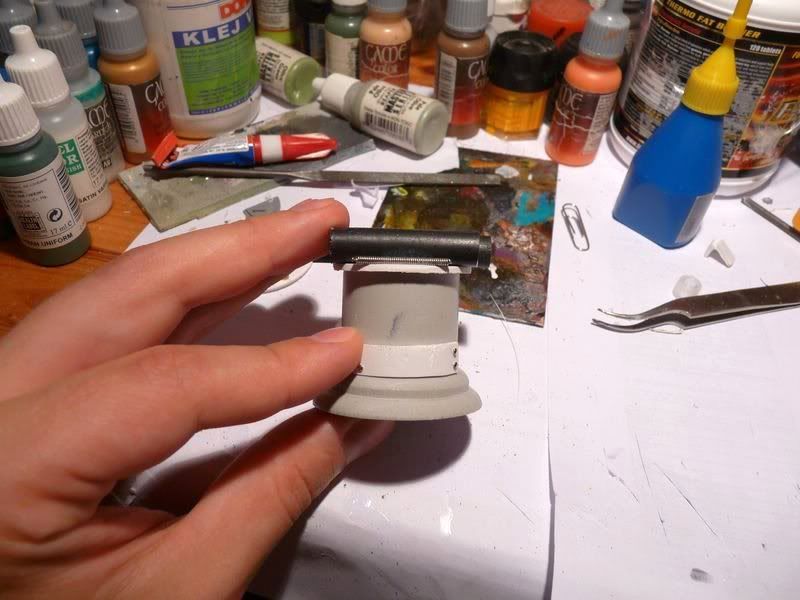
Try to bend PCV slightly before applying superglue - this should prevent breaking the surface during pressing it against the socle. Another tip - drill deep holes for pin-made rivets: not only placing them will be easier but also long pins should bond curved sheet with the base much stronger. As you can notice on the bottom photo "rivet-pins" are about 5mm long.
Adding the pipe was no problem at all - once again I used part of broken ballpoint (it's amazing how many useful parts these things are made of!). The only modification needed was filing plastic so it can fit curved surface better. The part wasn't heavy so there was no need for pinning it - a bit of greenstuff + superglue were just enough.


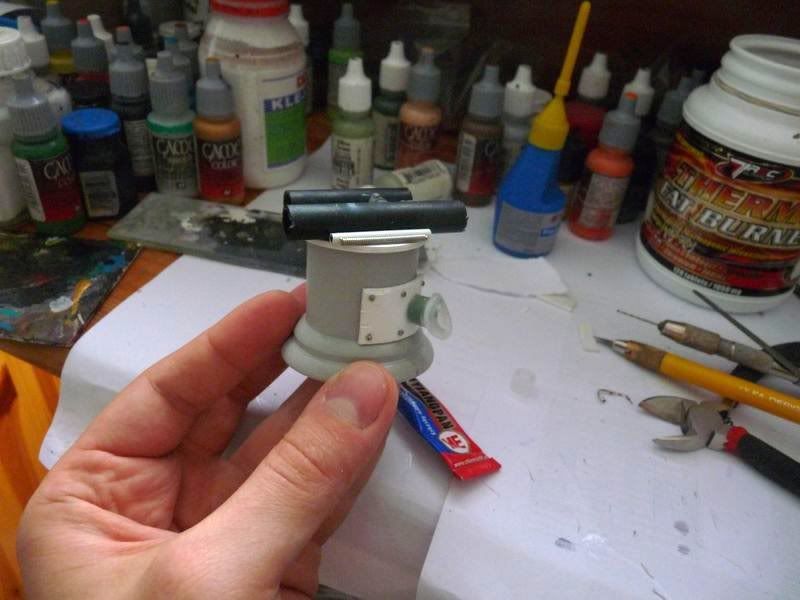


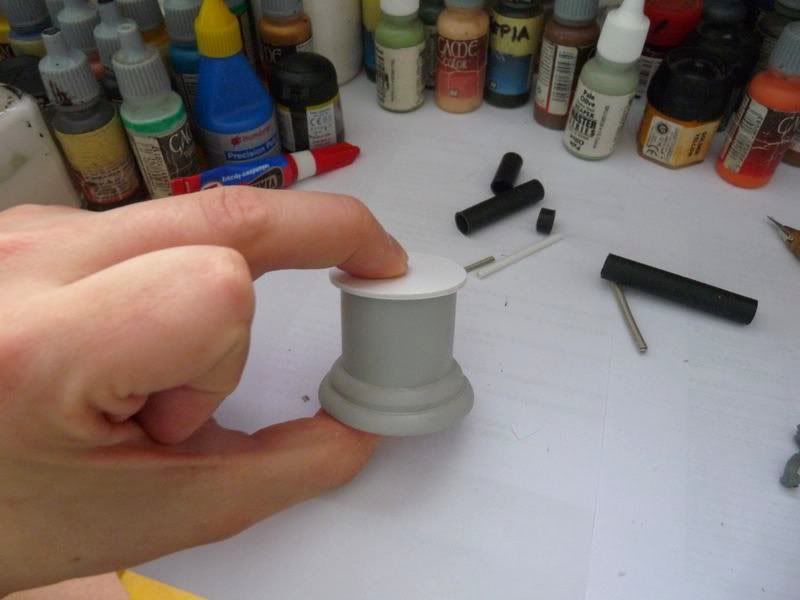
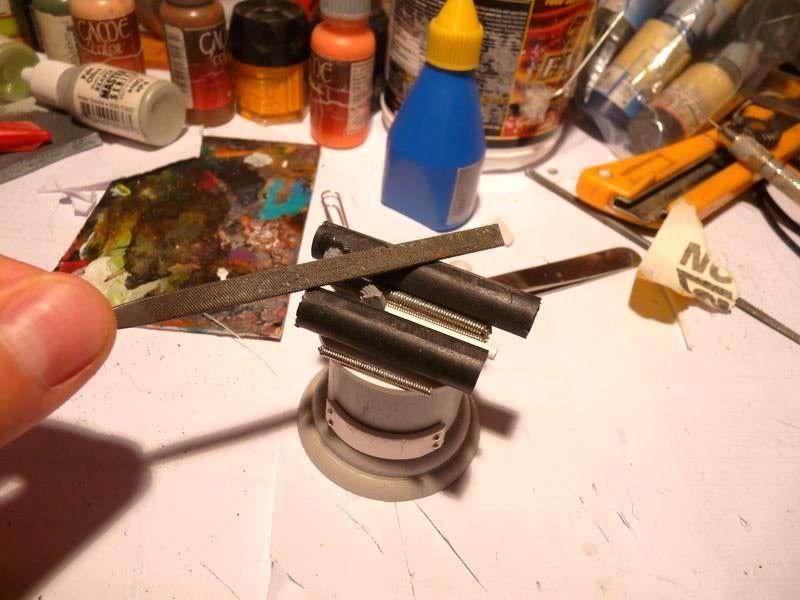
 To make the upper floor fit the socle better I decided to file tops of main pipes ? now they are flat so it?s easier to apply superglue or tiny pin if necessary.
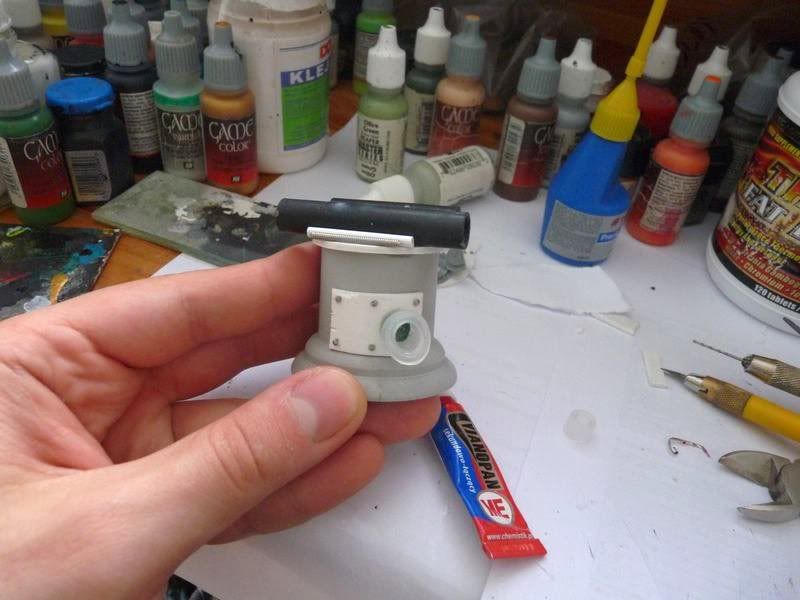
 As the final touch I scratched floor's surface with hobby knife, sandpapered edges and added petrol can from Tamiya vehicle accesories set (scale 1:48). The base is now ready to be primed and painted.
I will post the results of the paint-slapping hopefully soon.

No comments:
Post a Comment