
Hello all after a long break!
I really regret I couldn't prepare anything decent for posting earlier but sometimes life just takes away all spare time and that's what happened in my case.
Anyway I am back with new material: I've just painted Hammerfall High Shield model from Warmachine range for 4th edition of Chest of Colors miniature exchange. At this point I'd like to thank Nameless for organizing this event once again - you do just great job mate, thanks for bringing us fun once again!!!
So there's been Miniature Exchange running for a while (check the minis painted for the event here ) so I had to decide which model I'd like to send to my recipient. I have lots of minis waiting to be painted so choosing the one was a problem but all in all I decided to prepare something enjoyable to paint. And because it's been a while since I painted anything from Warmachie range I decided to paint one of Hammerfall High Shield guys. I remember I got some of these guys a few months ago to see are they cool enough to start collecting new Warmachine faction (and yes - these are definitely worthy collecting and fielding!) but because lack of time I don't play Cryx as often as I'd like so new faction is not an option - sadly...
Important thing to notice - once again I'm very sorry for poor quality of pictures but taking ~70 photos just to choose the best ones + editing them etc takes lots of time. If I'd like to take take miniature to my photo station every time I slap some paint on it preparing articles would take much, much more time. That's why I tried to describe every pic precisely so everything is clear even in case of crappy photos. All photos are clickable - hit them to get closer look.
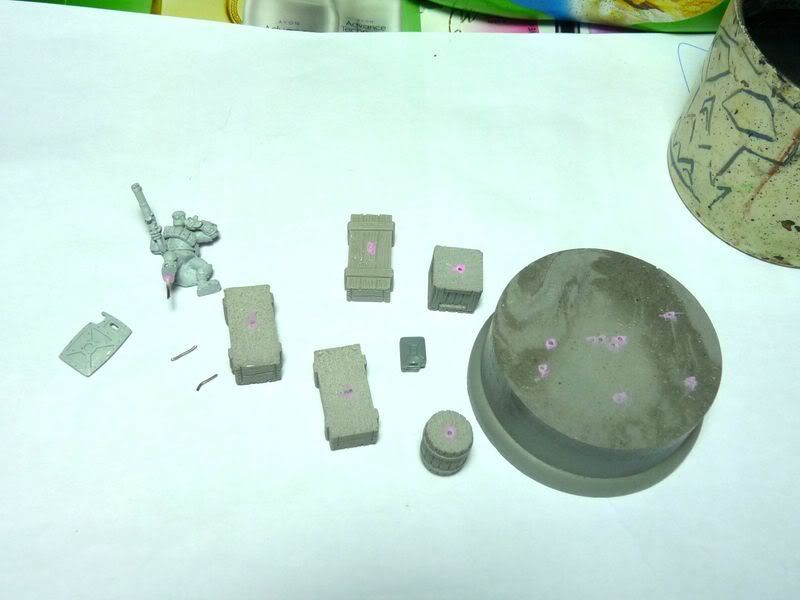
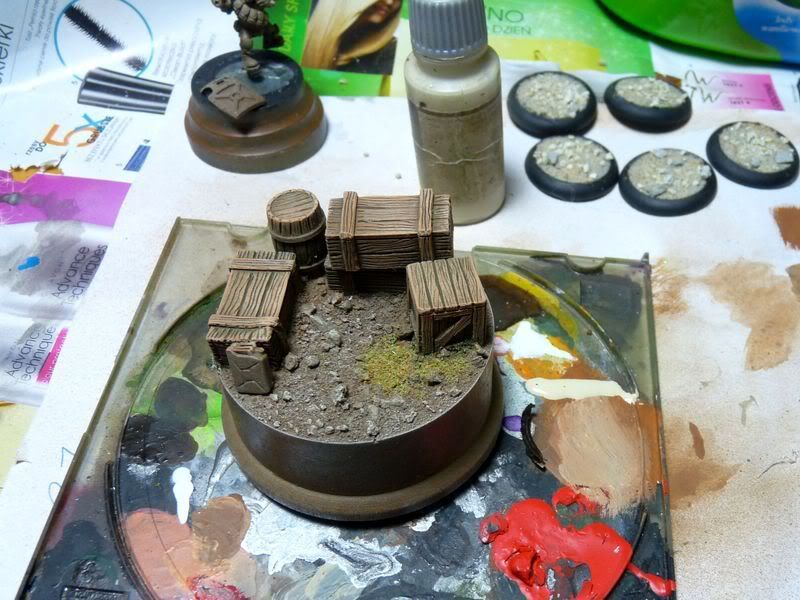
I started works by choosing proper materials: as you can see the model has already been undercoated with bright grey color. I decided to place it behind a barricade therefore I also took some crates, wooden barrel and fuel canister. All these things would take some place so I also took large Plinth Country socle : the top is 60mm in diameter which is just enough for the project.
 This step is pretty obvious: pinning. Model will not be a gaming piece but it will be sent by mail so it's always good idea to spend 15 minutes pinning all elements together. I marked all spots where holes were drilled - a single pin for a piece is just enough. I really like working on
resin bases
and models because cleaning them, cutting and drilling is just no problem. One remark - at this stage the model has only a single pin but during painting I decided I don't want to risk and the second leg also got a piece of paper clip.
This step is pretty obvious: pinning. Model will not be a gaming piece but it will be sent by mail so it's always good idea to spend 15 minutes pinning all elements together. I marked all spots where holes were drilled - a single pin for a piece is just enough. I really like working on
resin bases
and models because cleaning them, cutting and drilling is just no problem. One remark - at this stage the model has only a single pin but during painting I decided I don't want to risk and the second leg also got a piece of paper clip.
 On photos below you can see all parts assembled and waiting for super glue. As you can see on the first pic model has been placed so the shield stands on a crate. I did this because shield was too thin to be pinned the the arm, and thank to this stratagem I could apply another drop of super glue to harden the connection.
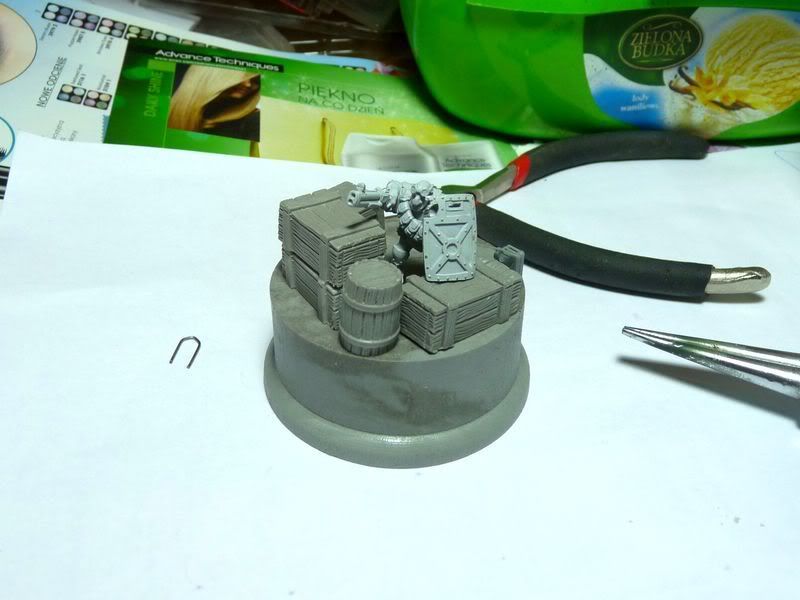
 After super glue dried completly some gravel and sand were added. The procedure is pretty simple: I covered whole socle's surface with pva glue (wood glue, white glue - whatever it's called) and sprinkled gravel over it. After that sand was added. Now all you have to do is wait until pva gets 100% dry.
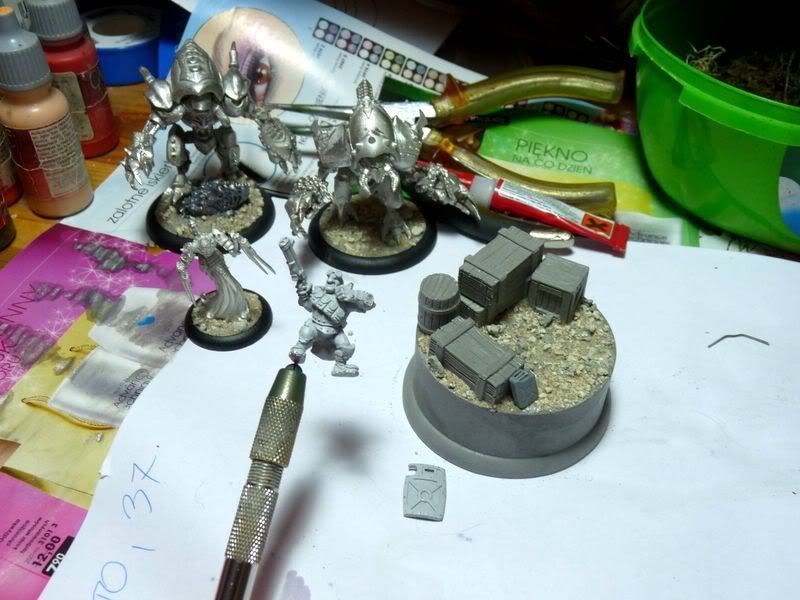
When it was dry I painted whole sand with diluted pva to make bond much stronger and to prevent sand falling off during drybrushing. Waiting can be sometimes frustrating so I found myself other models to pin and base - I deeply hope to paint the Helljacks soon. After all every gamer knows that painted models fight much better! ;-)

 Painting time!
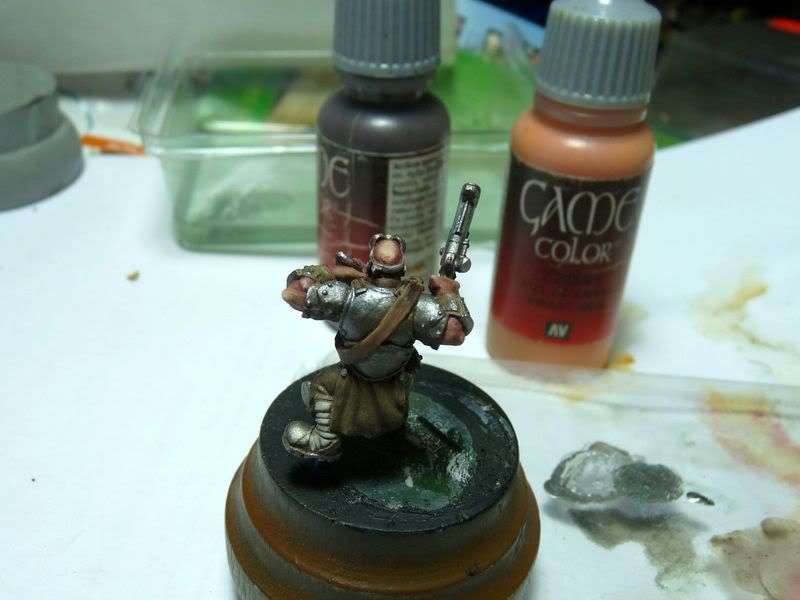
I wanted to paint the model with natural colors and also didn't want it to be dark as most of minis I paint - it's not Cryx after all!
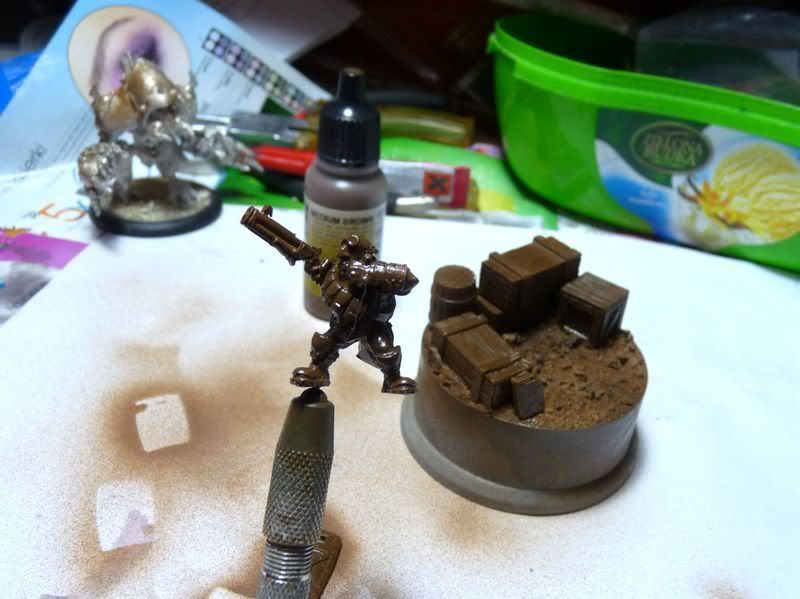
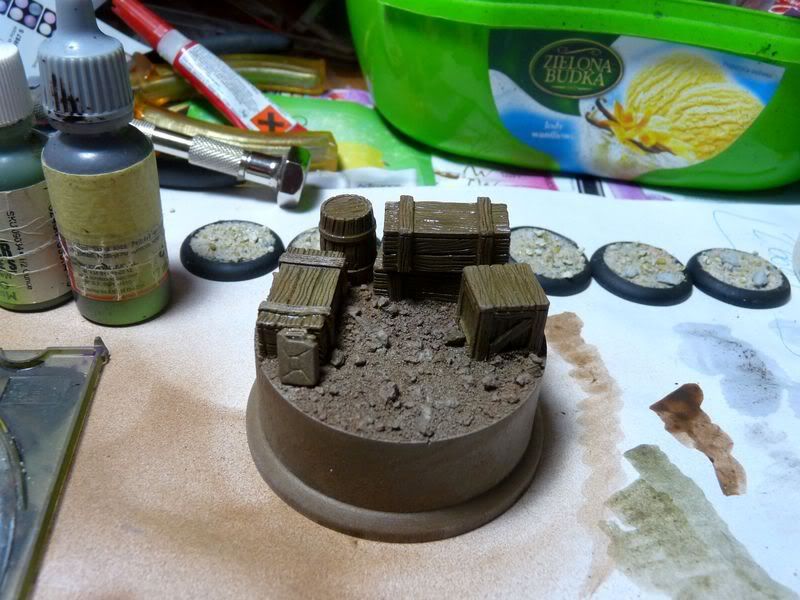
I started by applying base coat: Medium Brown from Vallejo range. I used airbrush (it makes works much faster) but you can paint the stuff regular way. As you can see I painted whole model + base using the same color. It will make the piece look much more coherent and unified in the end.
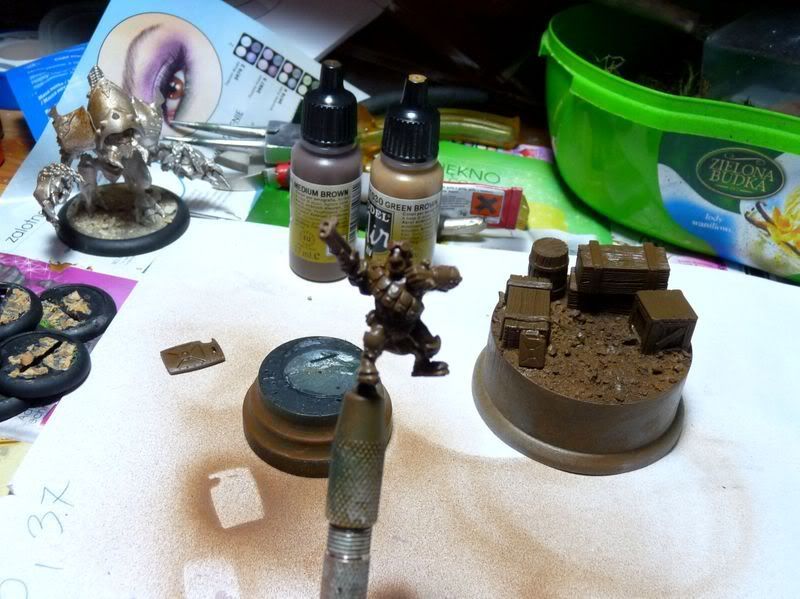
 Now it's time to apply some highlights: I mixed Medium Brown with Green Brown and sprayed it over whole piece.
I can clearly see I should wait with taking pics until paint on model is dry - the model is so shiny because photo was taken just after applying the paint. Oh well - another valuable lesson for the future.
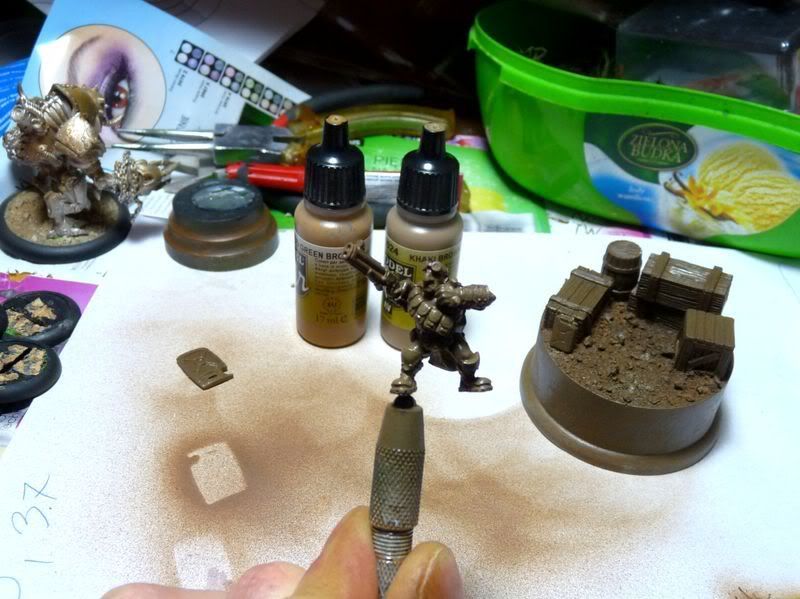
 And another layer of highlight: this time Green brown was mixed with Khaki Brown. After the job is done give the model some time to dry really fine - next step will be applying washes and if you paint wash on wet paint all you can get is just big mess.
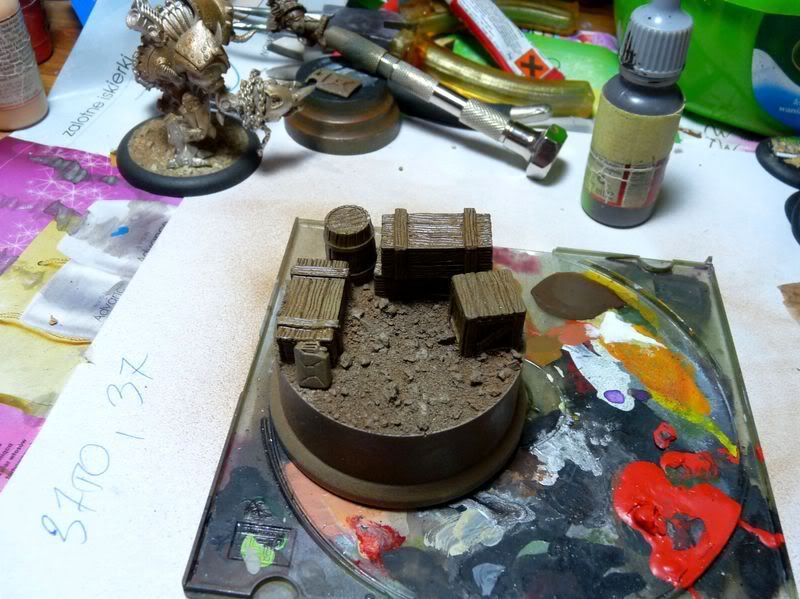
 Washing: the general painting rule is always the same - to get smooth transitions it's better to lay several layers of watered down paint than just one thick coat. I started washing by painting crates with Smoke - this paint is really thick and oily so test it on piece of paper or spare model before applying on the proper figure. This paint is pretty dark so all details and cavities are nicely exposed.
 I decided to add some variety to mostly brown painting so I mixed bit of Smoke with Dark Olive and washed it over the crates.
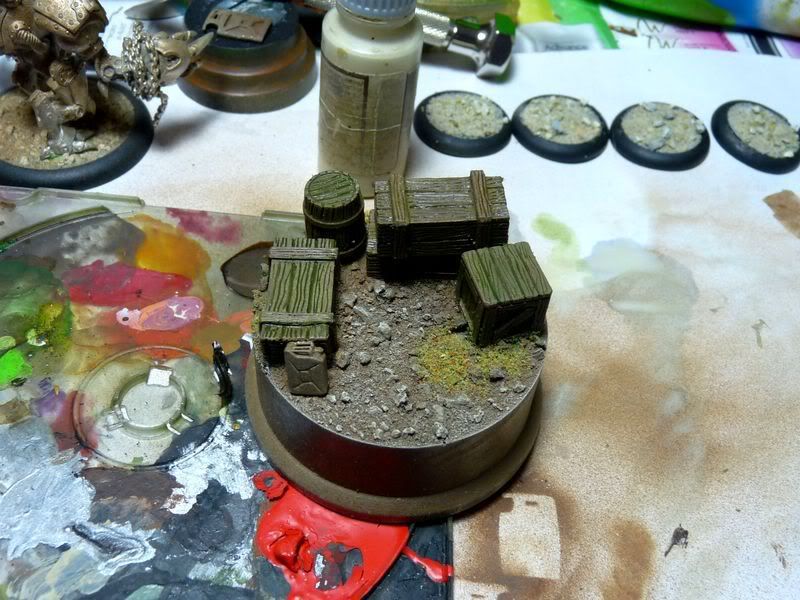
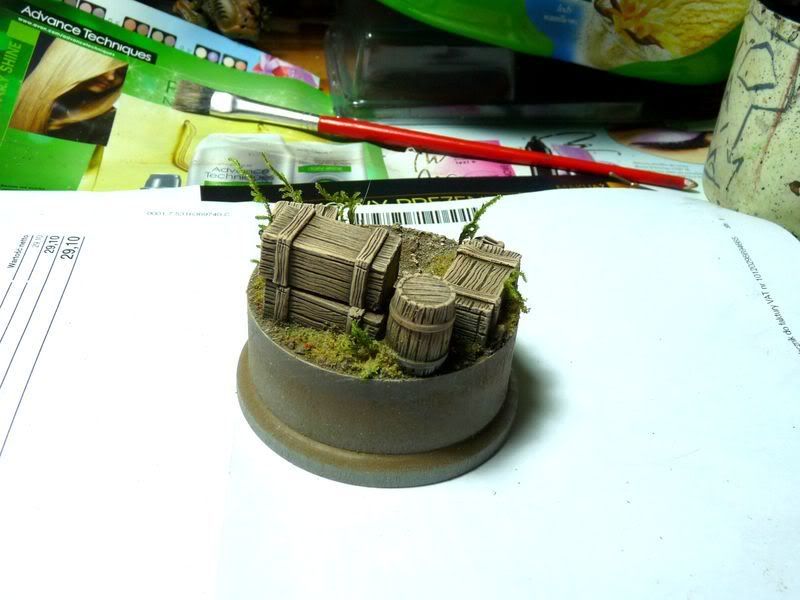
 To make green tone more striking another layer of diluted Olive was applied. I also glued some static grass.
 The final wash was made by mixing Dark Angels Green with Dark Olive.
 Drybrushing time!
Once again remember - do not try to drybrush until you're sure paint (especially wash!) is totaly dry. I started by highlighting sand - drybrushed Bleached Bone did the job well. I decided not to use pure white because it would made sand too much striking and in my opinion not much realistic.
 Crates are dry so I could start highlighting them: I chose Beasty Brown for the first layer of drybrush.
 It was followed by mix of Beasty Brown and Dwarf Flesh. I must say I really like using this combination for highlighting browns.
 Final highlight was made with Bleached Bone to unify crates with sand painted using the same color.
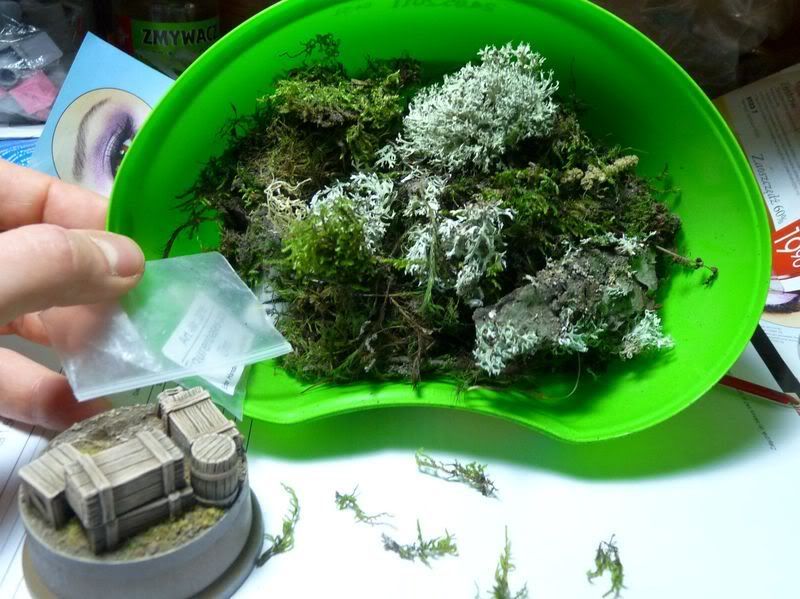
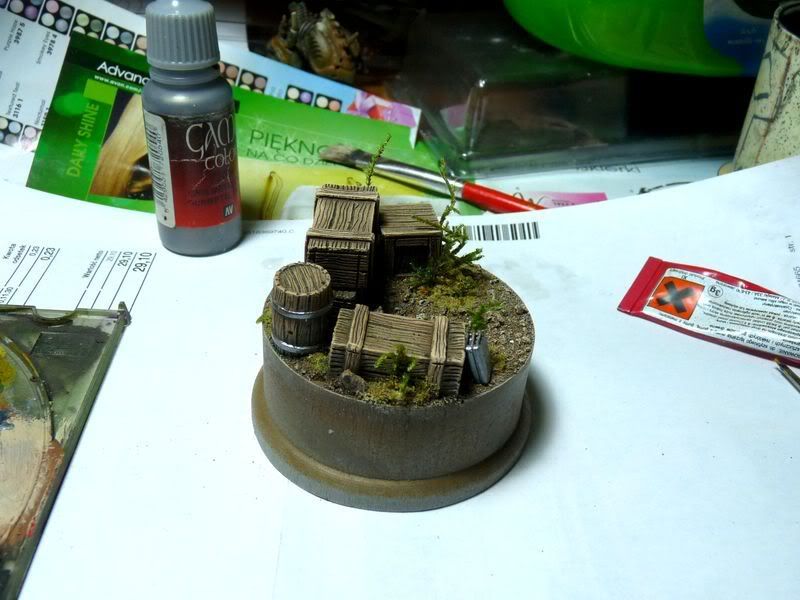
 To make base more interesting some foliage was added. It's good idea to collect some plants, foliage and moss during summer time - you really don't need much of it so short trip to the park or wood can provide supply of modeling materials for quitre a long time.
Besides your girlfriends will be happy if you take them for a walk sometimes, just don't mention the only reason for leaving hobby room was lack of hobby materials ;-)
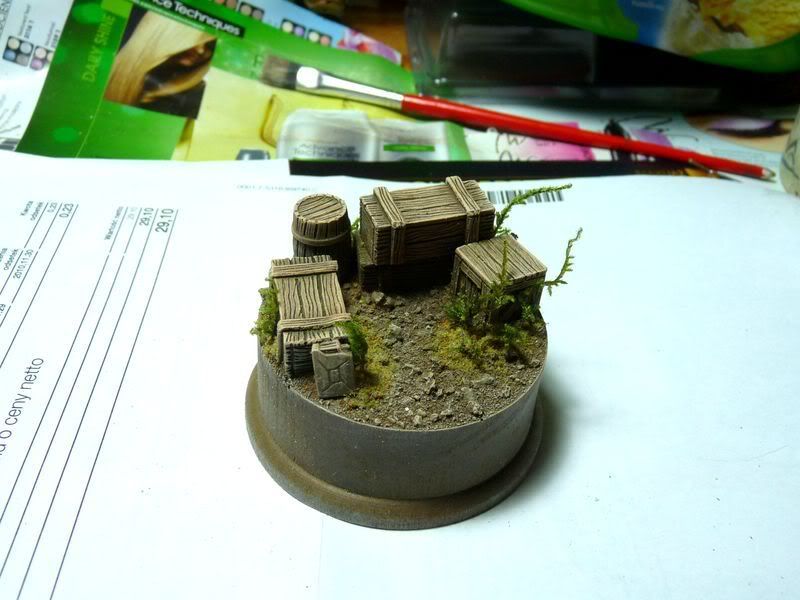
After plants were glued I added some more grass around them to hide super glue stains and holes drilled for plants.
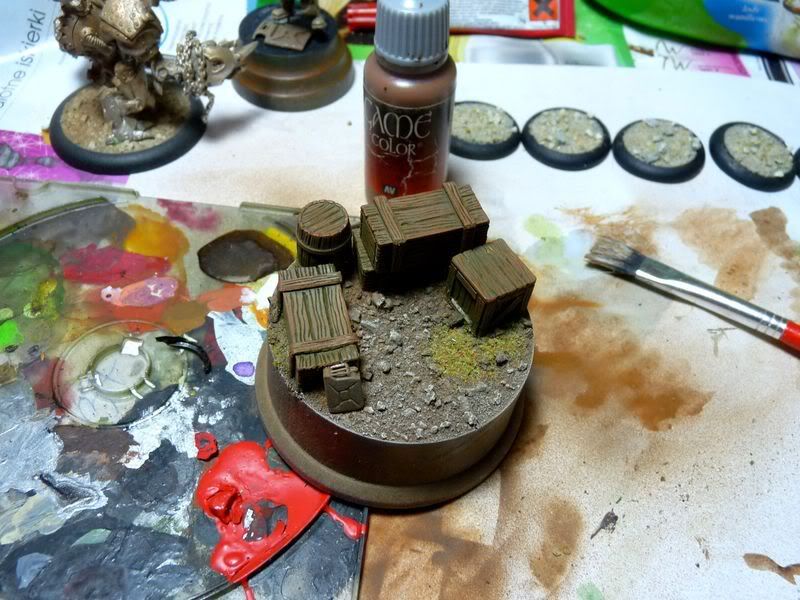
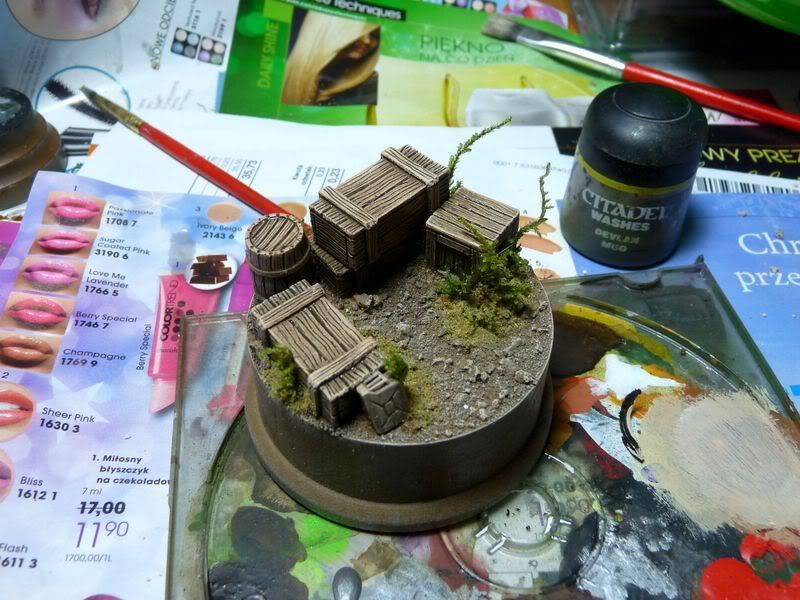
 Some more washing: I glazed crates with diluted Devlan Mud - I really like this color. Although you can also use any other brown wash just remember to water it down. I didn't want to repaint crates but just give them darker hue.
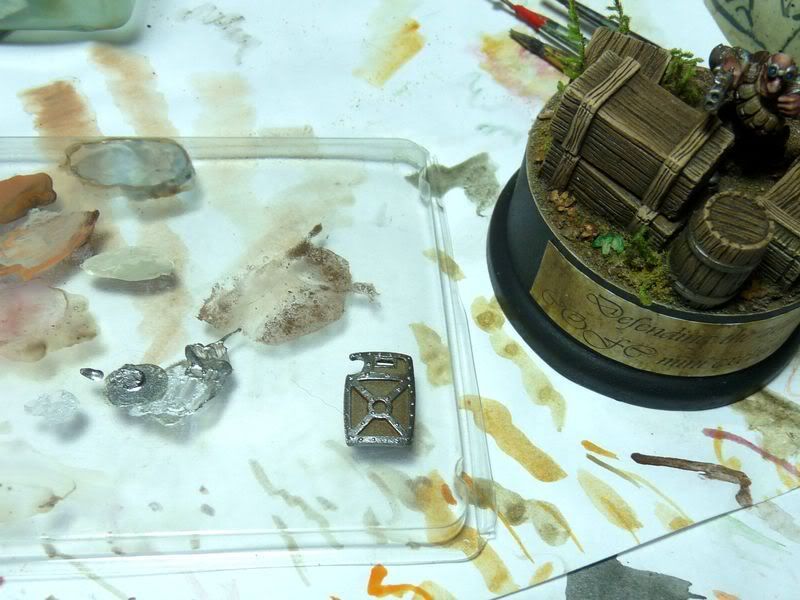
 Metal elements (barrel rings and fuel canister) were painted with Boltgun Metal - not much to discuss here about.
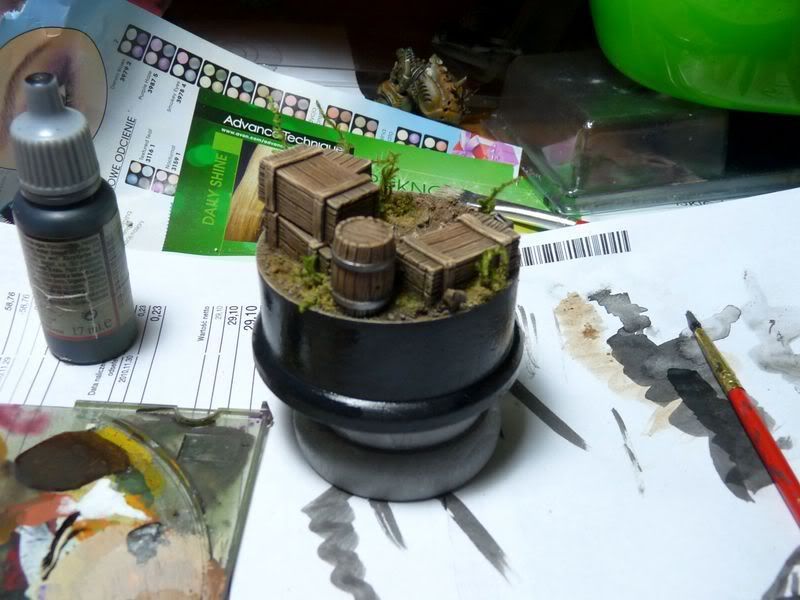
 The socle was now painted black. I used several layers of paint instead on just one thick to get smooth surface. After the paint dried I sealed the plinth with Vallejo satin varnish: it protects the paint really well but it's much less shiny than gloss varnish.
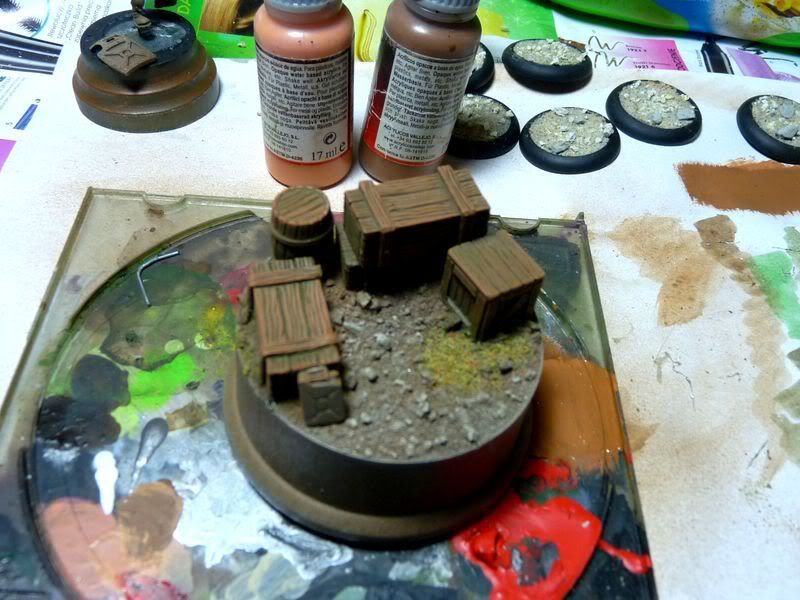
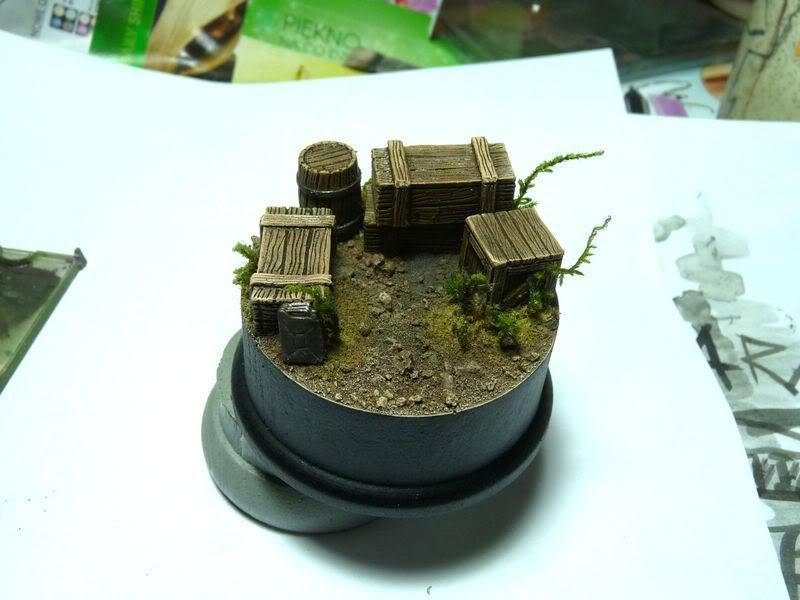
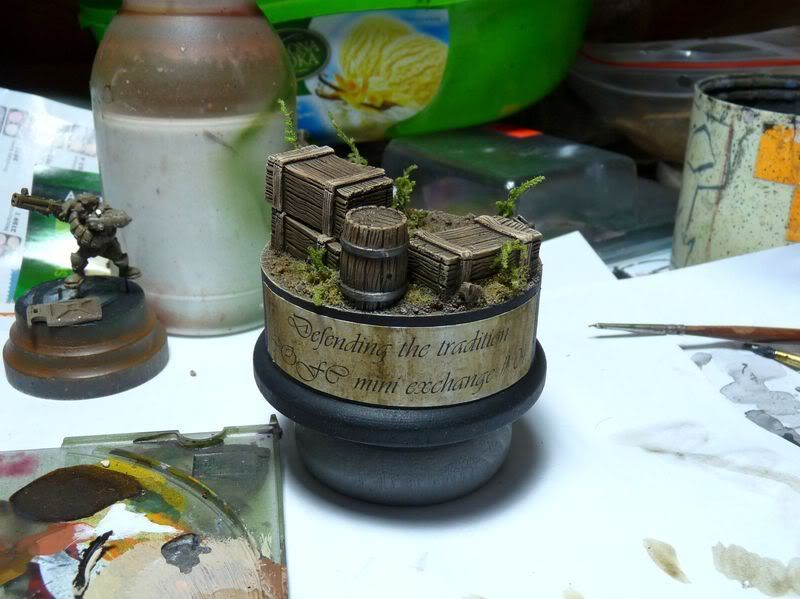
 The final step was applying some dry pigments onto sand: you can use ready to use material but I used powdered chalk. For such a simple task it works equally fine but chalks are much cheaper. As I wrote in previous article you can use turpentine or some varnish to prevent powder from falling off. Pigments is not necessary but gives really nice dusty look to the surface.

 The plaque:
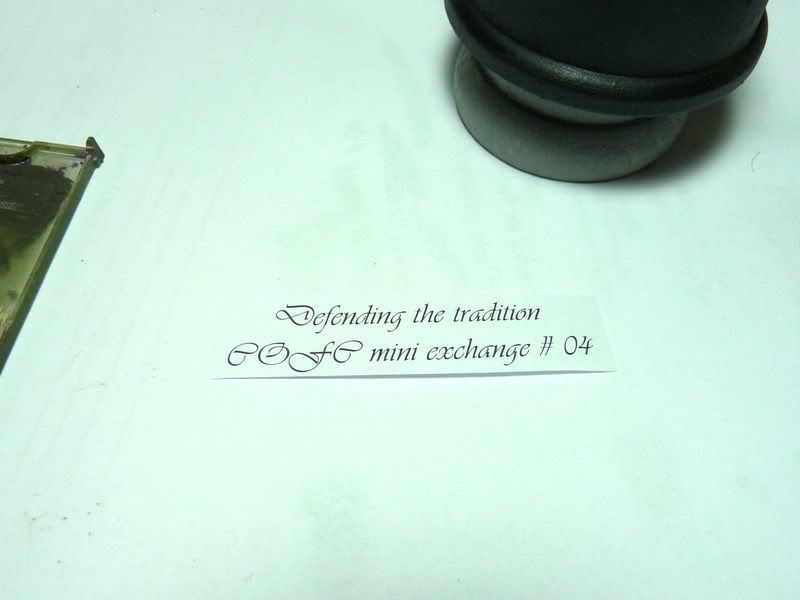
Since it's a special piece I didn't want just a simple base - I decided to add an inscription. First step was making up the text: "Defending the tradition. COFC mini exchange #04". I wrote in using some fancy font and chose proper size (if I remember correctly it's 18), printed on ordinary paper sheet and cut to desired shape and size.
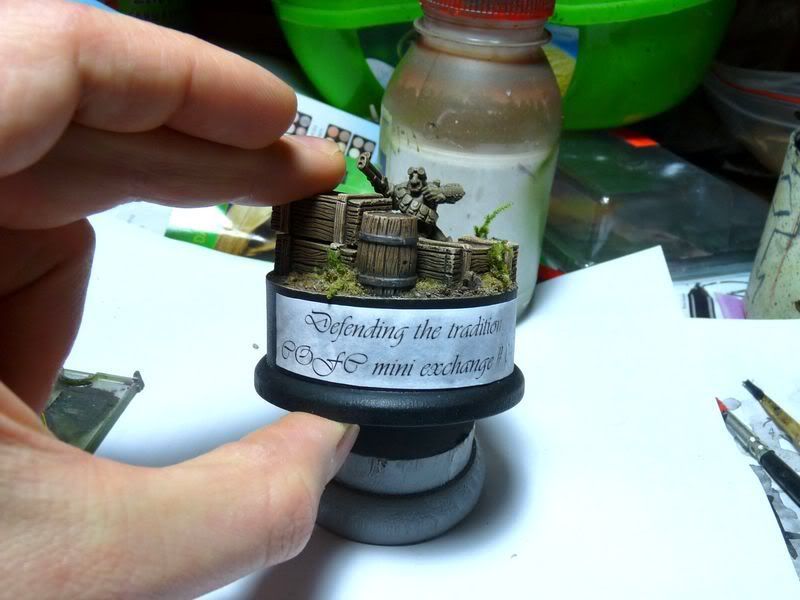
 The plaque has been attached to the socle using pva glue. Give it some time to dry before next step - too much water can damage paper, it's pretty weak while soaked in water.
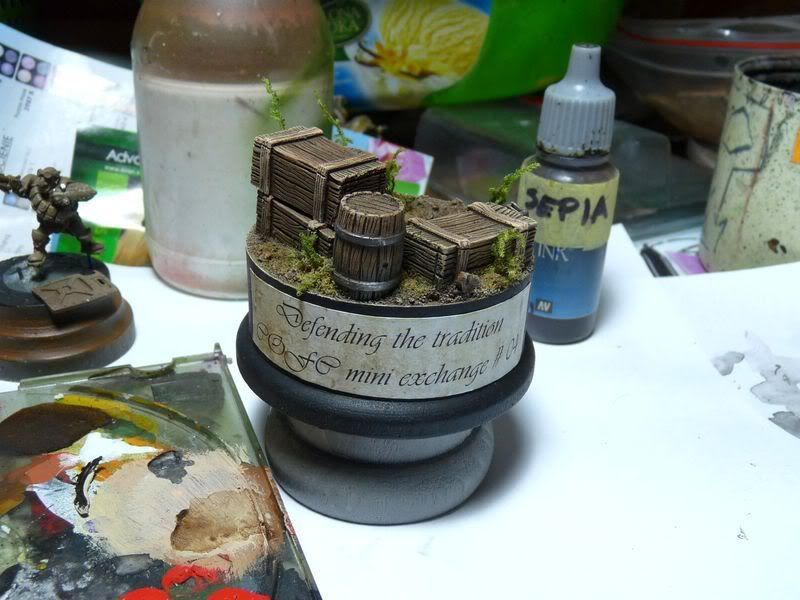
 The glue is dry so I could start painting. Whole piece is painted using natural colors so I chose Sepia for the plaque. A layer or two heavily diluted paint and we have slightly weathered paper.
 But "slightly" is not enough for me so more paint was added.
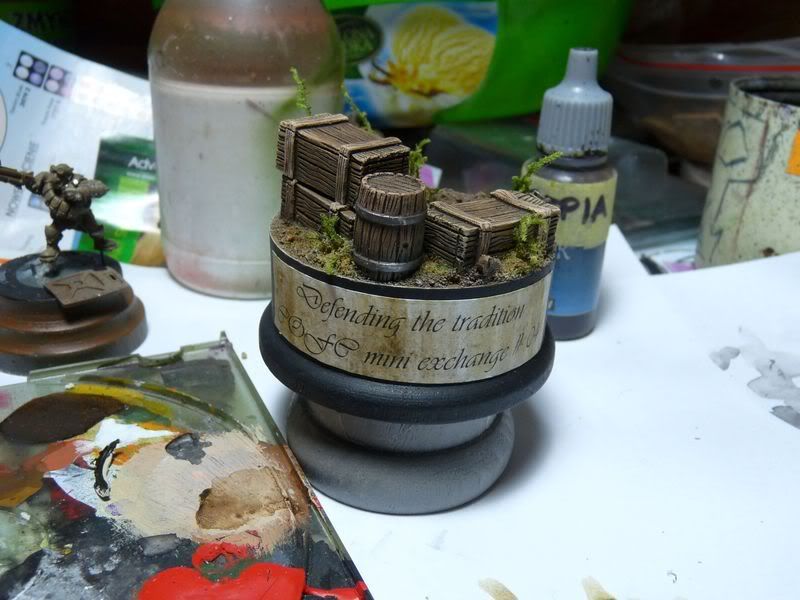 And some more to fulfill my desire of paintring everything dirty and weathered ;-)
The paper was also sealed with satin varnish after paint dried. The time has come to slap some paint on the proper model.
 As you can see the model already got second pin so I could place it on
small plinth
to make handling more handy. Of course you can also use a driller instead of such socle but sometimes I want to be sure model won't fall down so solid base and two pins make whole thing really steady.
As you can see the model already got second pin so I could place it on
small plinth
to make handling more handy. Of course you can also use a driller instead of such socle but sometimes I want to be sure model won't fall down so solid base and two pins make whole thing really steady.
As for painting I decided for a something different this time. Usually I try to finish one element before I start another, for example: I paint and finish face, then armour, then weapons etc. This time I tried Dead Dogg's method spotted in NQ magazine which is painting all base colors, then painting all shadows etc - hope it's clear.
The model was undercoated with some browns already. Metal elements were painted using Boltgun Metal followed by Mithril Silver. Flesh was painted using combo I really like: Rackham Purple + Dwarf Flesh for the base, after that DF, DF + Elf Flesh and EF + Skull White for final highlights.
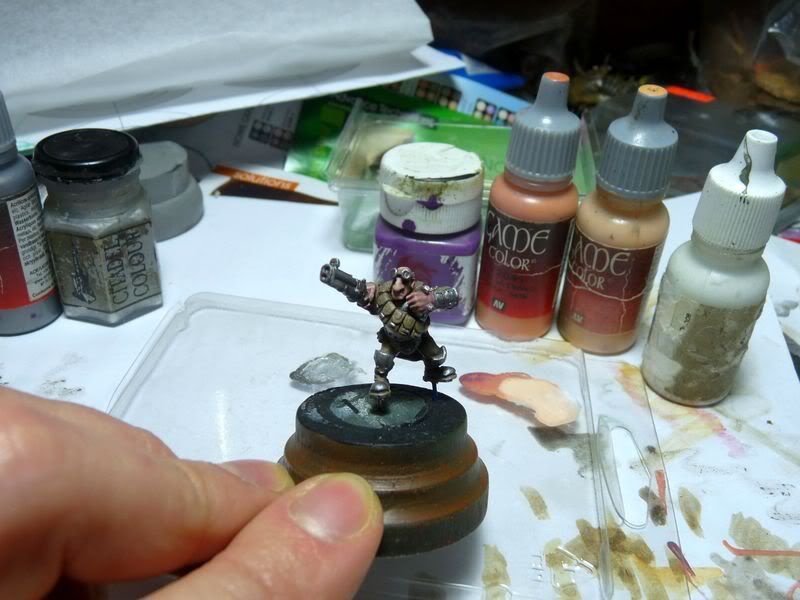 Flesh was shaded using Devlan Mud and Baal Red. The first color makes nice shading while the second one gives warm and "alive" hue. Again I didn't use paint straight from the pot (although in case of these washes it souldn't be a problem) but used several diluted layers - bit more work but results are definitely worthy the effort.
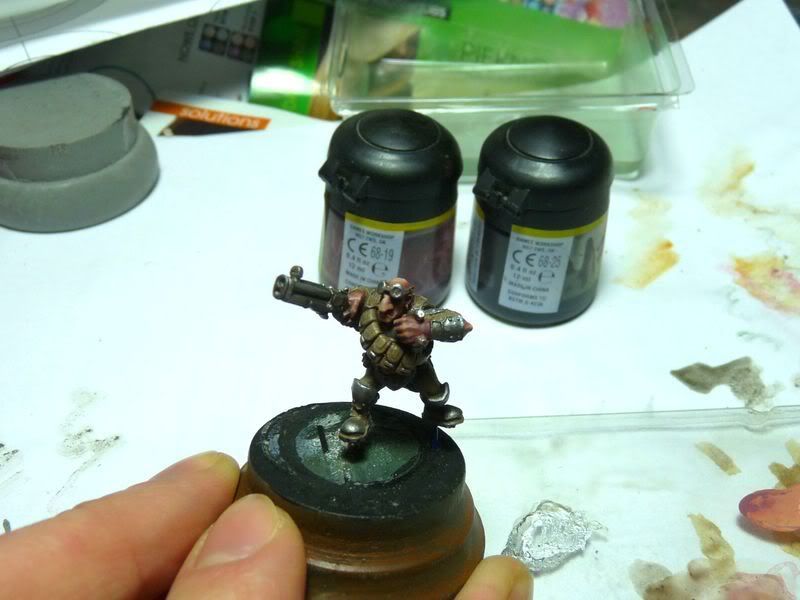 Dwarf's "shoes" were painted using Aged Bone to make contrast with ground it will be standing on. I also painted googles: Night Blue, Enchanted Blue and Skull White for light reflections.

 Leather belts were painted using dark brown from Vallejo range (there's no name on it anymore but I think it's Earthy Brown) highlighted by the brown + Dwarf Flesh.
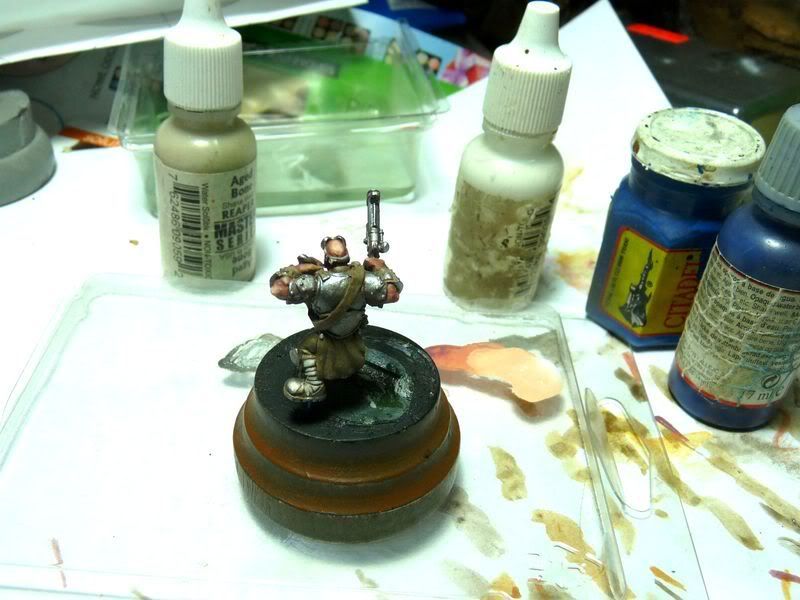
 More shading: the model is nearly done so I applied some deeper shadows using Devlan Mud, Night Blue and dark brown. 5 minutes after painting was done model has been glued onto the plinth.
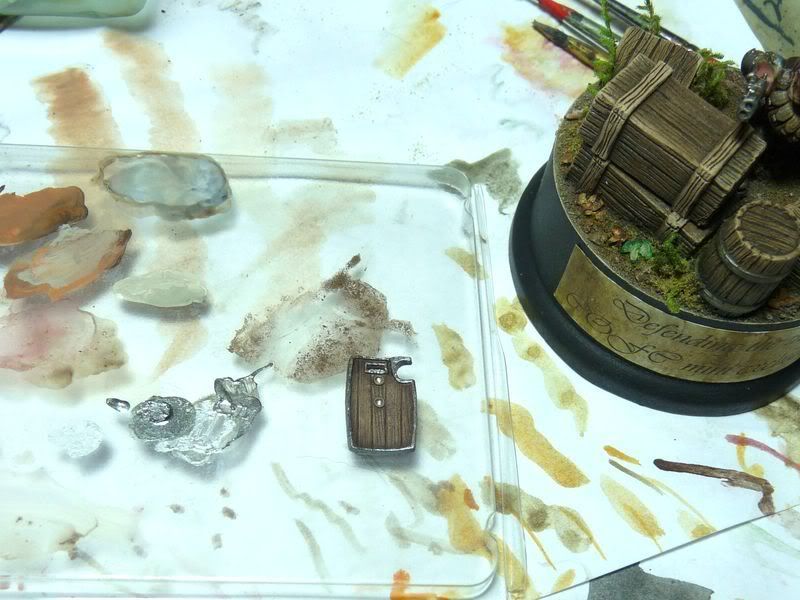
 The shield was painted using exactly the same colors as I used for the model to make all elements unified. Inner side was drybrushed - this technique exposes wood structure really fine and fast.
 Shield was glued to the model and to the crate. The piece is nearly done - I added some more shading and highlights and corrected flaws I managed to spot, made sure leaves on the ground are sticked properly and varnished the model.
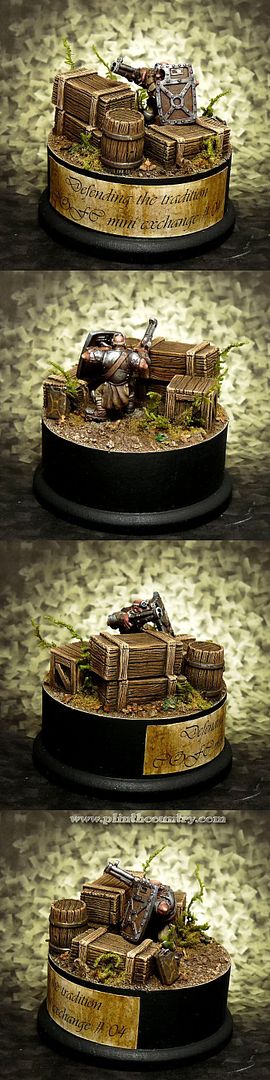
 As I mentioned photos taken during painting are hellish crappy - below you can see exactly the samemodel photographed in fine conditions, proper light and in front of printer background. The difference in quality is just straiking.
Hope you like it and I also deeply hope the next article will be provided with better quality photos.

 And the big picture. Thanks for time spent reading - hope you found it enjoyable and at least a bit useful!
Demi
No comments:
Post a Comment