
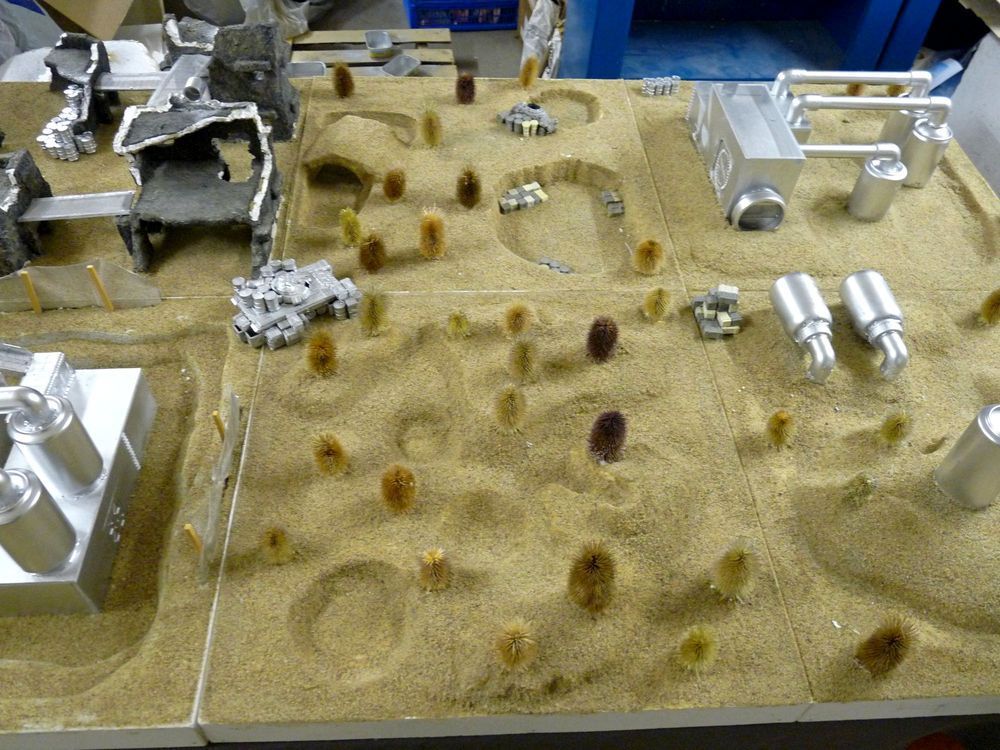
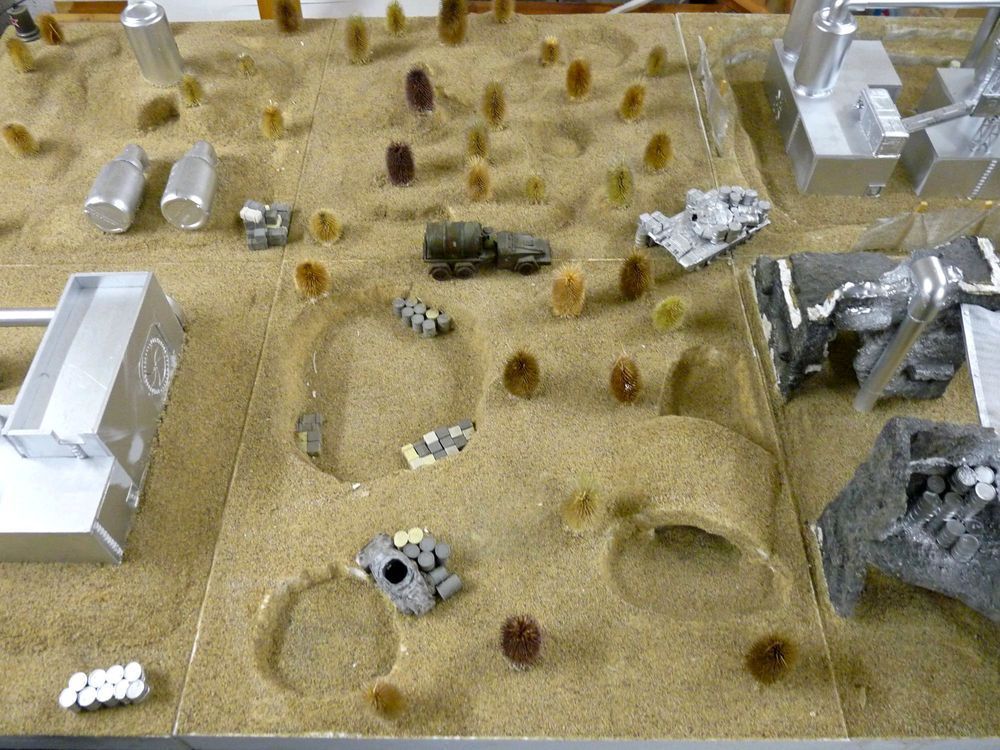
It's been a while since I managed to prepare something worthy publishing but sadly when life issues strike - there's no other way than face them. Fortunately I had a short break from the life recently during which I managed to slap paint over some minis, play some Necromunda matches and of course: write this short walkthrough. The first question about the project should be: what for? After ~15 years in the miniature wargaming I realised that although fancy studio pictures of miniatures are very nice what REALLY makes me want to get some new toys is watching the precious models in the action. Nicely painted models placed on nicely prepared battlefield is something just stunning. I still can see beautiful Warhammer Fantasy armies from the battle book and Warzone corporations from Mutant Chronicles zine. Therefore last year I started building modular gaming board worthy our miniatures (and Necromunda campaign of course) but because my hobby time is limited and the table is rather big (work in progress aerial pic below) the decision was made to prepare small piece of terrain and paint it the way I want to see the battlefield one day. I was bored using printed backgrounds for taking photos so this small display piece should fix my problem.
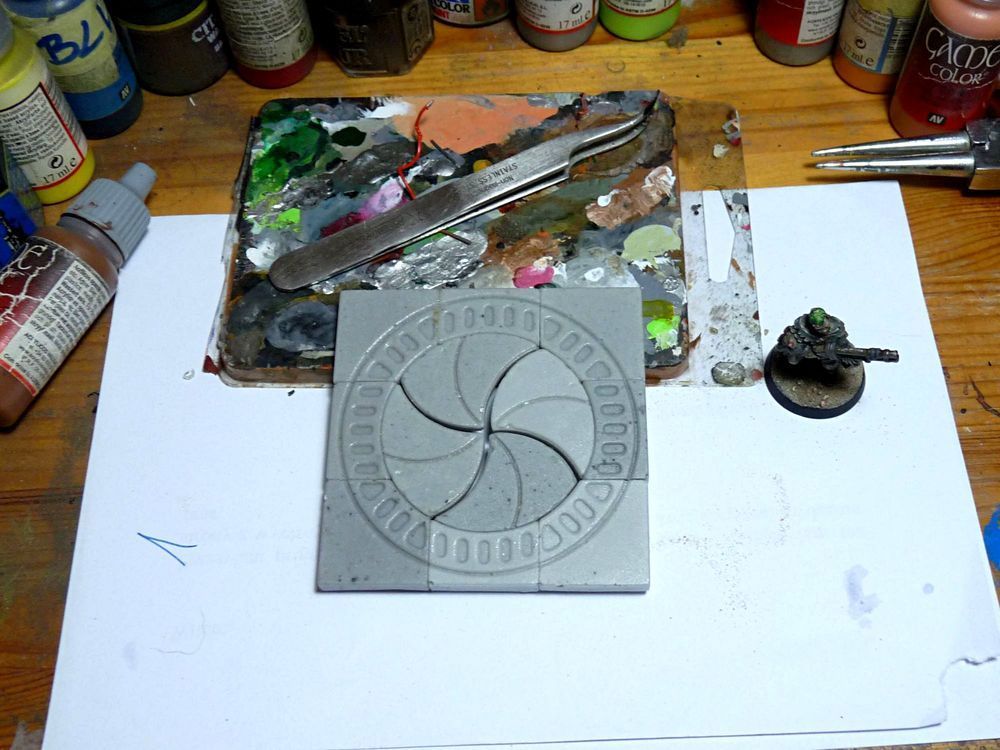
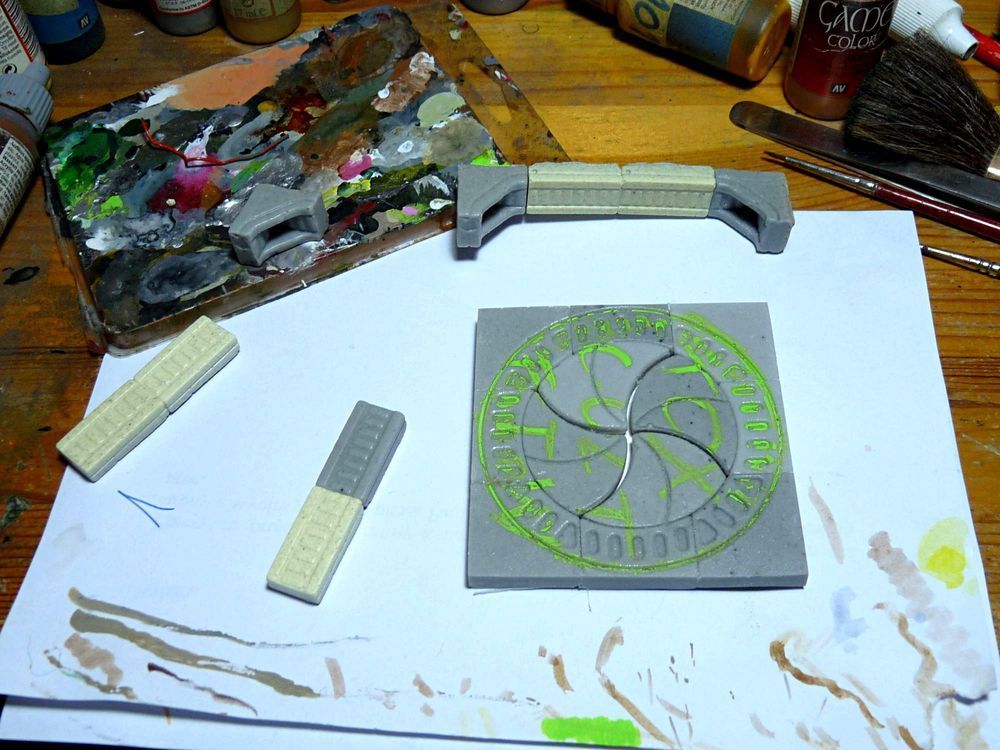
So as for the preparations: the base was planned big enough for about dozen miniatures. I grabbed thick pcv sheet and cut ~5" x 11" sheet. As for the back wall - it's height was determined by size of the gate (about 4") and spare space in my glass case. The gate was casted using Hirst Arts molds - instead of recommended clay I used resin with solid amount of filler. This stuff makes casts "crunchy" and much more fragile (bad idea for mass production) but also easier to work with when it comes do sandpapering or drilling. Of course using clay will also work - just there'll be a bit more mess on the hobby station.

And here's the assembled gate. All the edges were treated with sandpaper so it's easier to install into the frame.
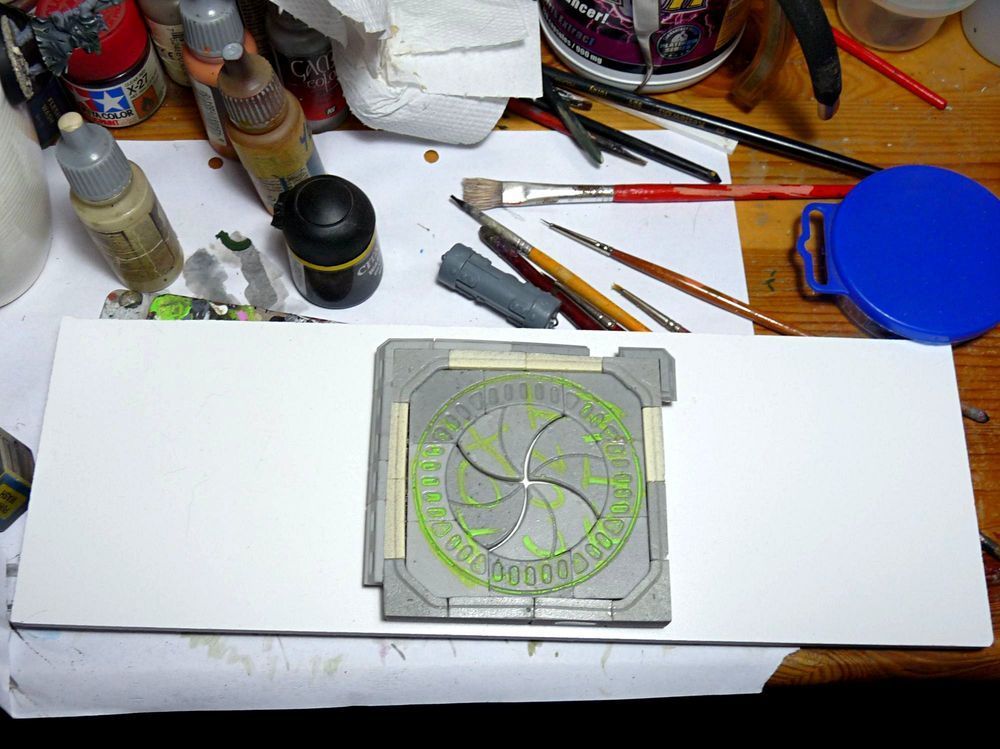
Once again I used molds to cast the frame - not much more to write about here. The green slime is test of colors I was going to use for tox bombs - never let Scavvy boss out into the combat zone without supply of this nastiness!
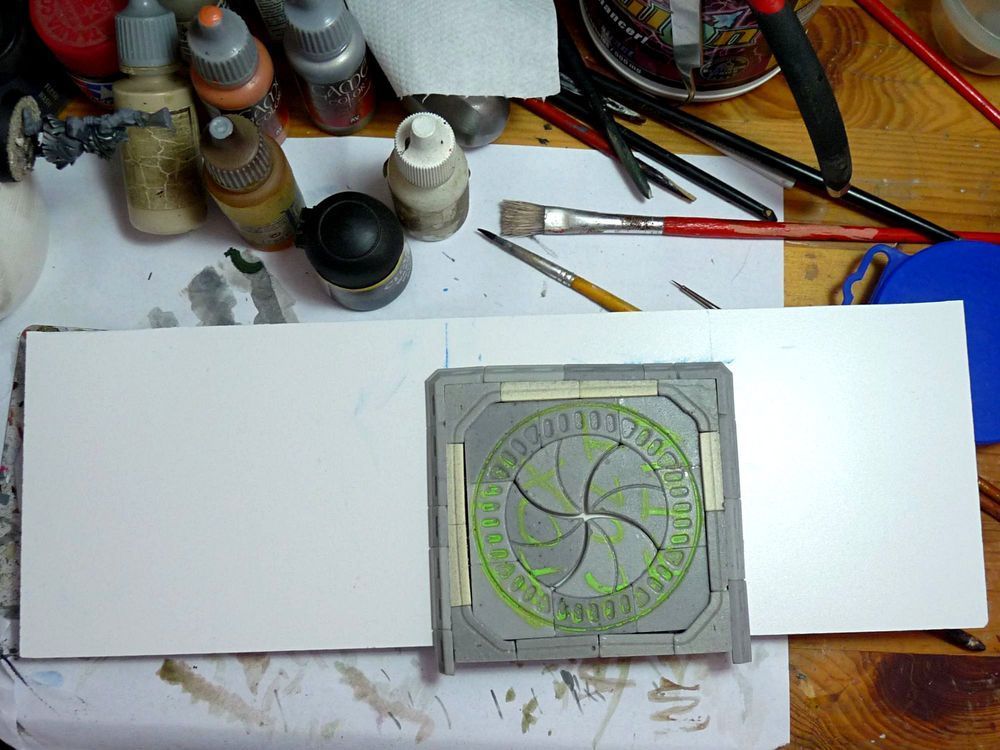
And here's the gate confronted with the back wall. As you can see there's another frame around the gate. If I remember correctly all these cool parts can be found in the single sci - fi mold.
The entrance is done and inserted into the hole cut in the wall. The excessive bottom will be cut off and smoothed so it can be pinned and attached to the base.
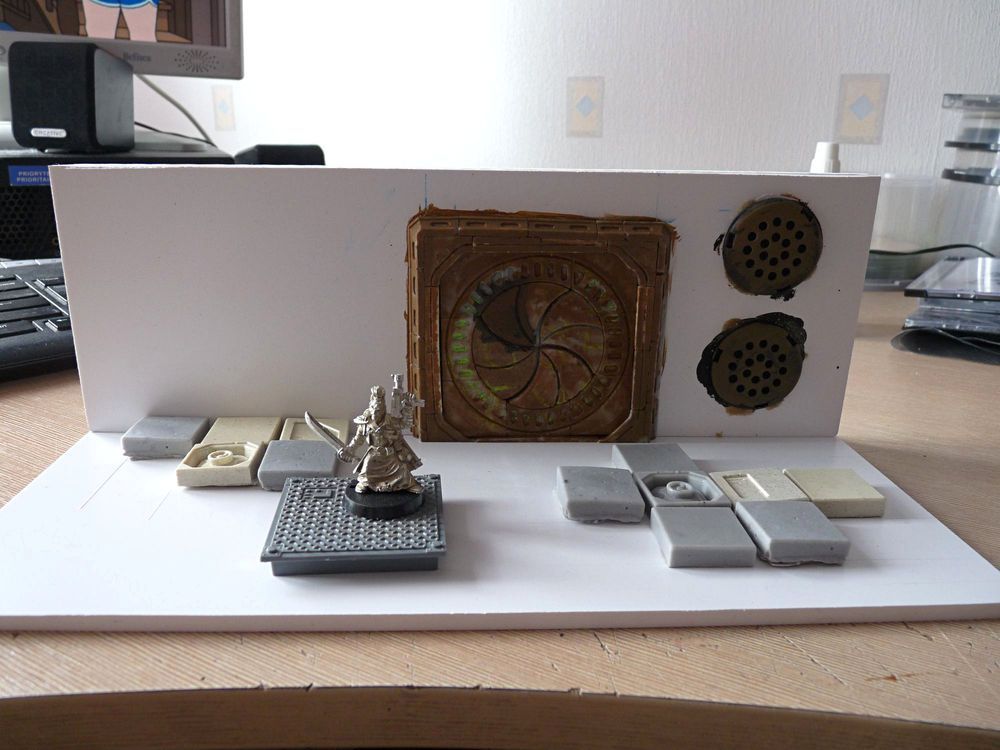
And here's the general idea of some bits to be added: some floor tiles and some vents (made of headphones broken by one of my cats - thanks a lot Cruiser, you bastard...)
More bits! The tiles have been placed into the prepared holes (don't worry: wallpaper knife deals very easy with pcv sheet, almost as easy as blessed chainswod with heretic's throat) and also some windows were added. To make the job as easy as possible I simply cut long rectangle shaped hole, covered it with thin pcv frame simulating windows (2mm pcv can be cut with scissors) and added some nails so I can paint rust around them in later stage. Bright rust should work as nice eye catcher especially on dark metalics.
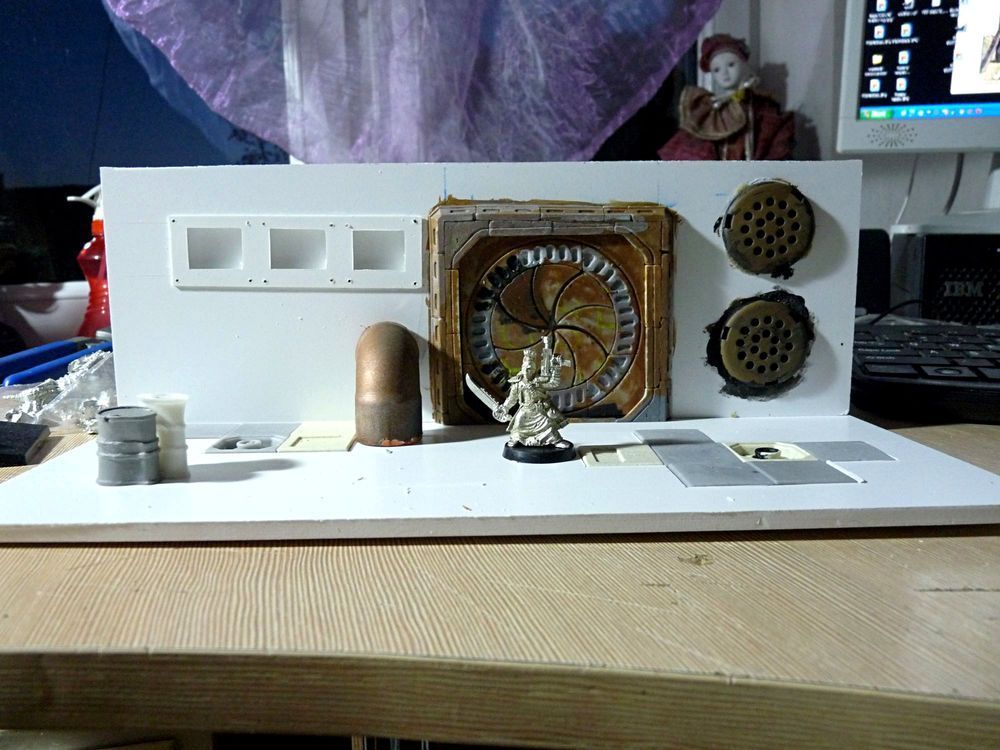
Another step was adding mesh into the windows - I really like such additions especially it looks really decent even if only slightly drybrushed and hit with some brown washes. The mesh was pain in the ass to work with and I had to use special shears to get desired shape. Hobby clippers definitely weren't enough.

Some more bits added to the junkyard. Also I attached another sheet of pcv to the back so you cannot see through the windows. Some metalics were painted as well (boltgun + black) - do it as fast and easy as you can, it's just terrain piece so doesn't need as much attention as models.
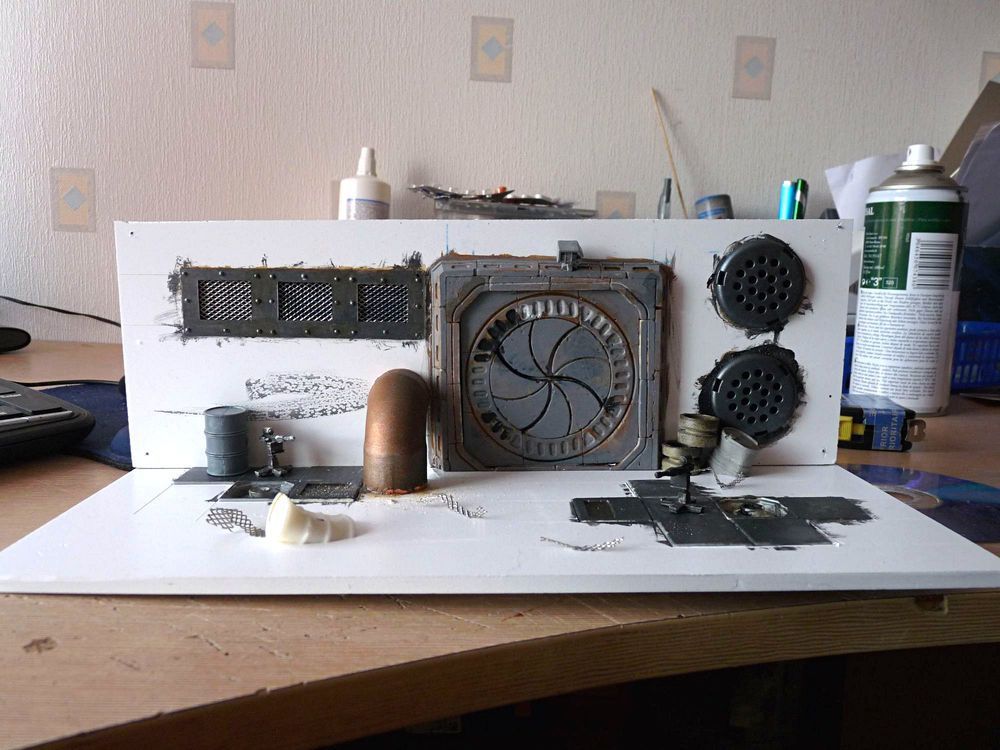
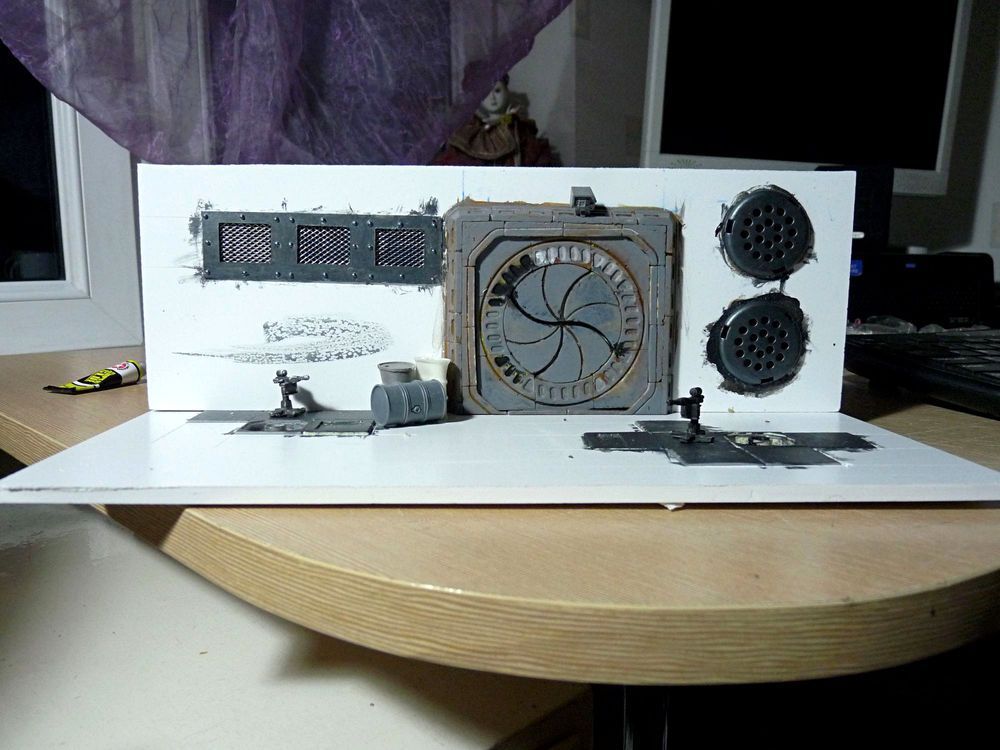 And more bits - this time it's the final re-arranging.
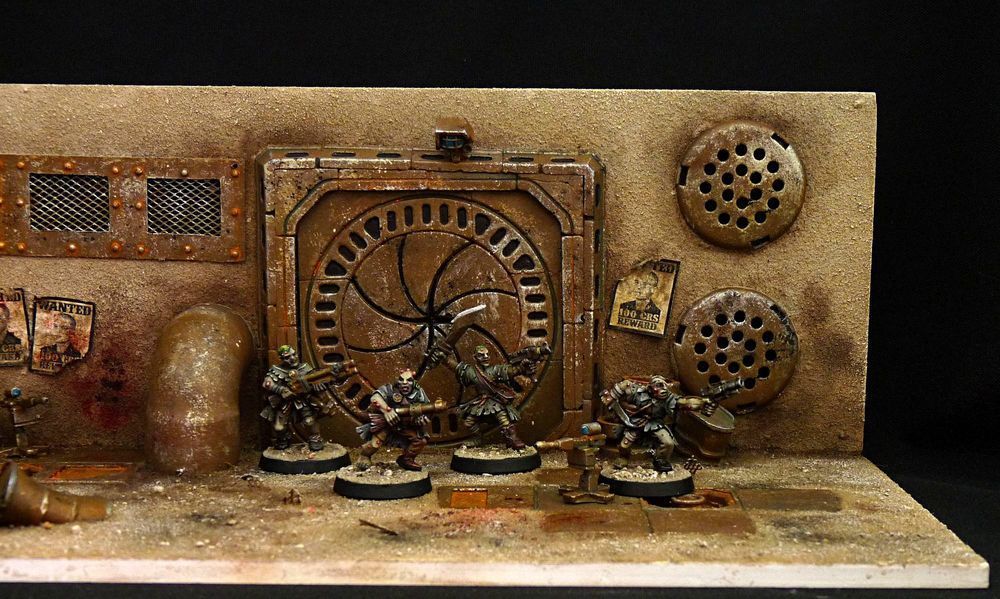
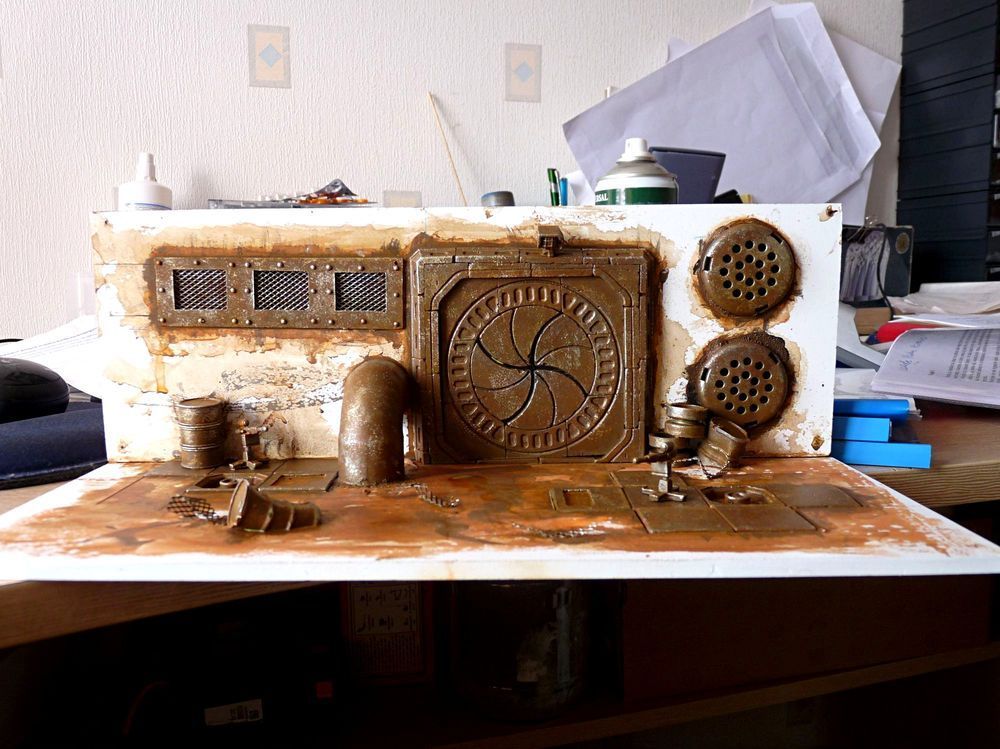
Rusting!!! I meant painting... Like I wrote the piece was made to fit the battlefield concept: the gaming board is desert area (something inspired by Necromunda ash Wastes) with some ruins and abandoned, corroded installations. This brings my fav way of painting (easy and effective that is): painting sand is almost pure drybrush while with a bit of practice you can paint huge chunks of rust really fast. The natural decision was to start with the rust because I didn't want to see the mess on the sand. After whole metalics were painted I simply glazed them with different colors: browns, sepia, orange. Once the paints dried some chipped paint was added and also some shading. Details will be added later.
The desert: base was covered with white glue (the stuff you use for wood or static grass) and sprinkled with sand and some gravel. I use the same sand and gravel on bases of my gangers so everything fits nicely. As for the colors - once again I decided to make my life as easy as possible. Sand was glazed with some heavily diluted brown / sepia just to give it some hue and enchance shadows. After that there was a bleached bone / white drybrush and some chalks for the final. I sprayed varnish over the base to attach chalk to the base. Turps also works fine but it's pretty stinky and flammable so be careful with that stuff!
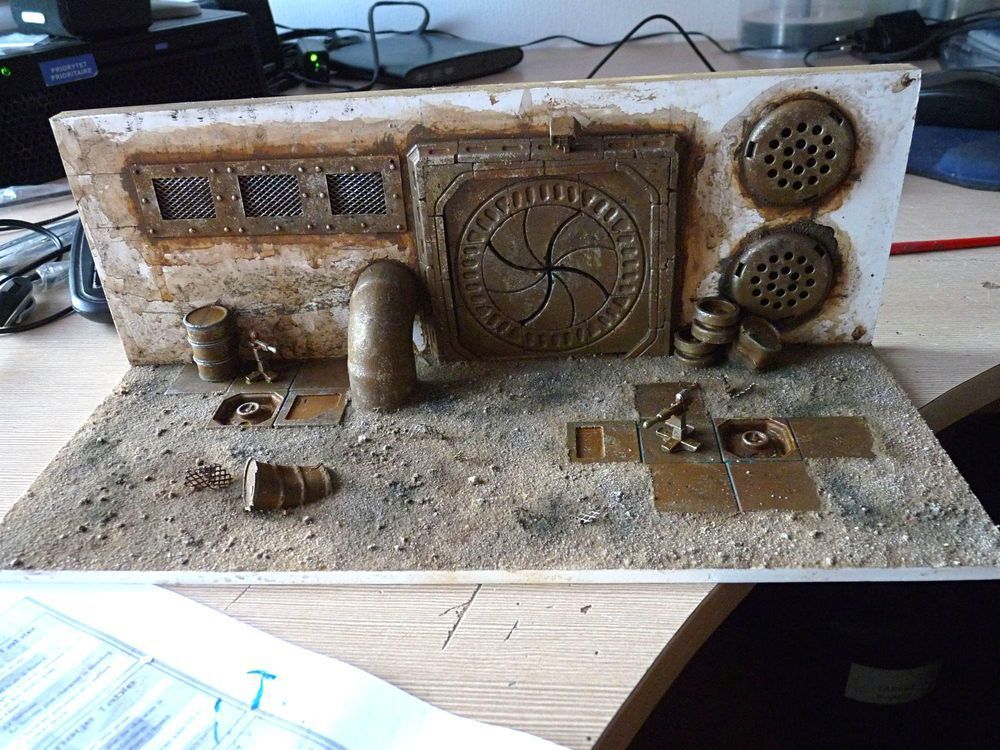
The material I used to cover the back wall was the filler - which I used for casting. It's sth like very fine sand. I didn't use the same sand as for the base because I wanted to achieve different texture: more like concrete than sand or rock. Again: layer of white glue, layer of filler and voila!
Painting wall was similar to painting base: glaze, drybrush and pigments. Also color choice was similar to keep whole thing coherent.

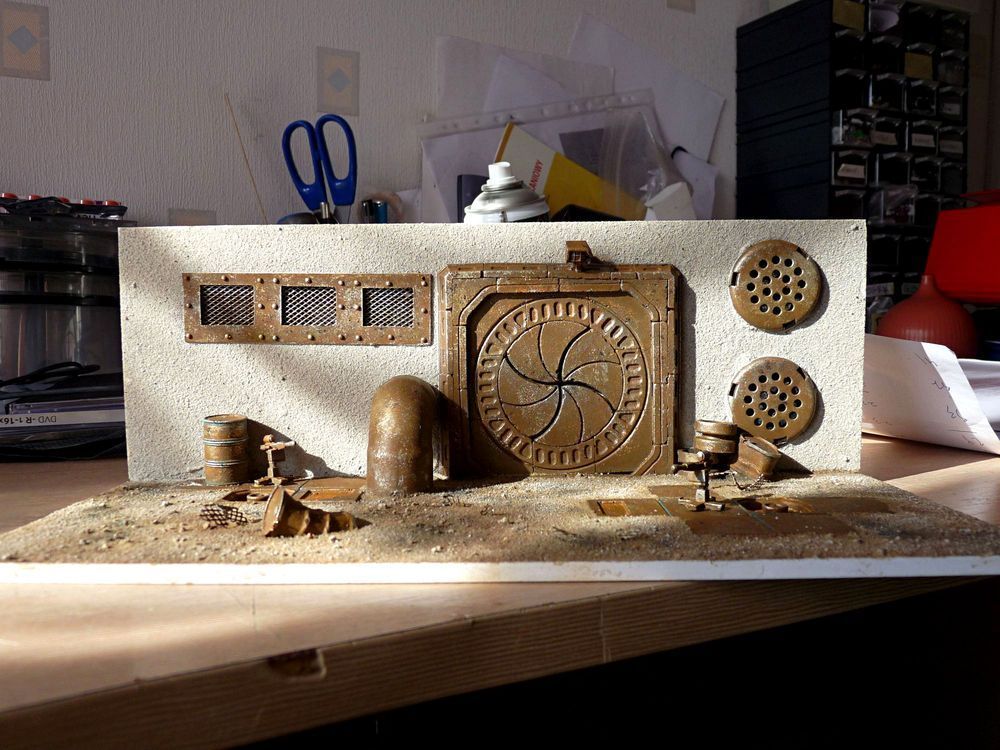
Some scale shot - still work in progress...
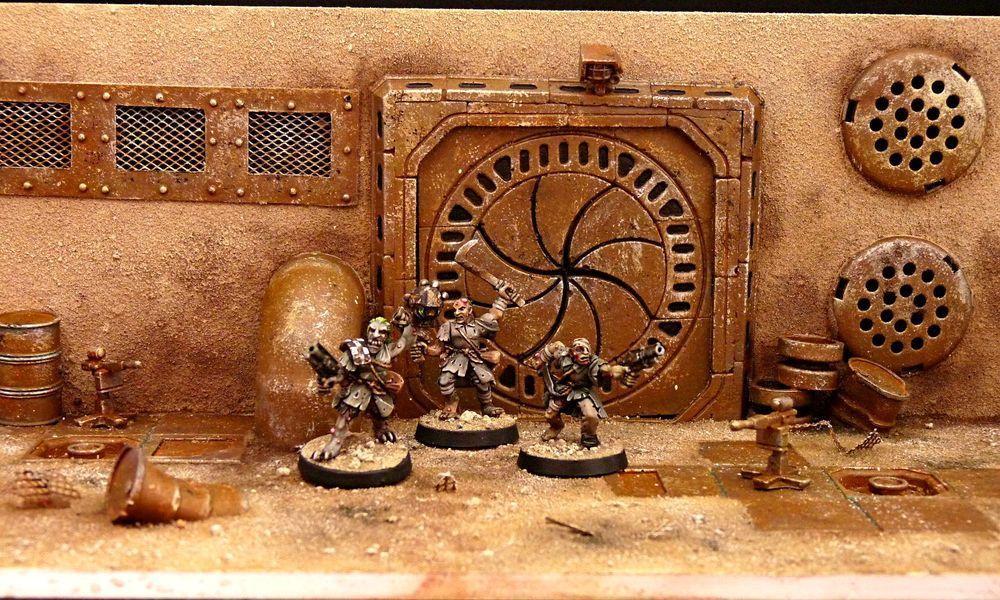
And the final: pcv edges were painted black, some more details added: turrets lenses, rust here and there, arch-villain posters, oil leaking from the barrels, blood splats. It's a prece of battlefield, not some sort of Xmas tree so try not to get carried away. I must say I am really satisfied how the thing came out - I used similar colors on the Scavvies so these nasty bastards fit the base just fine. And if I ever get bored but this scenery I will just paint some oldie sci fi models (like Cartel agents from good ol' Warzone), pin them into the base and put in the proper shelf in the display case.

Hope you like it. For more of my stuff - just visit www.demimorgana.blogspot.com or wait pariently for another text to be spawned. Cheers!


No comments:
Post a Comment