
Hello again!
I am quite surprised new material has been prepared so fast after, just releasing previous tutorial - I hope this will become a good sign for posting more articles than in 2010.
Anyway the pictures have been taken, cropped and resized a month ago so the time has come for adding some text.
At this point I would also like to thank readers and clients (and of course my bro ) for all the suppoprt I am getting: you make running the site is possible so as long as plinths are sold - new articles will be spawned: hopefully more than in 2010 ;-)
Some time ago I spotted the discussion on PP boards about painting units: how can you do it to make miniatures look decent fast and easy? Painting models one by one or maybe building painting line? During time spent in hobby I painted many units for gaming and as commission jobs so here is my reply to that discussion.
You will notice I took pics of models on the painting station and also using white background - hopefully this makes the article much more clear. Please remember what I present is only my way of getting squad of zombies painted: don't be afraid of adding other colors to the the list of stuff I use to make miniatures fit rest of your army and your painting style.
So I decided to paint bile thralls for my Cryx army - I got them from my COFC buddy ToMaZ (thanks man!). These models are everything I like in hobby: zombies, cool sculpts, zombies, nasty gaming rules aaaaand: zombies ;-)
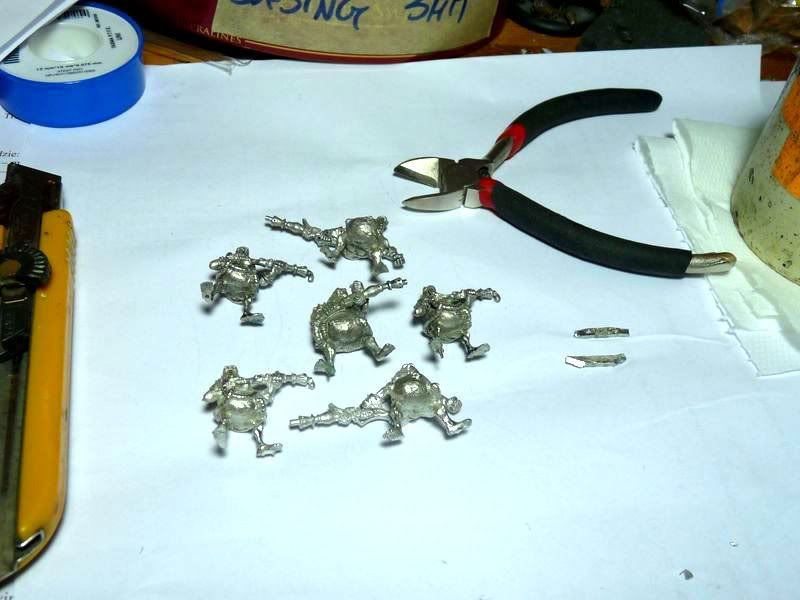
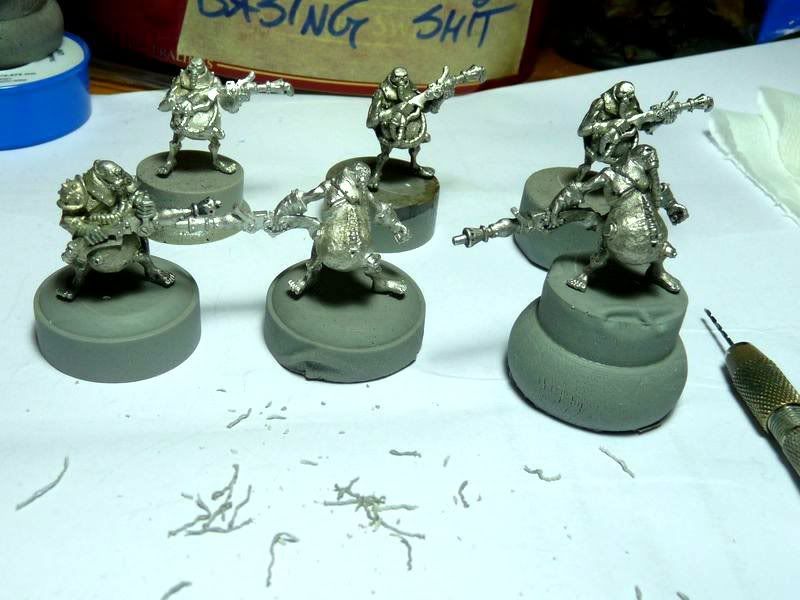
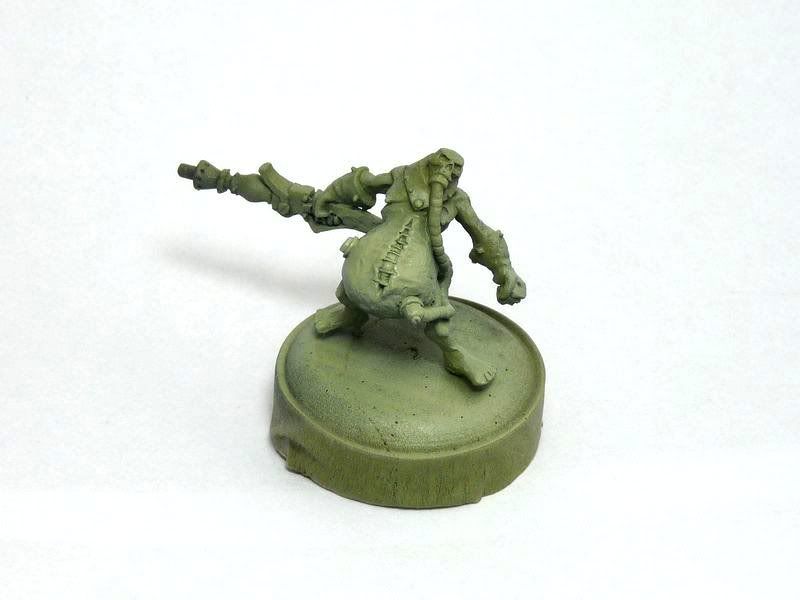
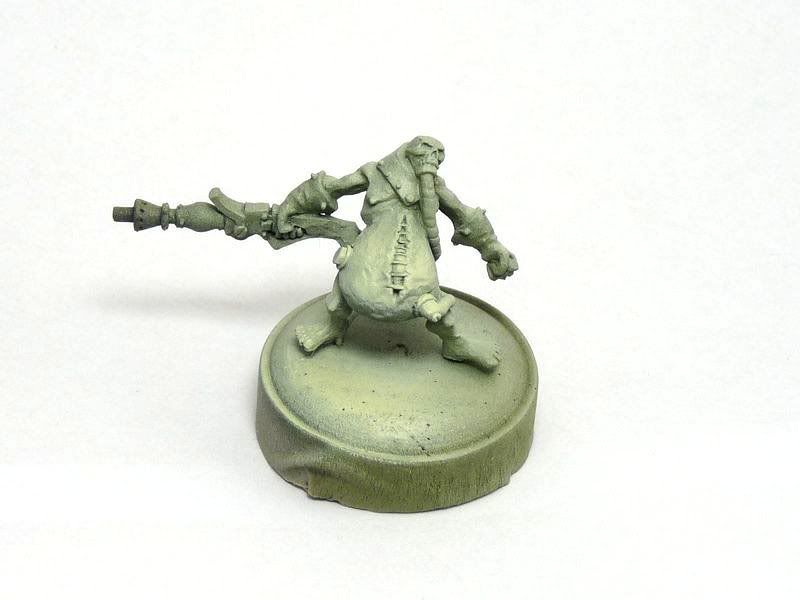
Here is the pics for what I found in the parcel:
 As you can probably see minis are nearly ready for painting - nearly, because there are still some minor works left do do.
First of all I cut remaining bars under thralls' feet off.
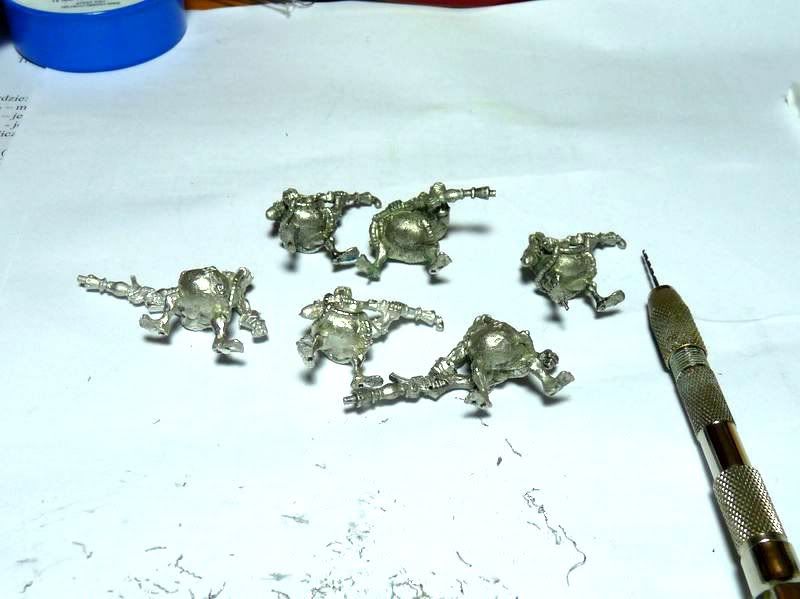
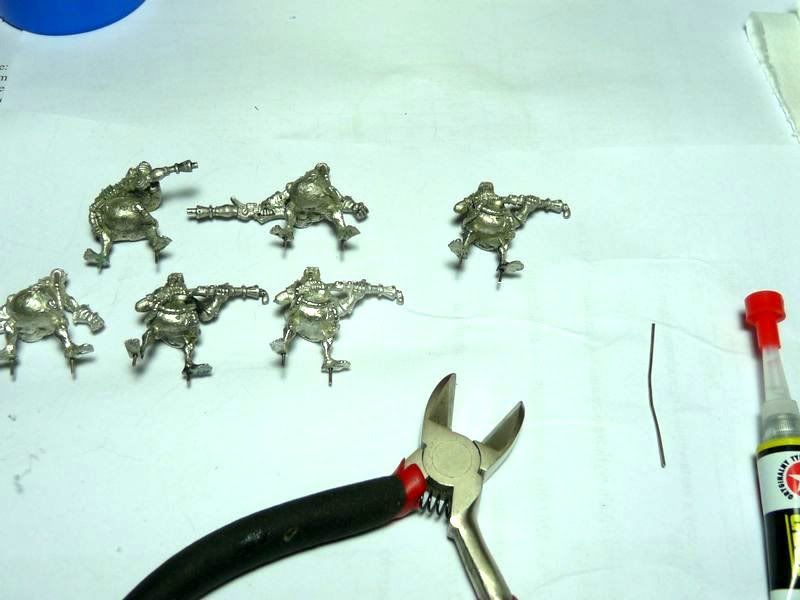
 Another step was pinning. There were some pin-holes made already by ToMaZ but because these will be gaming models I want them stand really fine on the bases so every necro-fattie got 2 pins.
 >
>
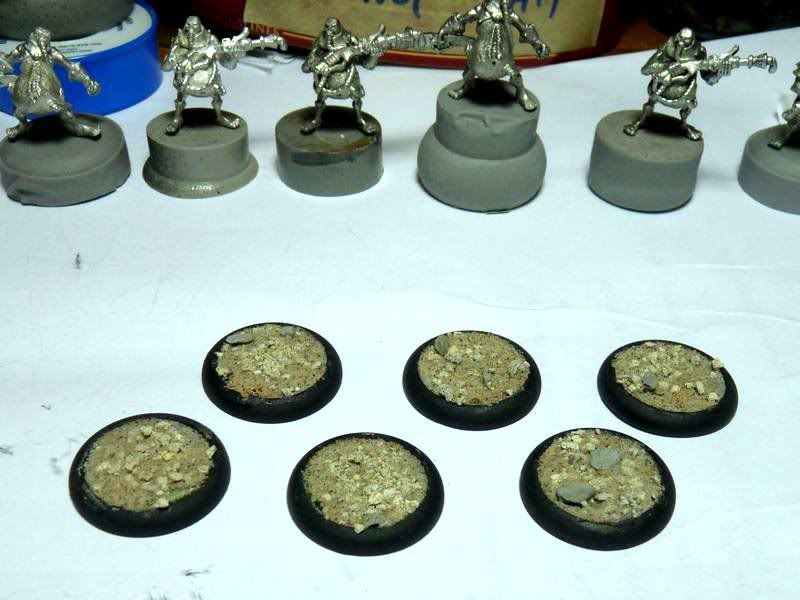
 After superglue dried I grabbed some
Plinth Country small bases
+ some miscasts I found. These will be wip-bases which will make handling models easier during painting process.
After superglue dried I grabbed some
Plinth Country small bases
+ some miscasts I found. These will be wip-bases which will make handling models easier during painting process.
 Before any paint was slapped on biles I decided to paint bases.
As you can see these are the bases I made while working on the entry for Chest of Colors Miniature Exchange , so if you want to read bit more about it - check the previous text.
 Because these figurines are intended to be gaming models I decided to mark front/rear arcs (Warmachine rules requirement which sometimes makes gaming so much easier).
First step was paintning rims black - I painted several solid layers and sealed it with satin varnish.
Another step was marking front / rear arcs. On YoungWolf7's site you can find very cool templates for marking arcs - that's where I took mine from ;-)
Halves of bases were sealed using duck tape...
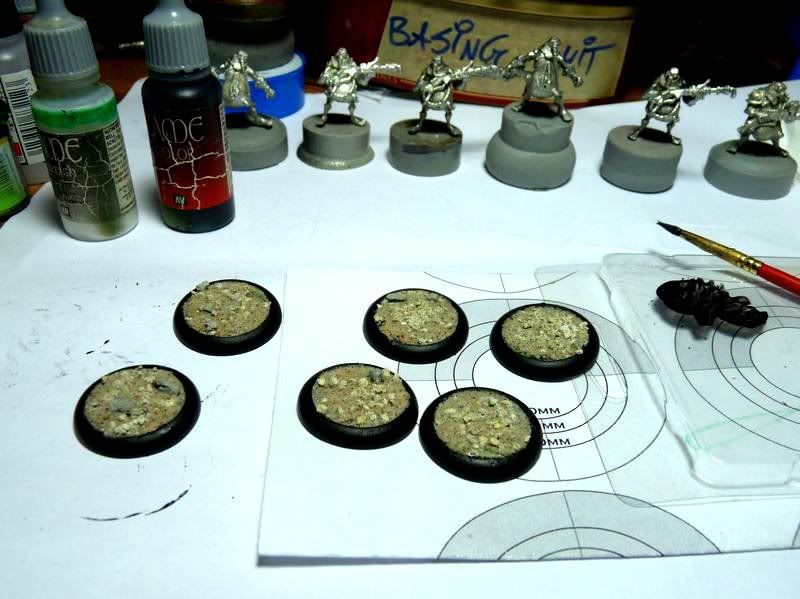
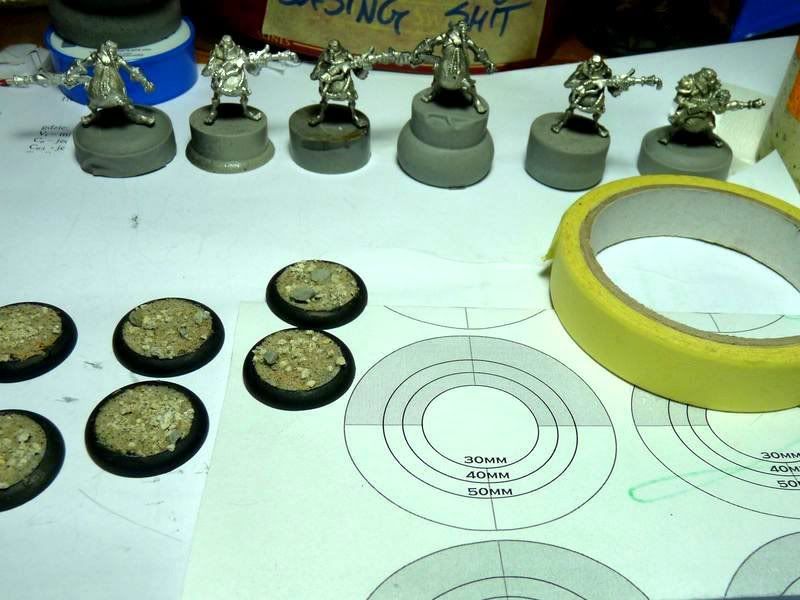
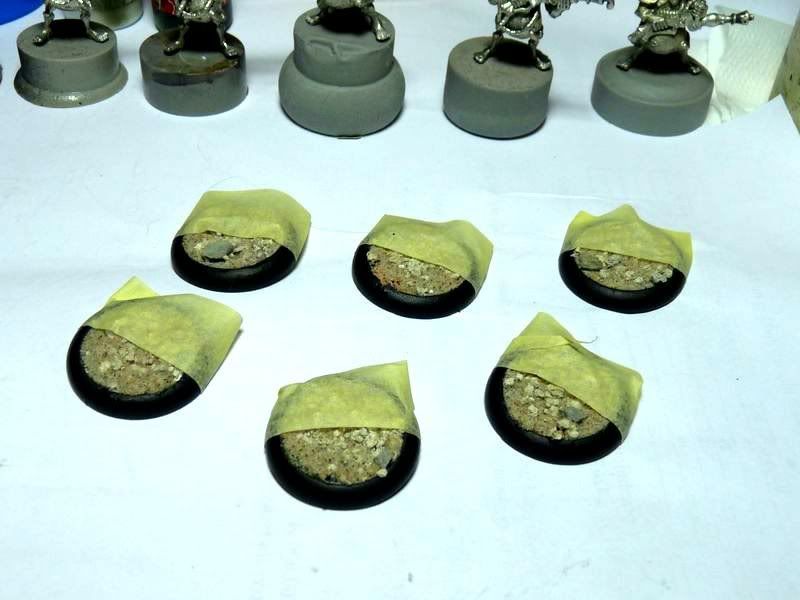 ...and the "unprotected" halves were hit with 2 layers of paint: Cam. Black Green followed by Cam. Green. I used airbrush to finish work faster and to get smooth layer.
If you decide to use airbrush be careful not to spray paint over the bases, but only on the rims.
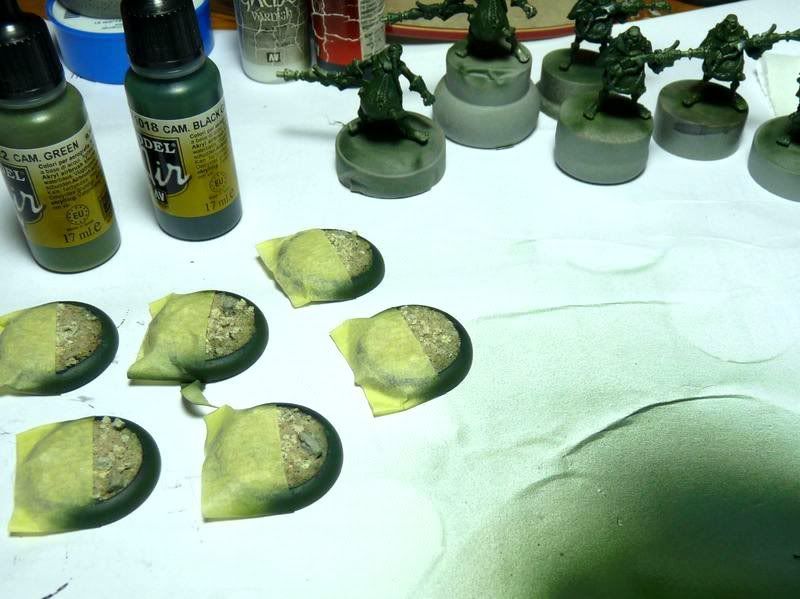 The tape can now be removed. I realised I placed it on bases a bit too early because some black paing came off the rims under the tape.
Tip for you: give the paint some time to dry really well before applying masking tape - it might save you some unnecessary work in the future.
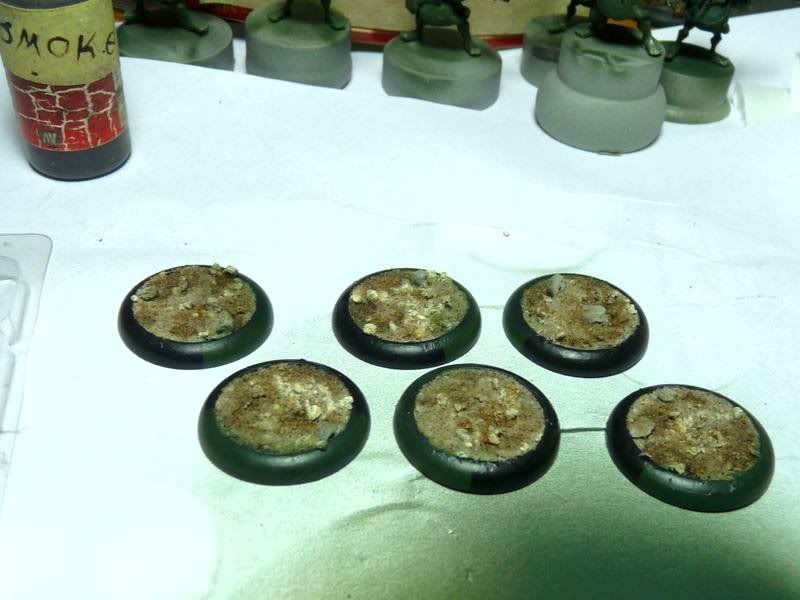
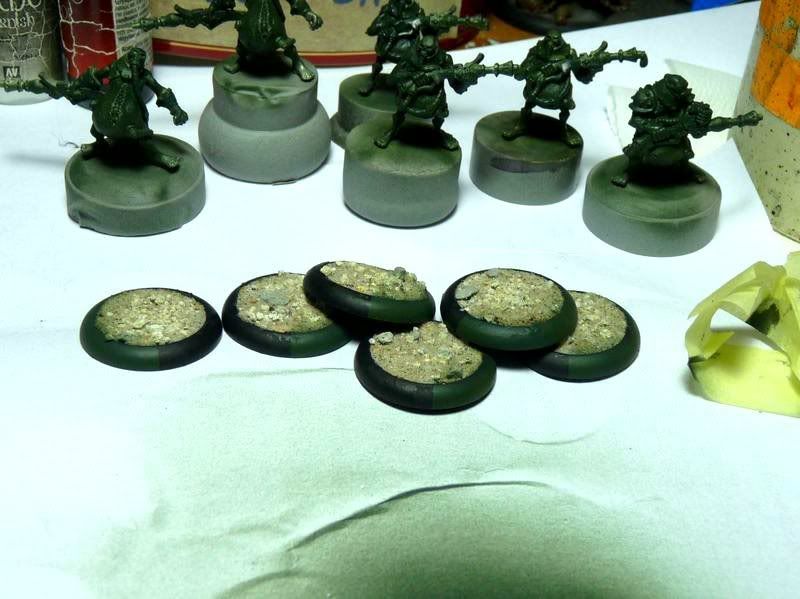 Rims are dry and varnished so I started painting bases with Devlan Mud. I watered it down and painted some shadows between rocks.
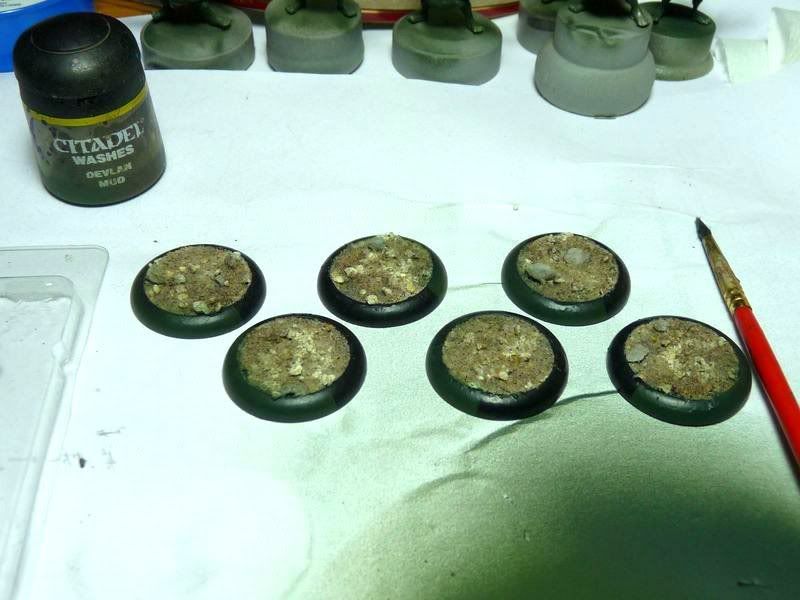 Shadows have now been enchanted with some diluted Smoke.
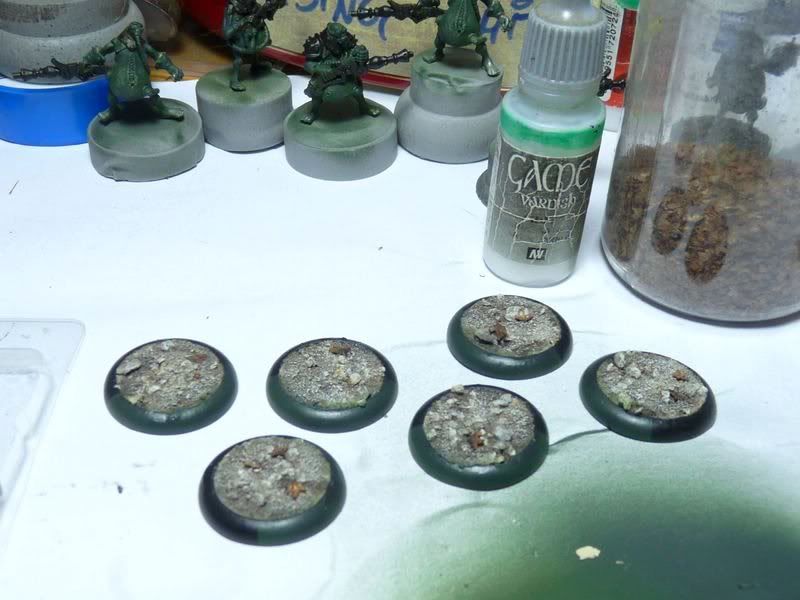
 Washes are dry so I applied the first layer of drybrush on the bases. I used Cloudy Grey + Bleached Bone. Such mix is bit warmer than just pure grey tone.
 Another drybrush was made using Bleached Bone + Skull White. I didn't want the bases be highlighted too much - too striking highlight doesn't look natural for my taste. On the other hand such bases would be visible much better on the gaming table. All in all it's up to you what is the final color you want to get.
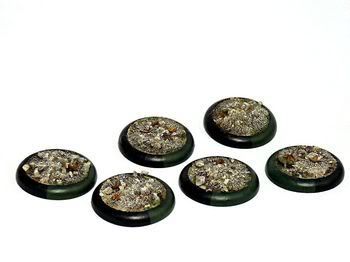
 Some leaves were attached with PVA glue. It also makes bases look much better. After glue dried leaves were hit with varnish which should make the bond stronger - remember the models will be used for gaming and I really hope for many games this year ;-)
 The final step was applying some powdered chalk to get some more smooth shadows and to give them slightly dusty look.
Bases were varnished once again so I can focus on painting thralls.
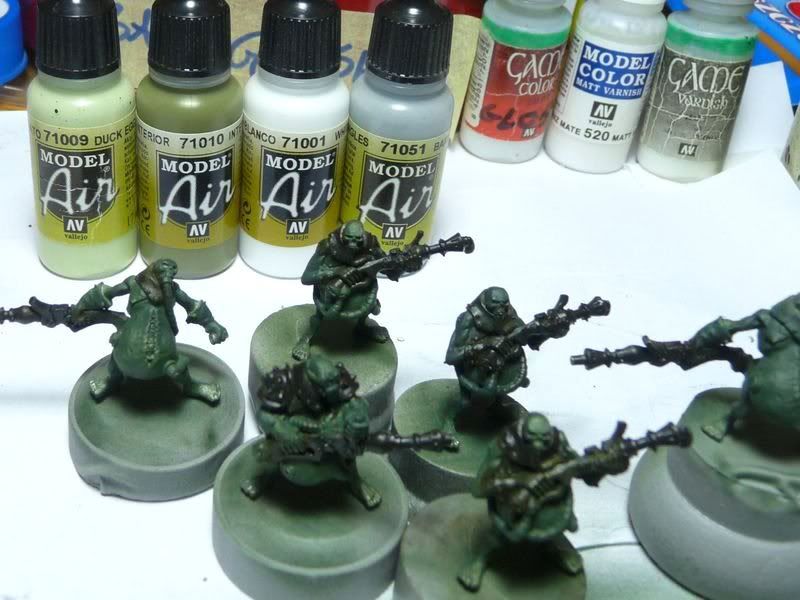
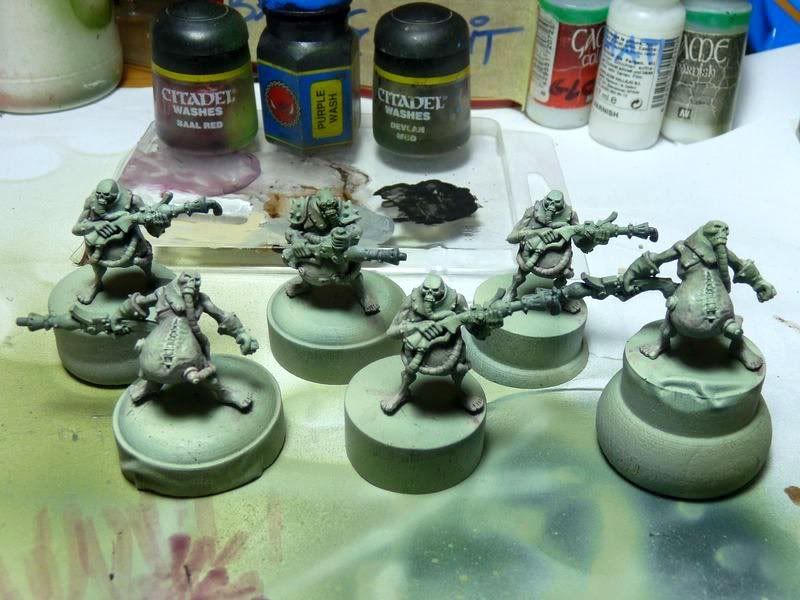
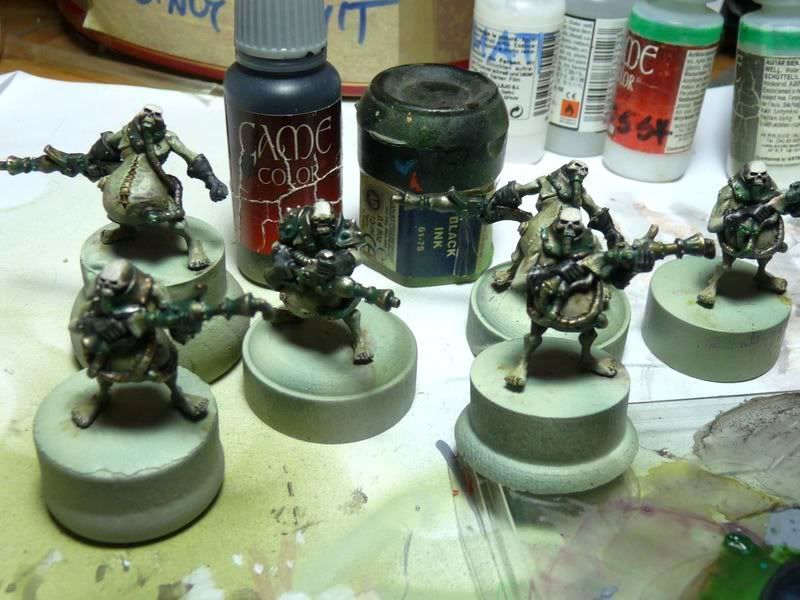
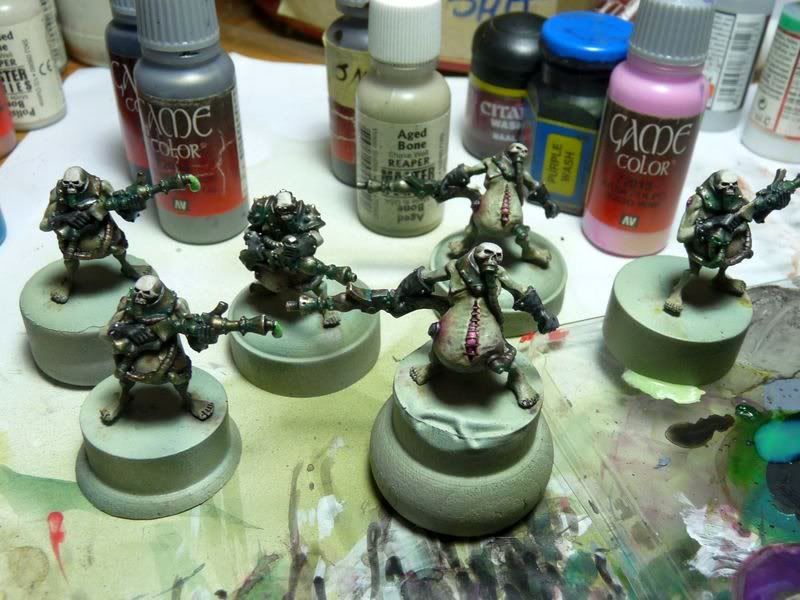
 As you can see the models are already painted green. I hate wasting things (especially if that means wasting things I paid for) so every time I have some paint left on the palette I try to use it on other model waiting in the queue. The green you can see is just excess of paint left after painting bases' rims green. Also some black left after painting bases was wiped in thralls' guns and panzer-collars.
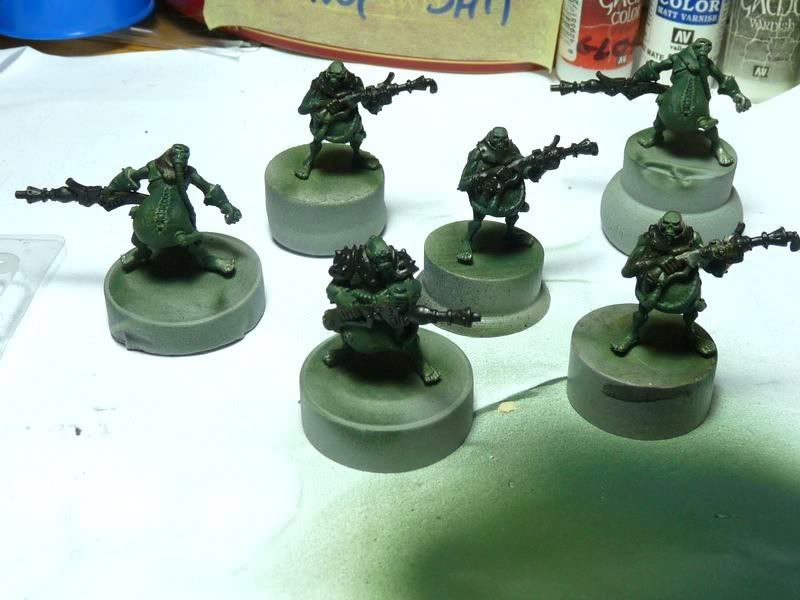 Base colors were painted with airbrush - these are gaming models and I want them painted as fast as I can.
I chose 4 colors for the base: Interior Green, Duck Egg, Barley Grey and White. I want the base color to be pretty bright so I can use washes on it with no problems.
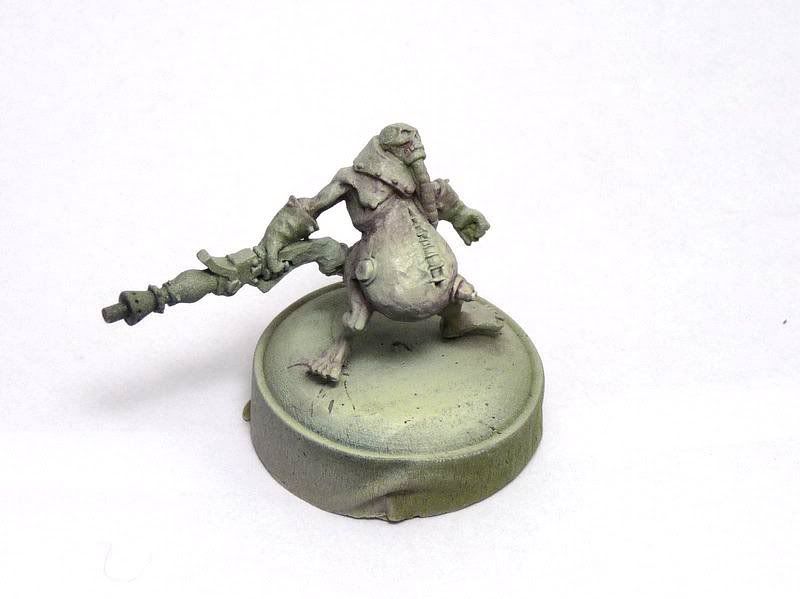
 I mixed Interior Green with Barley Grey in ration 7:3 and applied the first coat on all models.
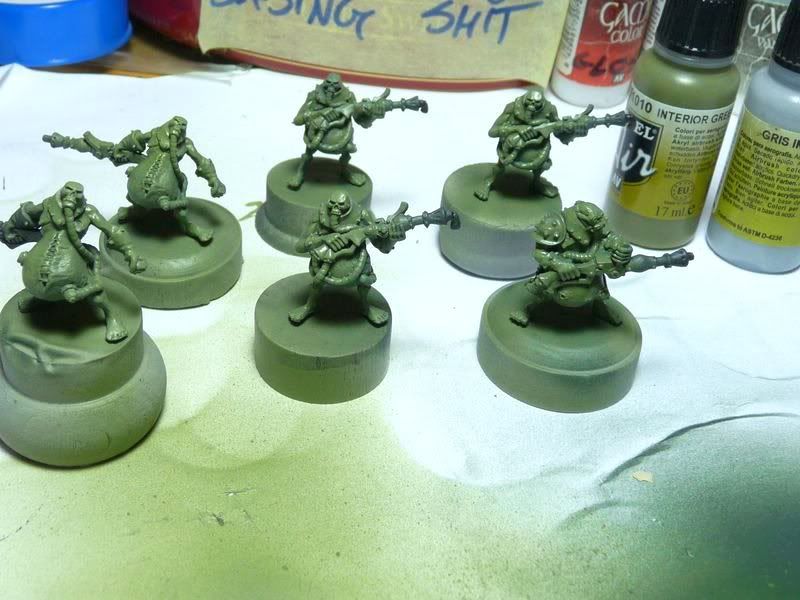
 Models were highlighted using Duck Egg + Barley Grey. I also decided to add a drop of Interior Green to make the paint coherent with already sprayed paint.
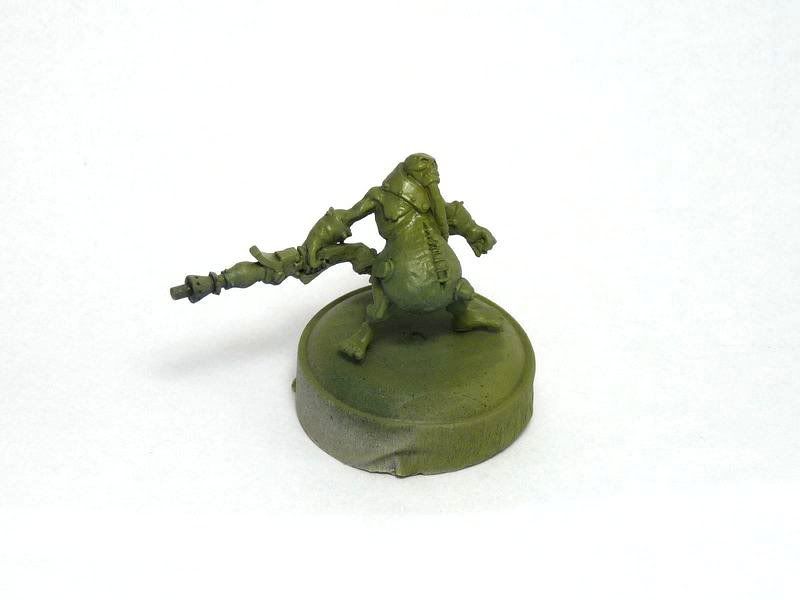
 The final highlights were painted using Duck Egg + Skull White. When the job is done give the models some time to dry because diluted paints (the next step) can very easily wash off thin layer of sprayed base coat.

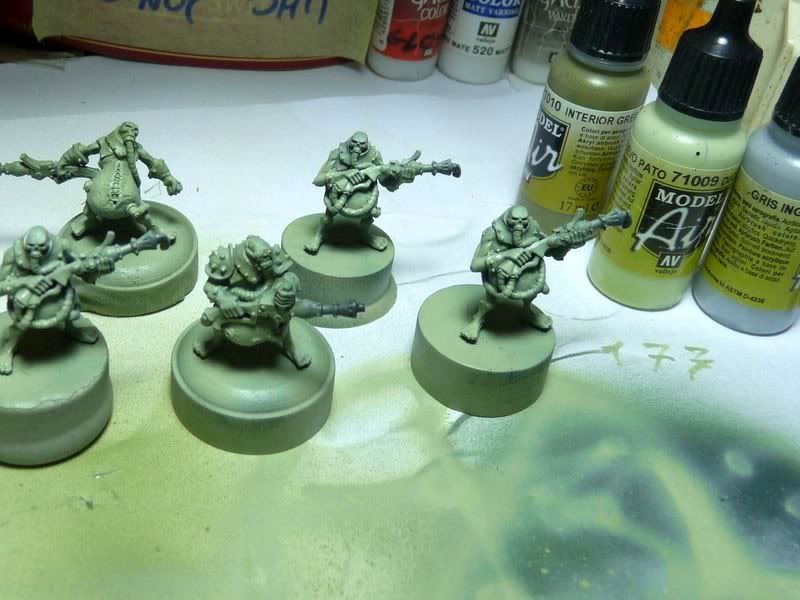
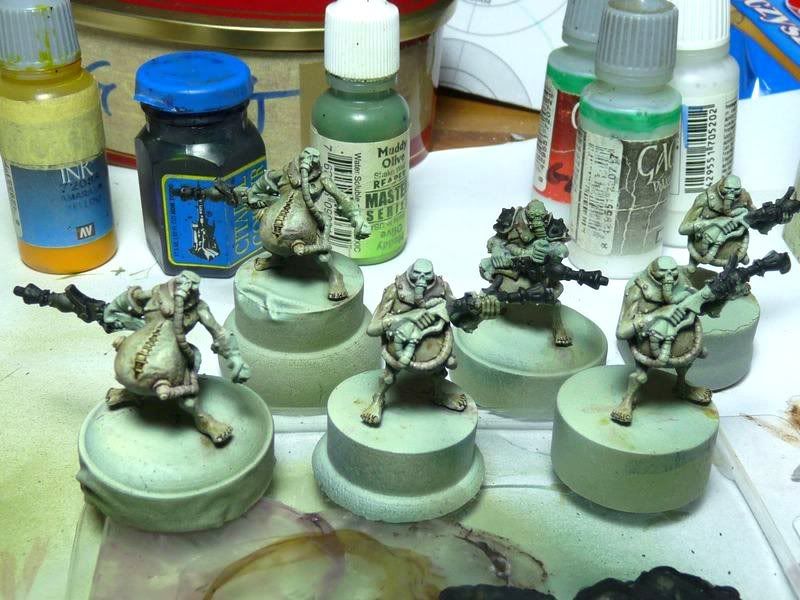
 What I love when it comes to painting zombies is variety colors you can use: bodies decomposing in different conditions can have very different and disguisting tones. What you see below is just one of many ways for painting deaders but I like it, tested it many times so I can share.
I chose Baal Red, Devlan Mud and Purple Wash. I glazed models with very diluted Red - two or three layers should give smooth transitions and nice red hue. After that Purple was added to make shades bit darker and finally - Devlan Mud to make them even stronger.
Working on several models at once is cool because there's big chance paint on the first one is dry before you finish painting the last one, so there's no useless timewasting just watching paint drying.
 I decided to add some details so 60 toe nails were painted. It nice addition to the model and is very wasy to achieve: simply paint black dot on the top of toe and then paint slightly smaller bone or white dot on it so there's black rim around it. If you screw one or two nails - no worries: noboby should pay attention for such a tiny flaw.
I also glazed whole models with sepia although yellow, green or blue would probably also do the job very well. This color gives another hue to the rotting flesh, makes any previous transitions smoother and unities whole model.
 More washes ahead!
Now I decided to give the thralls more "earthy" tone so I mixed some Muddy Olive with Purple Wash and painted this mixture in the shadows and cavities. Remember that colors used are very strong and unless you water them down properly - you can simply overpaint results you've alteady achieved. After that Yellow Ink was applied to highlight model and once again to make transitions smoother.
Besides I think yellowish hue is pretty disguisting when it comes to painting corpses - it gives "waxy" feel... Yuck!
Of course none of "steps" I show you is obligatory - you can modify whole thing so it fits your painting style and the rest of your army the best or to paint two squads a day for the tournament coming fast instead of just one ;-)
 Easy job is done: now it's time for something demanding more attention and something which can be screwed up much easier so pay attention! ;-)
Whole problem with painting metalics is you have to remember some basic rules: use different water for washing brush after using metalics otherwise shiny pigment can mix with other paints on the palette and as consequence - fuck up your further hard work.
Be careful while painting metalics next to already painted parts of models - I somehow find metalics harder to repaint than ordinary paints.
And the last one - be careful with diluting metalic paints. Sure somehow it's necessary but heavily watered down paints are harder to control and water containing pigment can pour and ruin area around surface being painted.
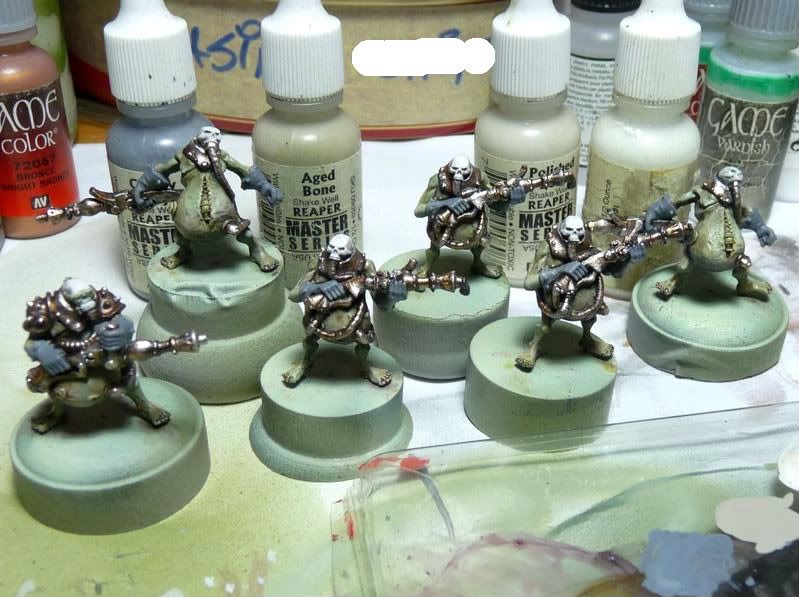
Since you now know all threats - we can start arming the thralls. I wasn't sure which color I want to get in the end so I painted almost all metal elements using Black + Boltgun Metal + Tin Bitz (1+1+1). It's fine base color for most of metalics.

 Metalics were highlighted using pure Tin Bitz...
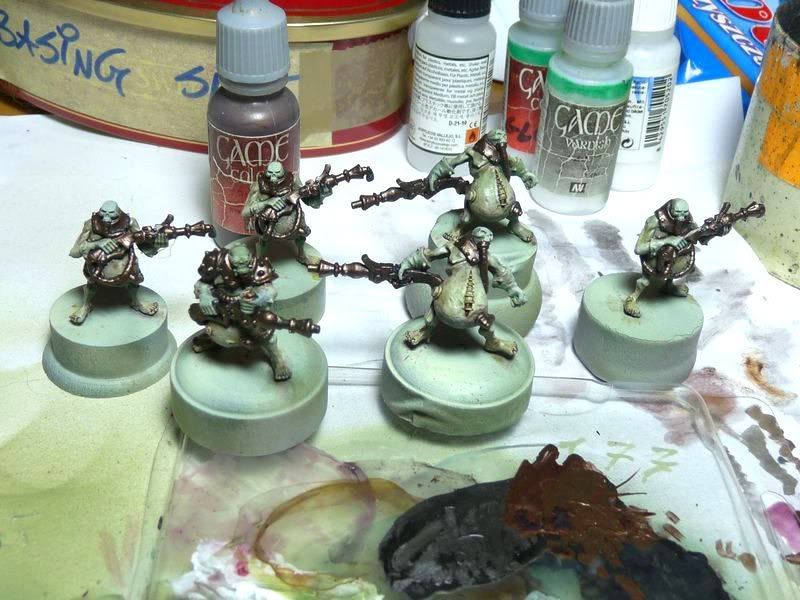
 Another highlight was Bright Bronze - again almost straight from the pot.
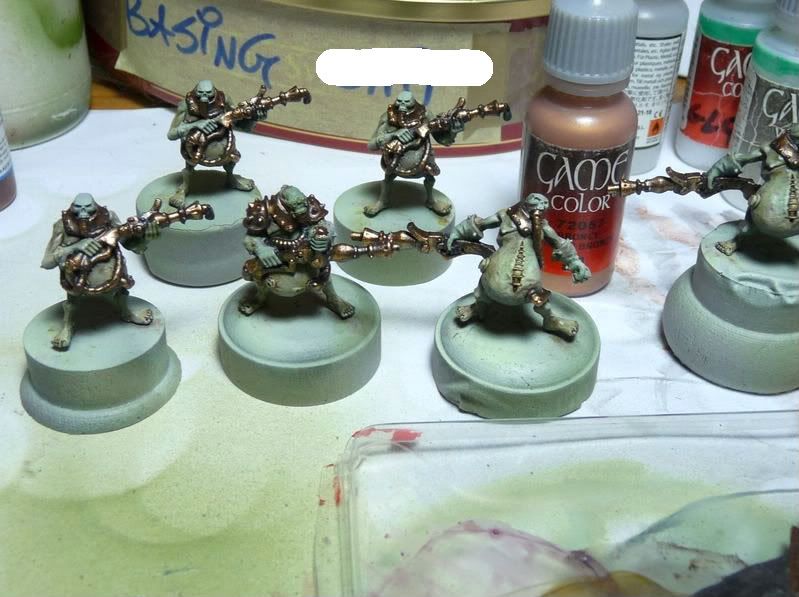
 The final highlight makes metalics "pop out" so you can drop previous step but I suggest you not to miss this one. Metalics were highlighted using Mithril silver. As you can see highlights are nothing spectacular here: they are pretty rough but no worries - we're moving according to the plan.
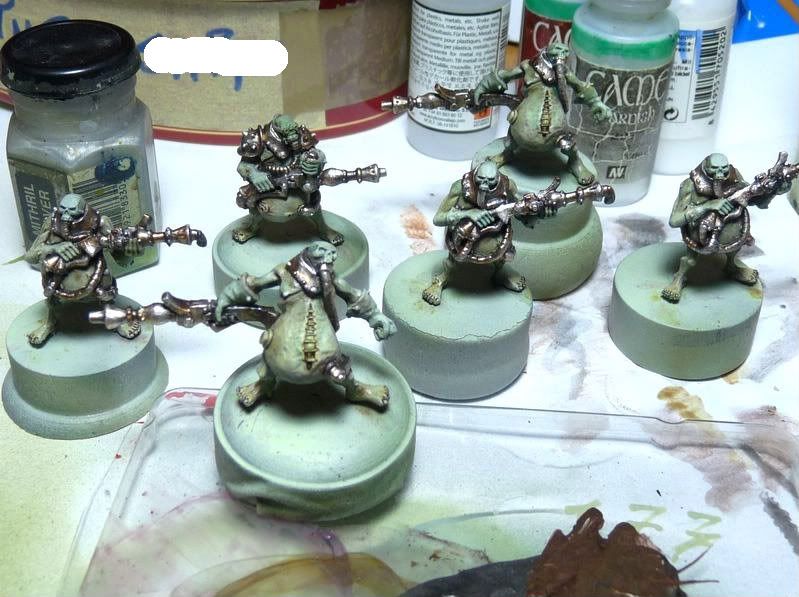
 Don't you dare to do ANYTHING with metalics until they're 100% dry. Go play Fallout3, have a beer orlike in this case paint something else letting the paint dry.
Base tone for glowes is pure Cloudy Grey or actually any medium grey you have under your command.
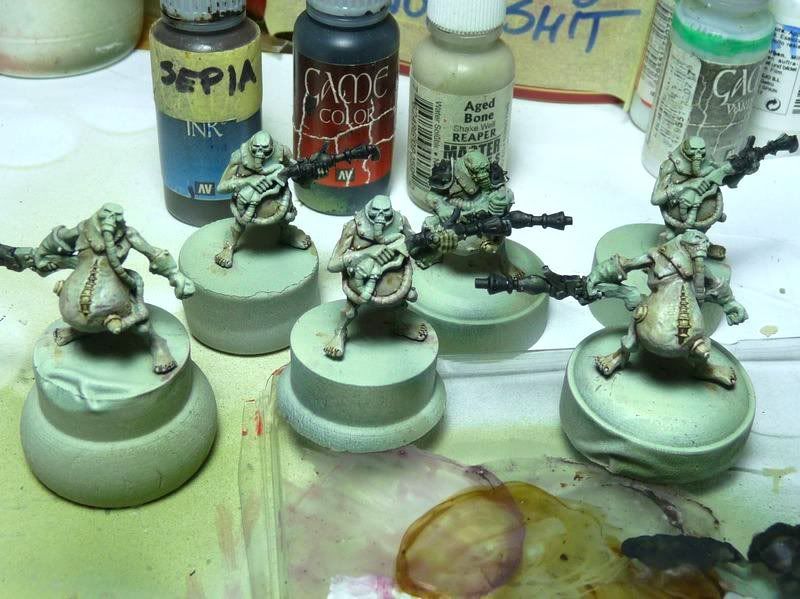
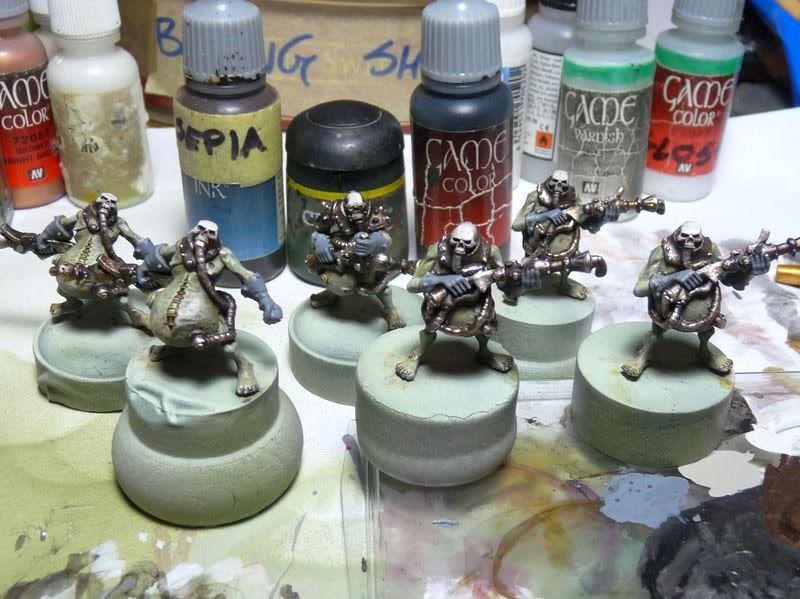
As for bone parts (skulls + some spine bones) I used Aged Bone, Polished Bone and White from RMS series. I really like this combo and definitely can recommend it worthy using!
Rrrrright... Painting took only 10 minutes so have another beer before metalics are ready to cooperate.
 Metalics are now dry so we can start washing. For the first color I chose Devlan Mud to paint basic shadows. Deeper shadows were painted using Devlan Mud + Chaos Black (I added some more black to paint the deepest cavities of skulls). The last thing was glazing metal elements with Sepia - once again to unify them with dead flesh and to make transitions smoother.
I was using pretty heavy diluted paint so I could paint many layers but if you need lots of models painted fast you can paint less layers - it's only up to you.
 Further glazing was painted with mix of Devlan Mud and Muddy Olive. Thanks to olive metalics got slightly worn and oxided look. Again it's not necessary but it's great undercoat for stronger oxidation.
I wanted even stronger shadows so I washed them with layers of Flesh Wash and Smoke. Watered down Hawk Turquoise was added to the mixture to get striking oxidation. Once again the trick is using diluted paints - it's hard to screw painting this way and you can stop when you consider metalics weathered enough.

 Painting gloves:
The plan was to paint them dark and pretty fast. I mixed some Chaos Black with Black Wash and solid dose of water. Grey gloves were painted with many layers of this mix. That made some grey was still visible from under the black - it's much easier than "ordinary" way of painting, especially when it comes to painting black.
To save precious time before tournament within few days ahead you can simply use black in the first place instead of grey - finishing gloves took me pretty long time because every layer was drying long. Gloves were sealed with satin varnish so they get runbbery look (use glossy to make the deaders wear latex).
 "Devil hides in details" - as we say here.
It's kinda true in case of painting models - details give our toy soliders character and make them pop out compared to enemy armies. So first of all there are still some valves unpainted: I didn't paint them earlier because I wanted them to be more bright and striking. Besides they require using delails-brush. So the base paint is black and then Boltgun Metal - that's it, no more metalics for the biles.
There were some small rags around gun-pipes of 3 models which were painted Aged Bone and followed by Smoke. I didn't want any piece of art there, just make this thing differ a bit from the metal surface. Whole operation took ~2 minutes, every minute above it would probably be waste of time.
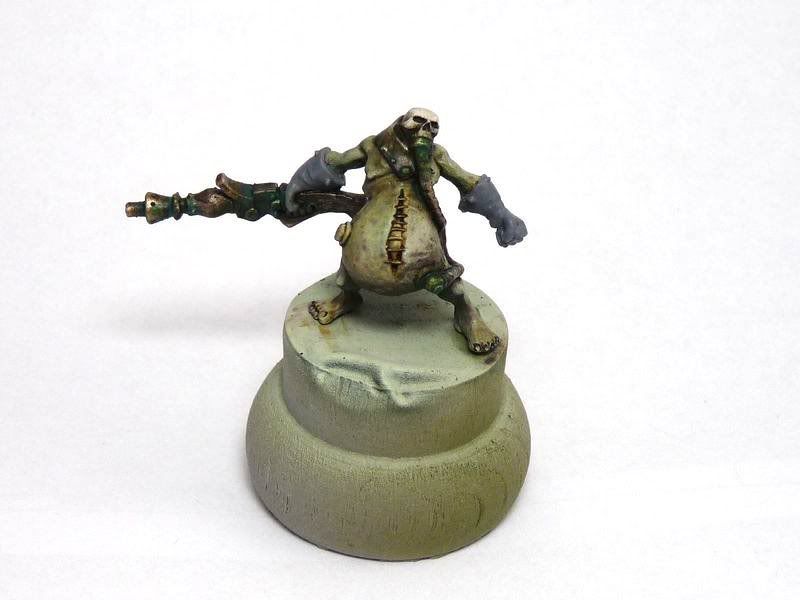
And now something I've been waiting for - painting infected / sick flesh. First step was painting blisters and guts of 2 thralls Squid Pink: striking and disquisting color. And now there was only pure pleasure left: glazing again. I started with Baal Bed - it was painted around all blisters / wounds and around pipes coming off the flesh. I imagine such installation infects flesh and burns. Red was followed by diluted Purple Wash - remember it's strong color so you need just a tiny drop of it for glazing if you want to get smooth surface.
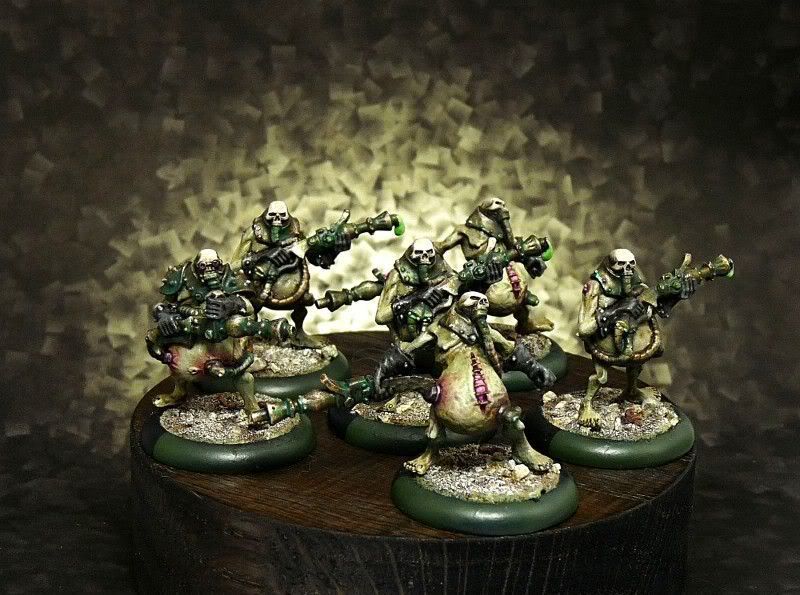
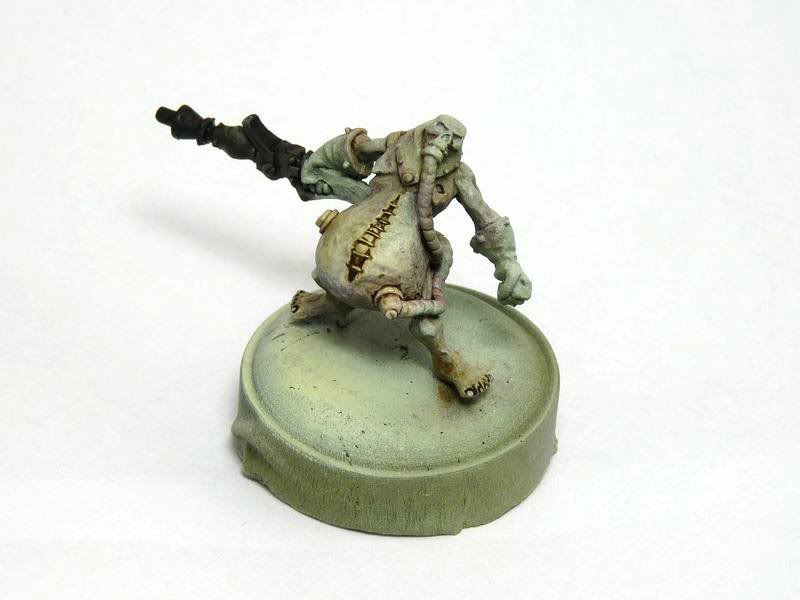
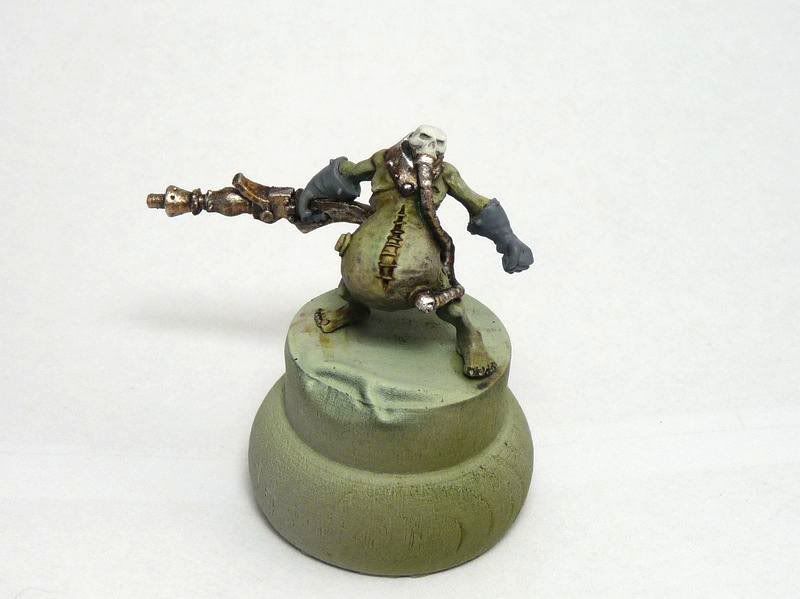
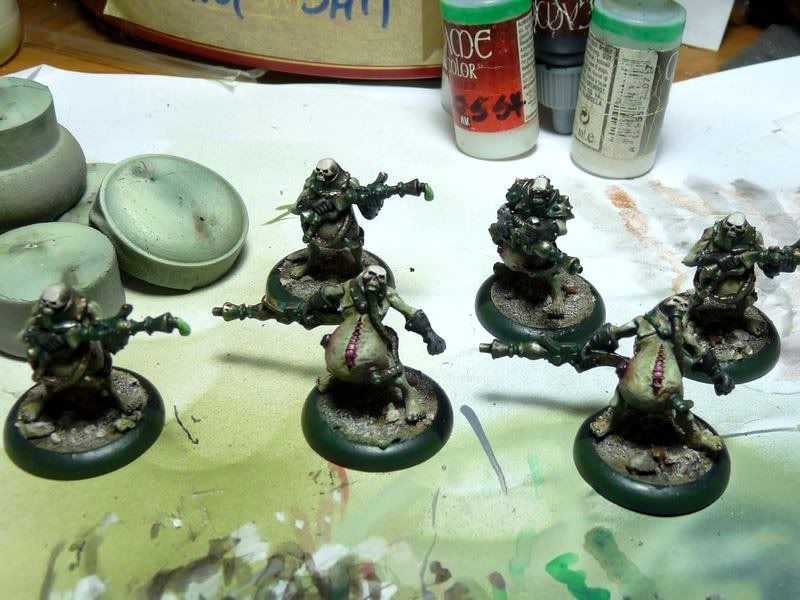
 The necro-team is now ready. The final thing was sealing them with satin varnish - it is just great for flesh, even decomposing and just about to explode. I drilled holes in the already prepared bases and superglued models onto them - feet doesn't stand perfectly on the rough surface that's the reason I decided to give every model 2 pins.
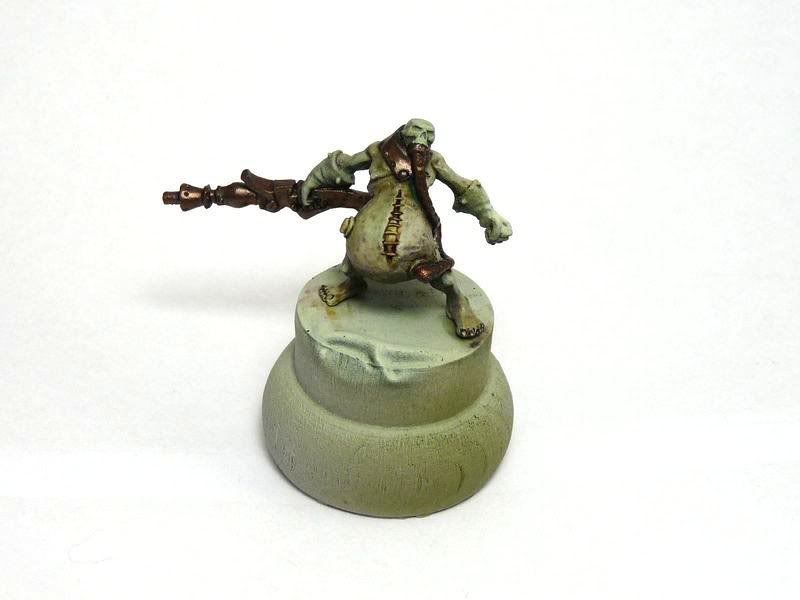
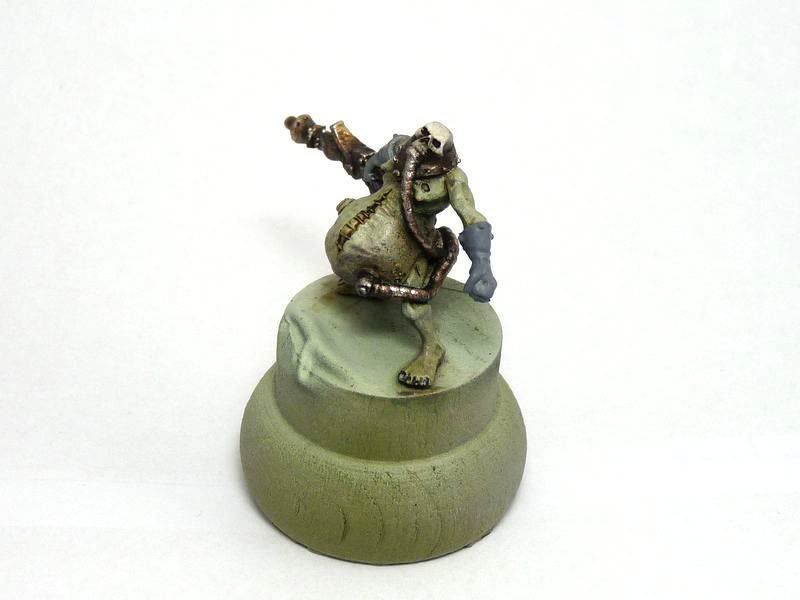
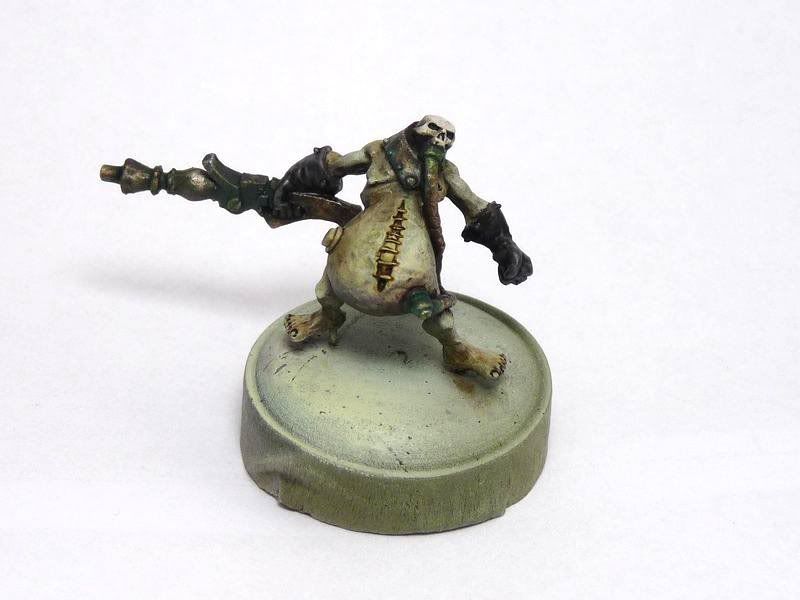
The final shot from the painting station...
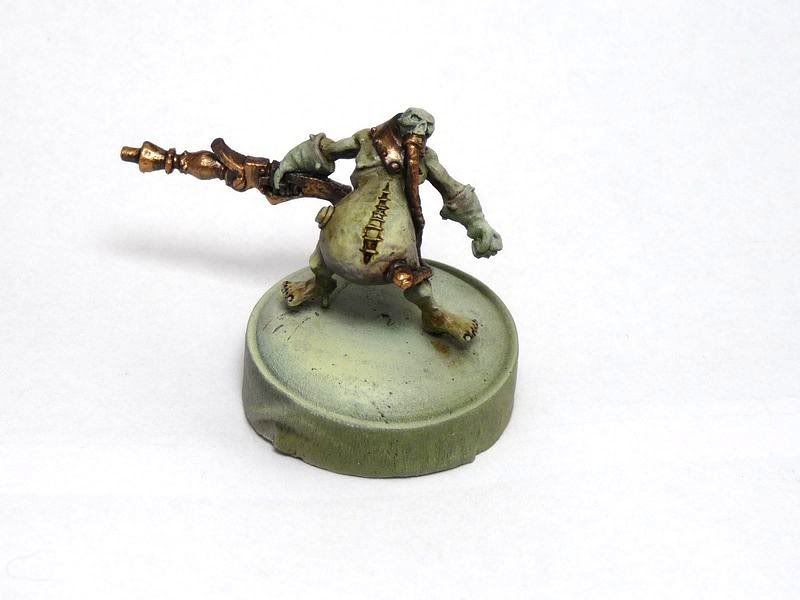
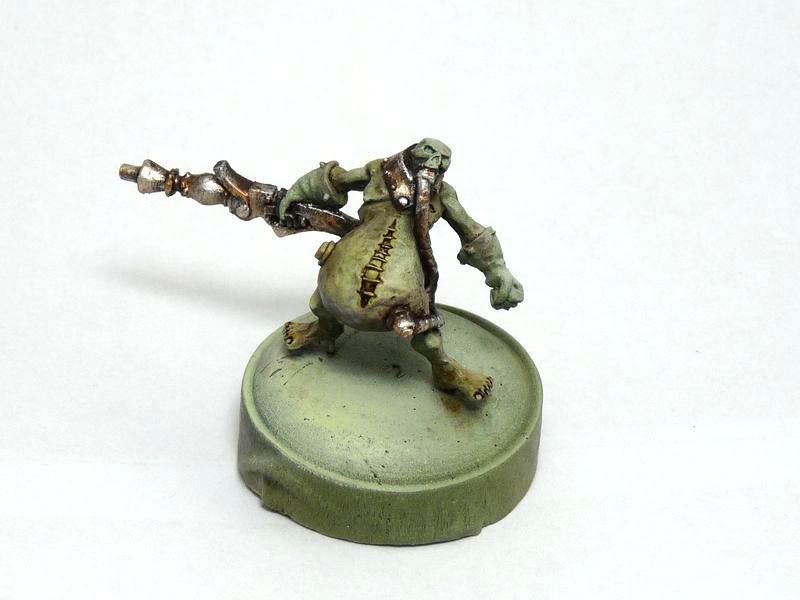
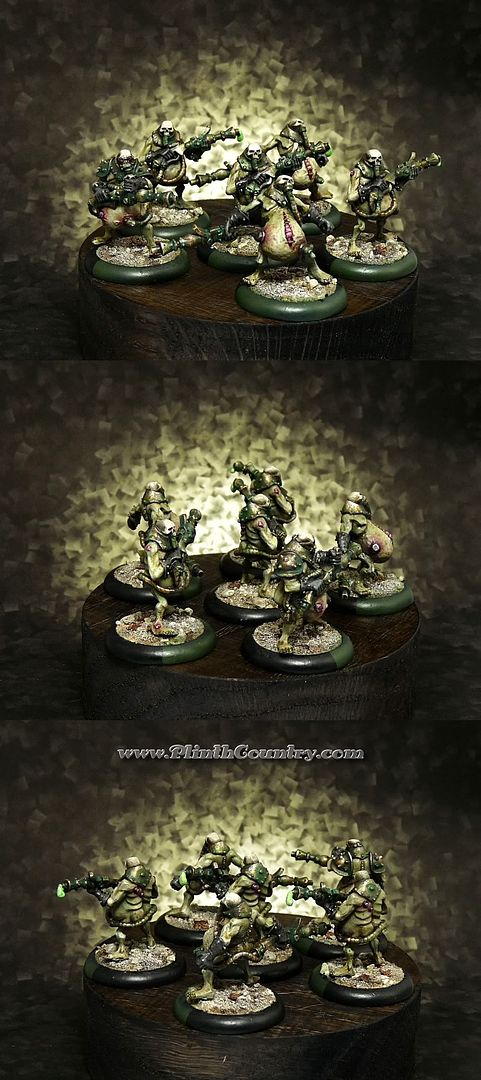
 And the official photos taken in much better conditions.
I hope you like the final effect and found my article useful. I hope to practice painting squads again soon - there are 18 scrap thralls and 12 satyxis raiders waiting to be painted - I haven't been getting decent dice rolls recently and I am quite sure it's the way minis are trying to tell me something ;-)
Cheeers!
Demi Morgana
No comments:
Post a Comment