

Hello again!
So we already have our base constructed so it looks like the time has come to slap some paint over it!
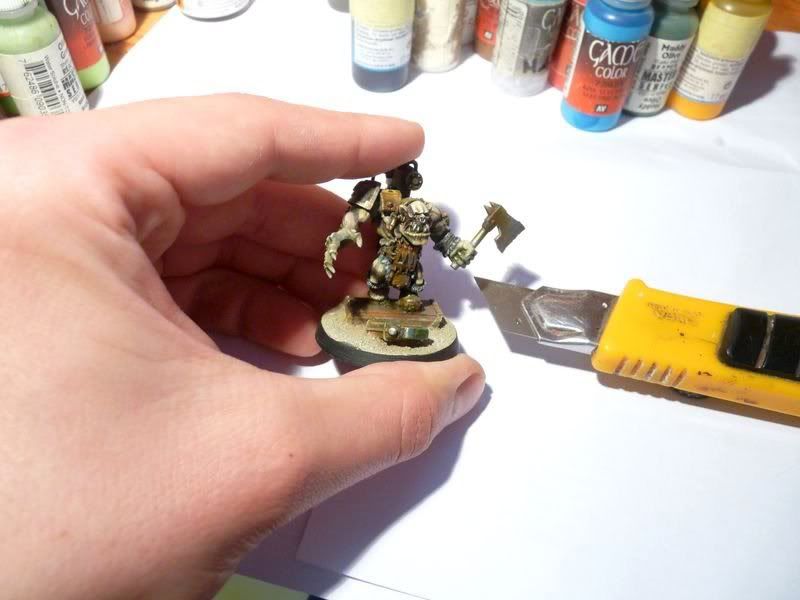
As I wrote in the first part of article the base was built to replace current base of my ork model - it is ok but definitely too flat if I want to put the piece in the new display glass case.
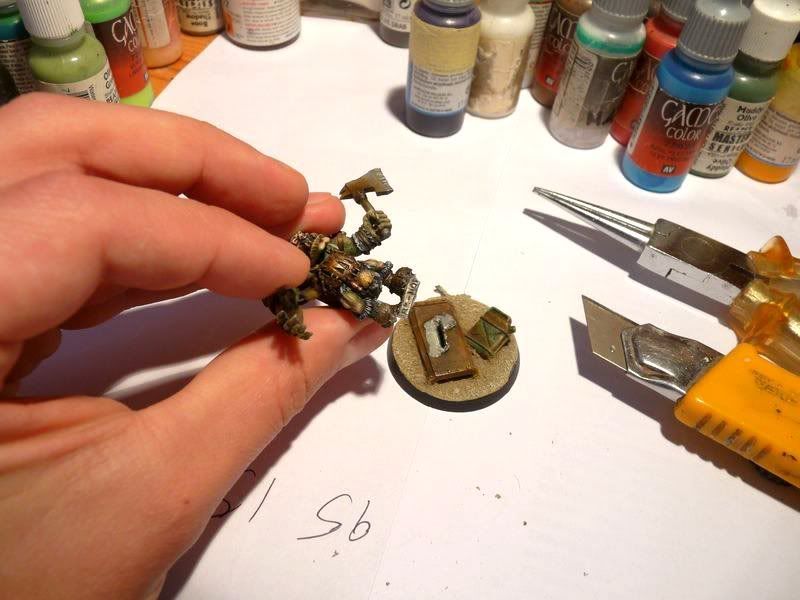
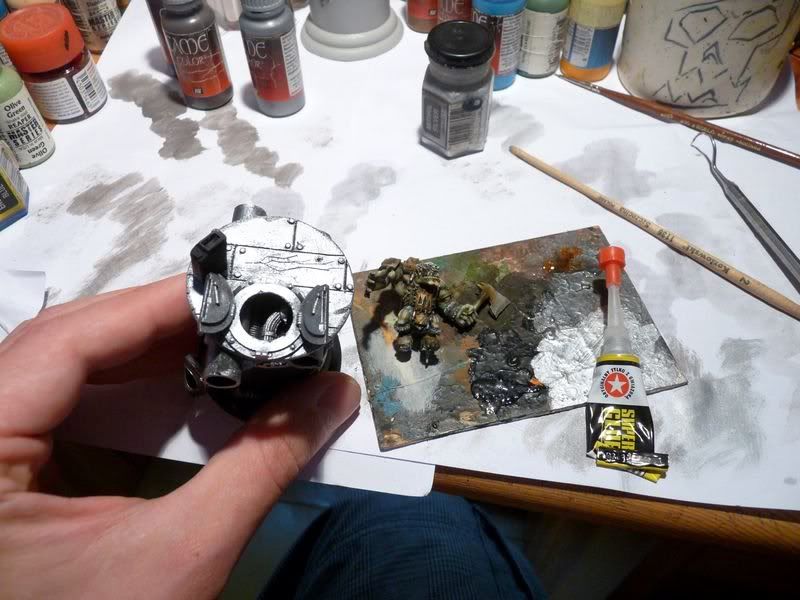
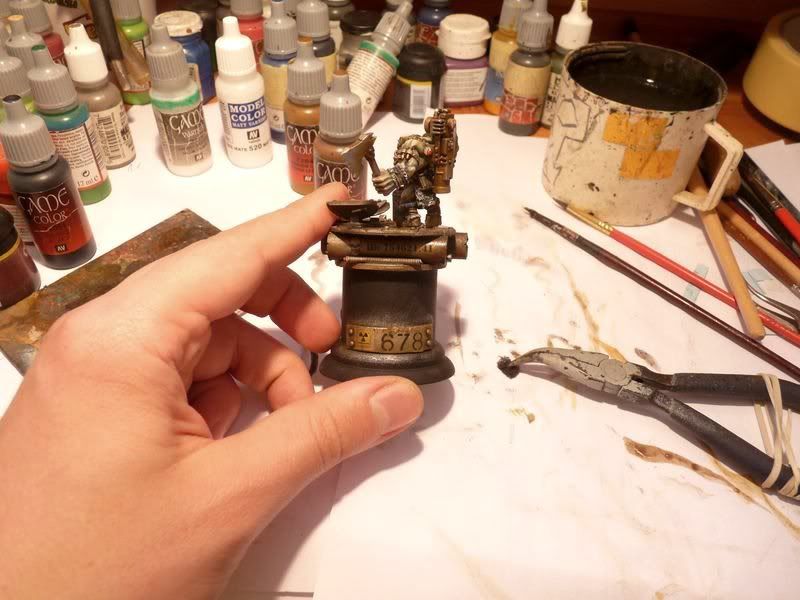
I started the operation by removing current base from under the model: I usually remove metal bar miniature stands on replacing it with paper clip pin but this time (no idea why) I didn't do it. Apparently I was just too lazy at the moment. Oh well - that's what I have pliers for! Two cuts plus some work with hobby knife and the model is ready for pinning.
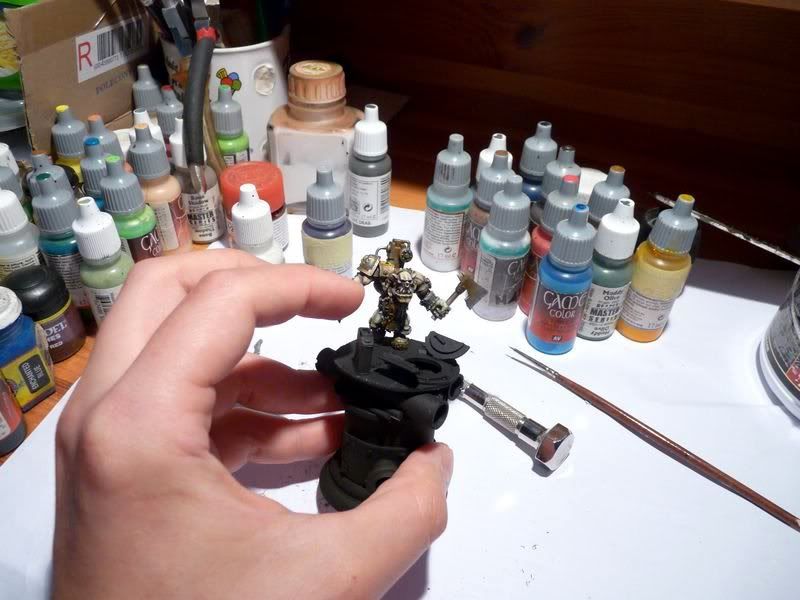
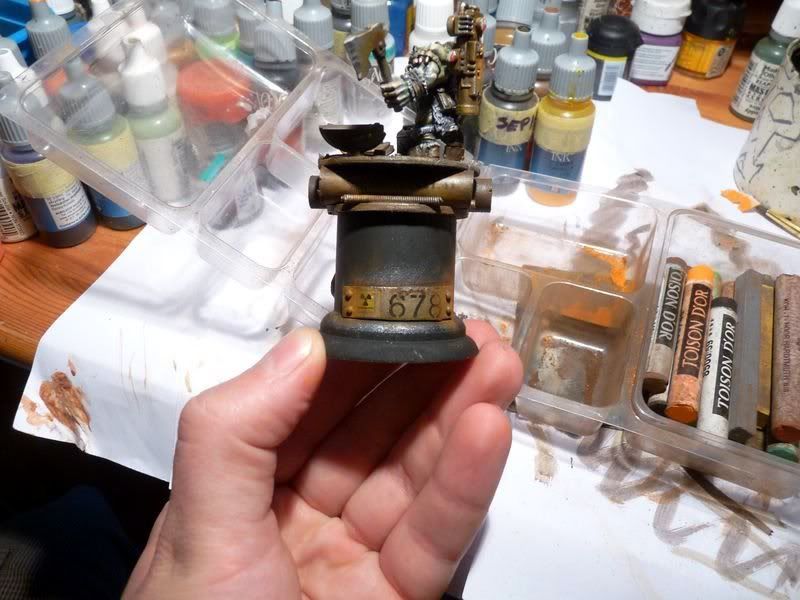
I drilled holes in the undercoated base and TA-DAAAA!!! We can start painting!
 Painting sci-fi stuff can be easy or complicated, clean and tidy or dirty and rusty like hell which means there are many, MANY ways to paint the base. I'm not gonna lie: I just love rusty and dirty paintjob and it will fit the ork pretty well so choosing color scheme took me 3 seconds only. As for technique - I will also try to keep it as simple and clear as possible.
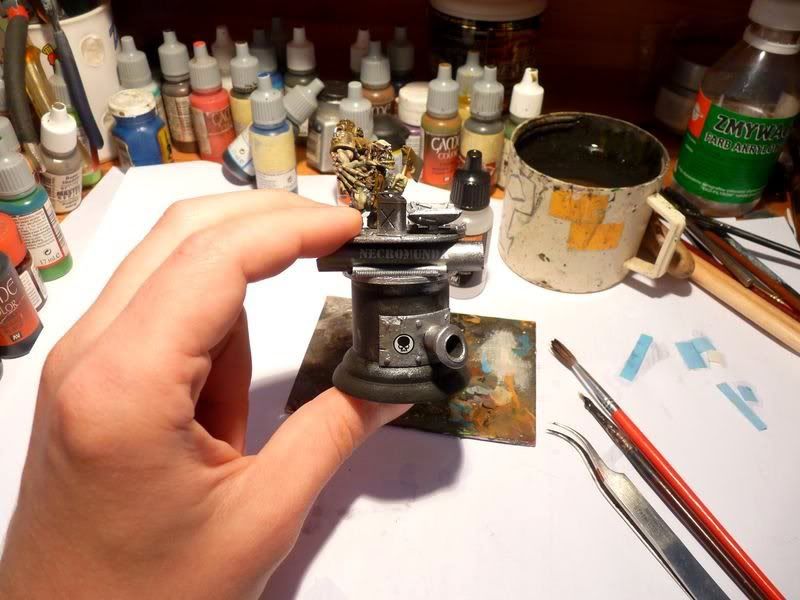
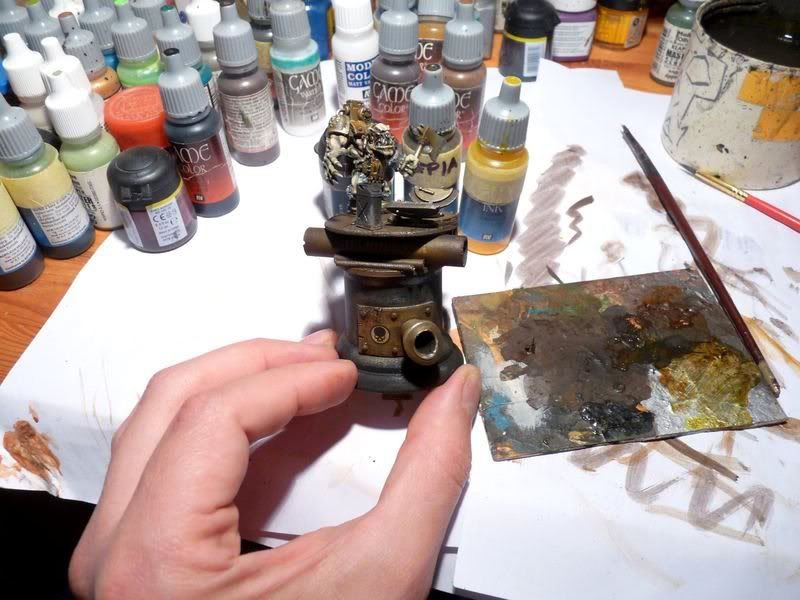
Please note: the model hasn't been glued to the base yet!
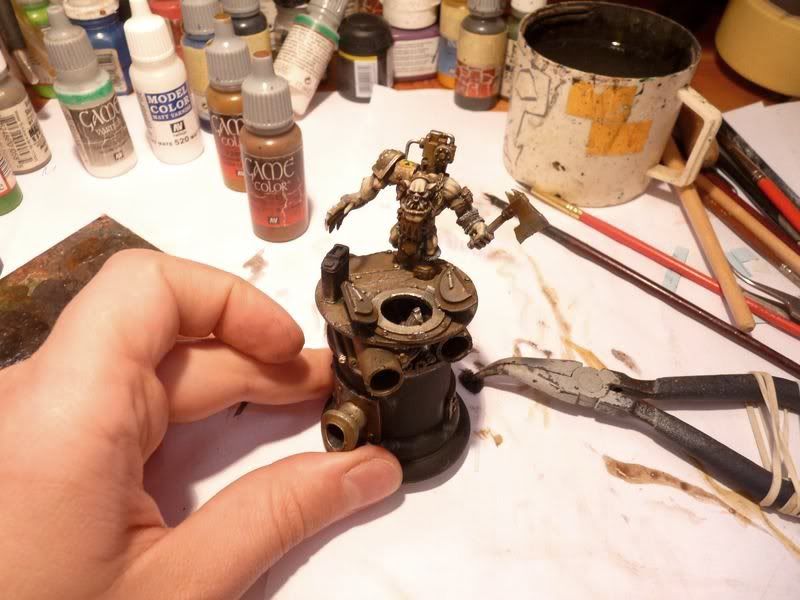
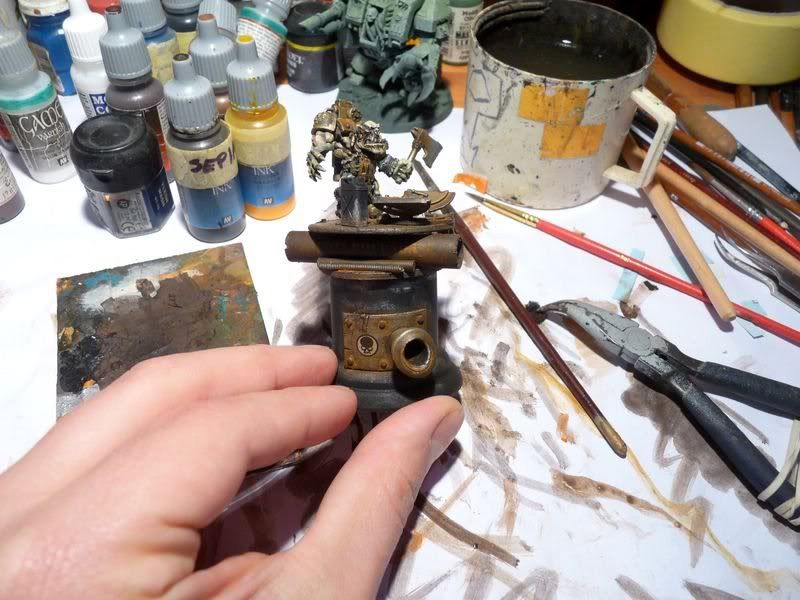
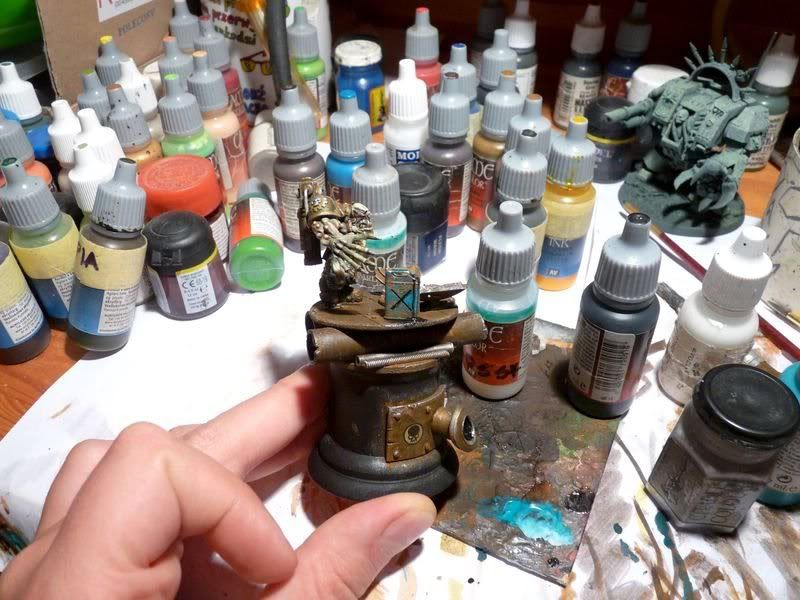
I started by painting all metal elements with mixture: black, dark brown and boltgun metal (gunmetal to be specific). I took the largest brush I could reach and after 3 minutes the job was done.
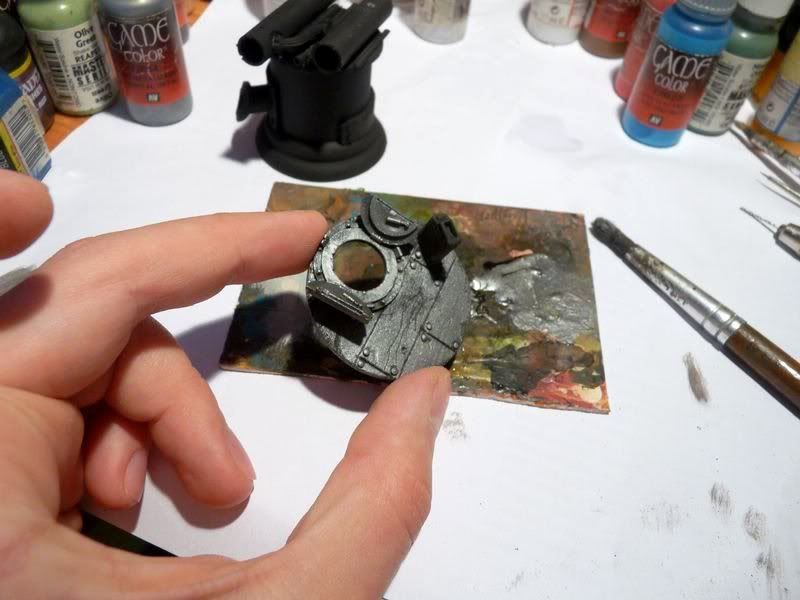
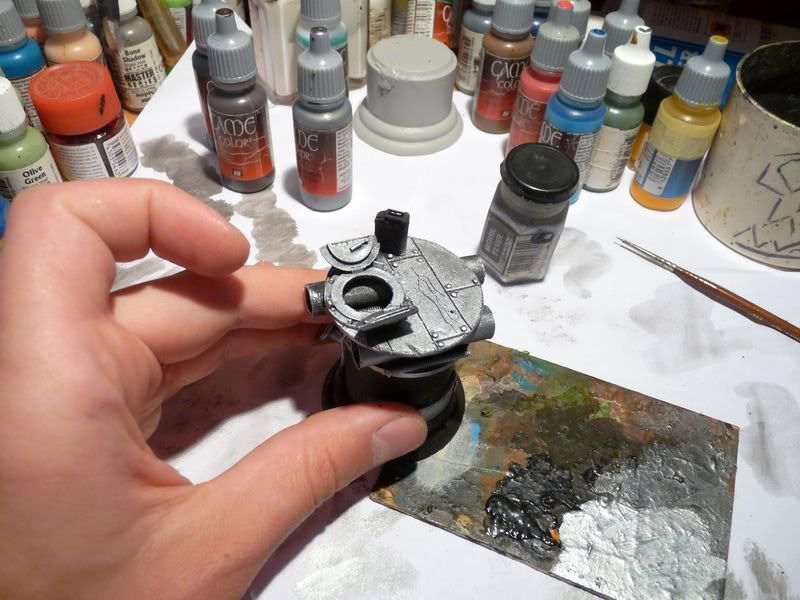
 Next step is also extremly fast and easy: highlighting. This is only base coat so there is no need to waste too much time painting it therefore I decided to use drybrush method. It's really fast way to paint and to cover large surfaces with paint. The first color applied with drybrush was pure gunmetal and after paint dried it was followed by mithril silver.

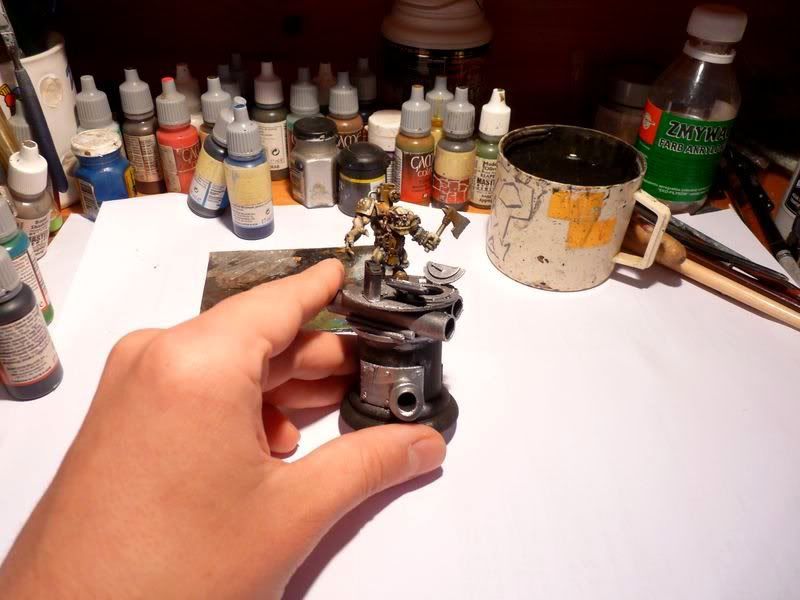
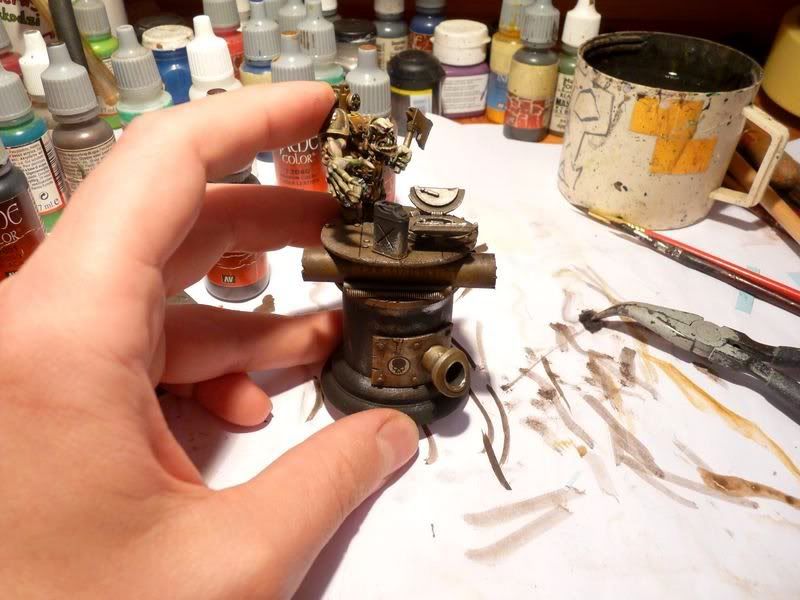
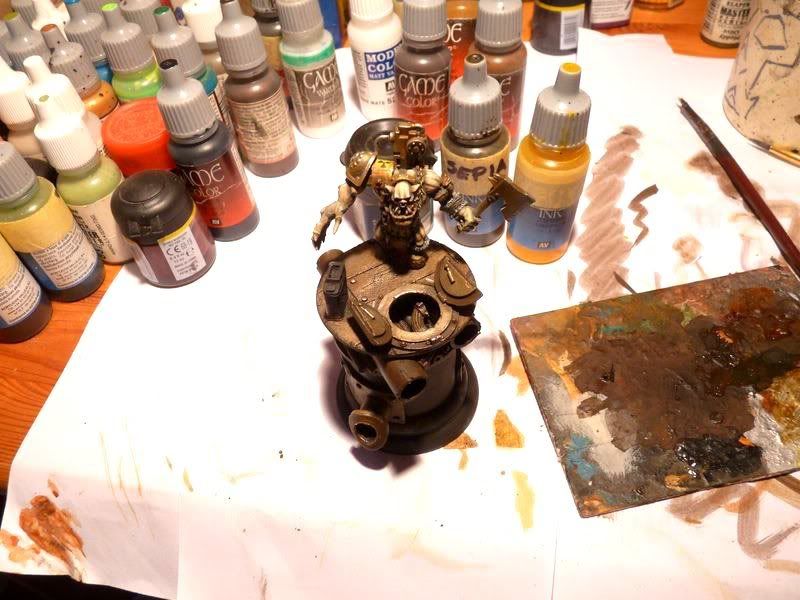
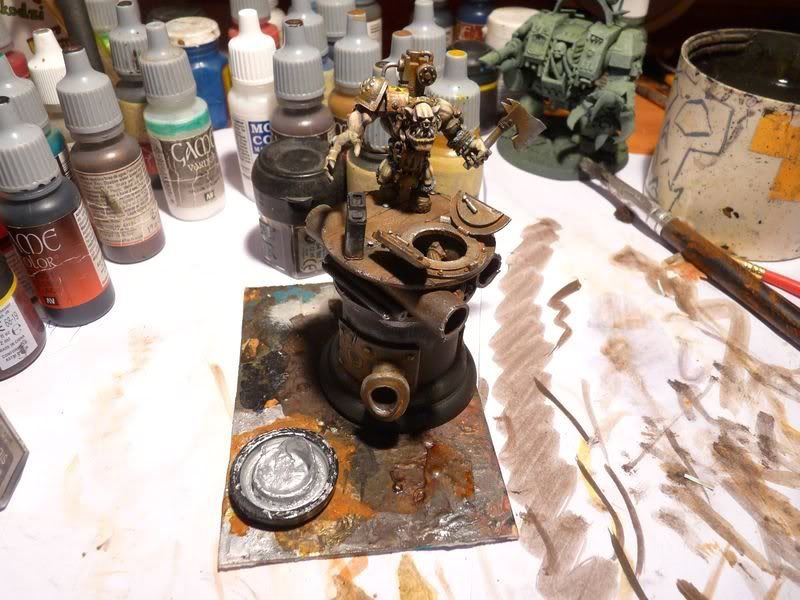
 Now it's time to assemble the base and place the figure on a top. Once again there's not much to comment: drop of superglue on each of filed pipes and another one to glue model and a few seconds later - the job is done. Usually I attach miniature to the scenic/display base when it's finished but this time I did it earlier: I thought the base shouldn't disturb painting process. Besides I could correct metal elements with same colors as used for painting plinth to make figure and base look a little bit more coherent.
 Before you decide to go further be sure metalic paint is dry - and I mean it: leave the model for a night or go to pub for a few beers if necessary but DO NOT RISK working on not completly dry paint. If some water gets on such paint and then pours on model it will look like covered with brocade...
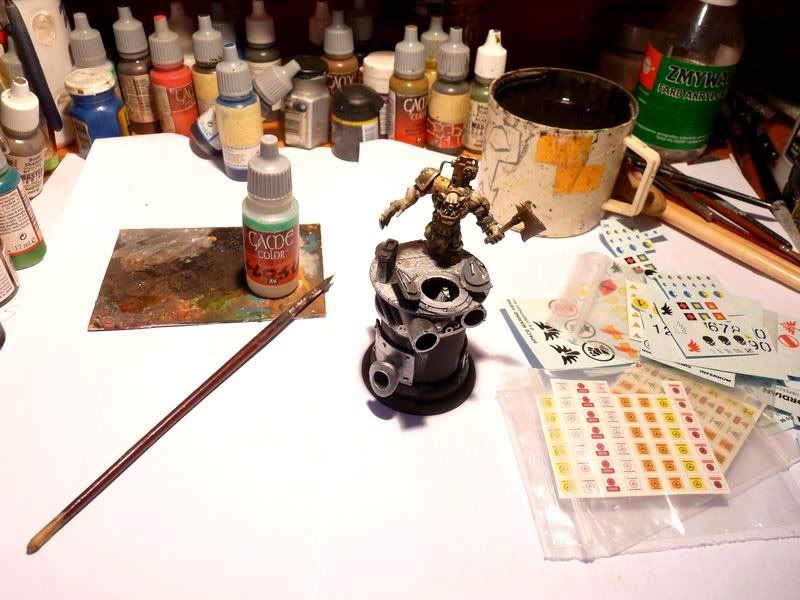
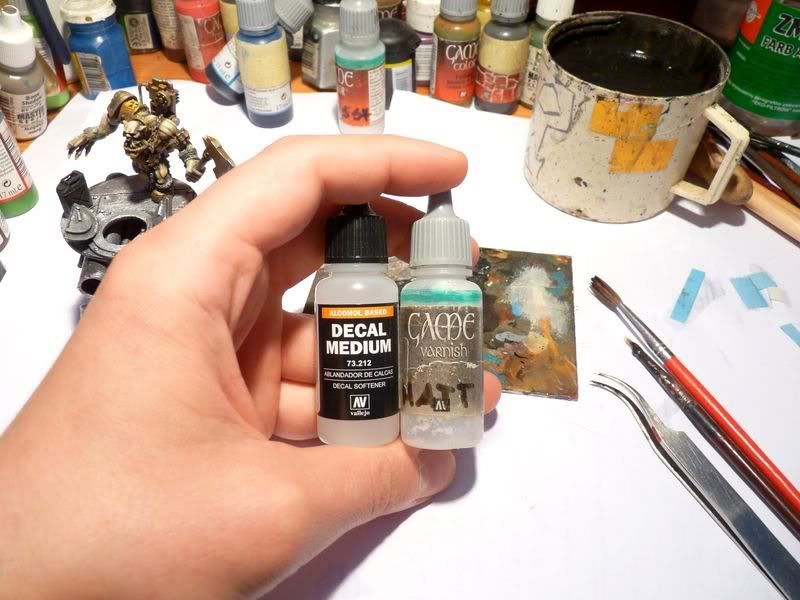
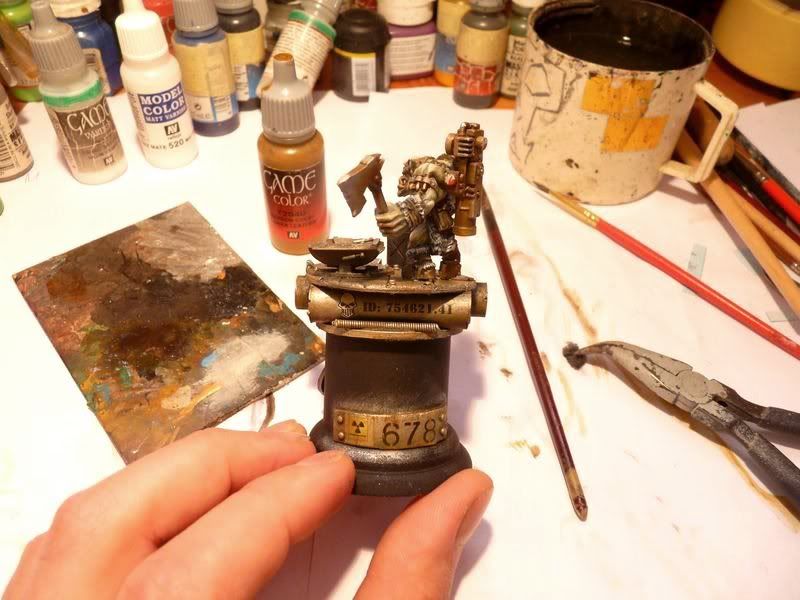
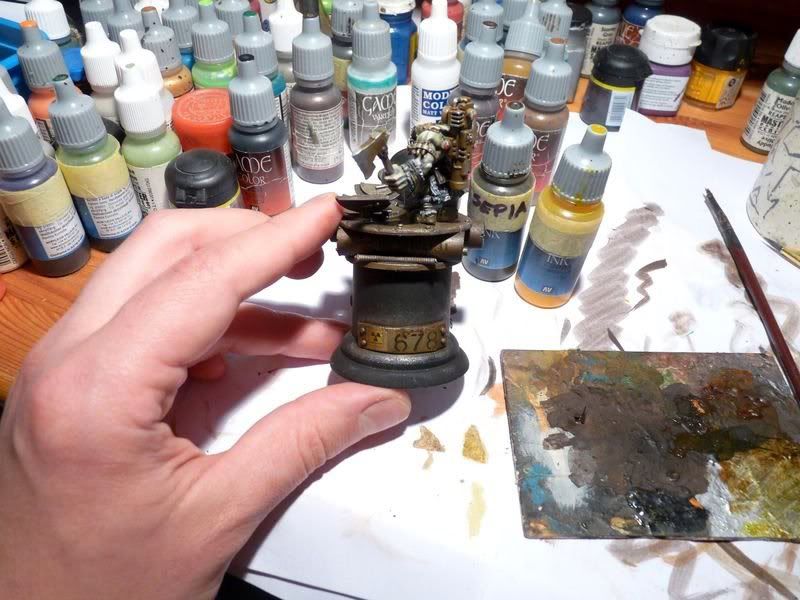
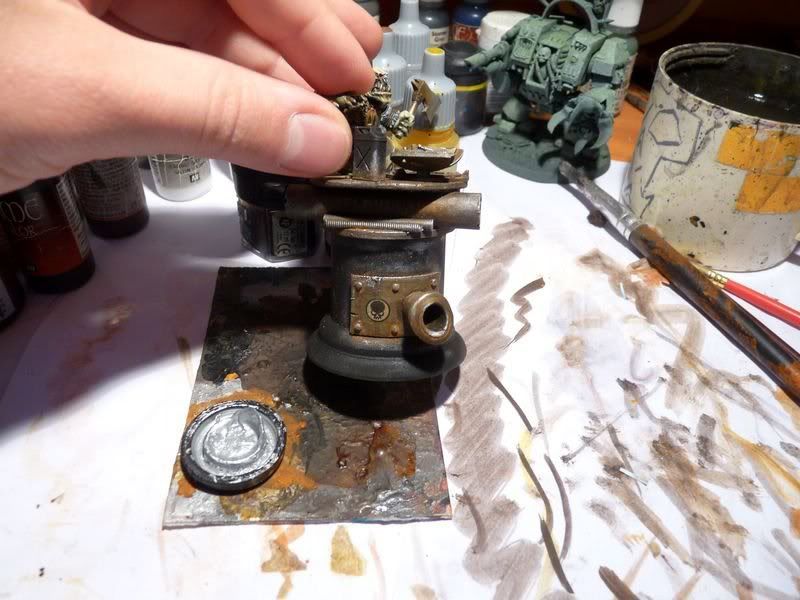
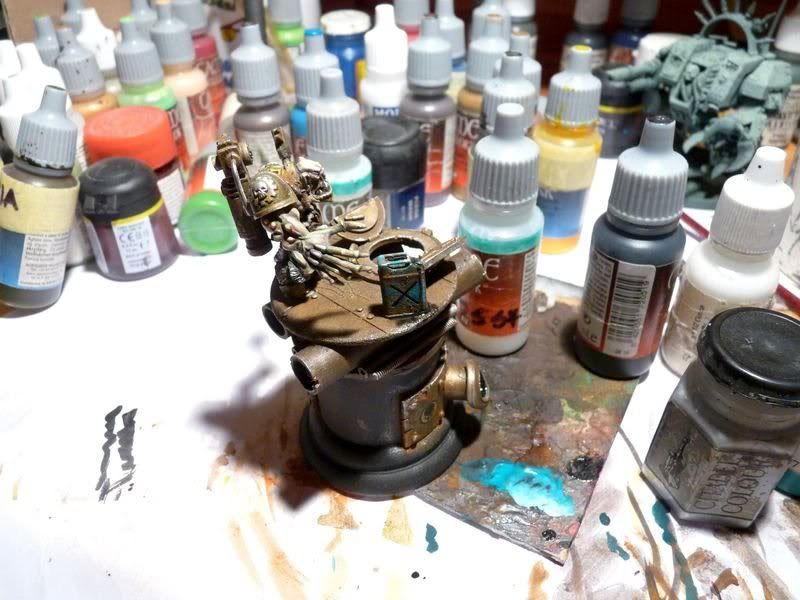
Anyway the paint is dry so I decided to add some decals. Normally I don't add so many of these but it's tutorial after all. Besides Adding decals is always fun! ;-)
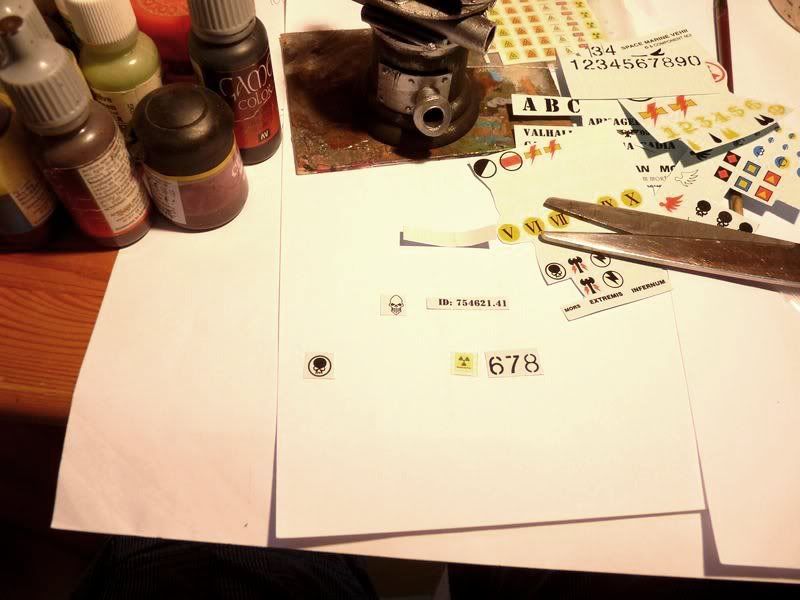
I decided to add decals now because I wanted to paint rust and weathering on them. In case of "clean" models decals should be added as the final step of creating model. So the first step of "decal procedure" was painting glossy varnish on surfaces where you want to see decals. It's not necessary but it makes them adhere much better. Varnish is getting dry so we have some spare time for choosing proper signs and inscriptions. During time spent in hobby I gathered lots of these and decided to use some numbers, "Necromunda" sign (yay Necromunda!!!) and skulls - after all in the grim, dark future of 40, millenium there are skull signs added on everything...
Whole thing is pretty is easy: put a decal into water for a few minutes and when is starts coming off the paper sheet - slide it from paper on the base using brush. If you like decal's position gather excess of water using dry brush and give it some time to dry. Using decal medium is also optional but it's worthy if you decide to put decal on rough or porous surface. Medium makes decal really soft and makes it adhere rough surface much better. Either you decide to use medium or not the final step is sealing decals with matt varnish and we can start weathering.


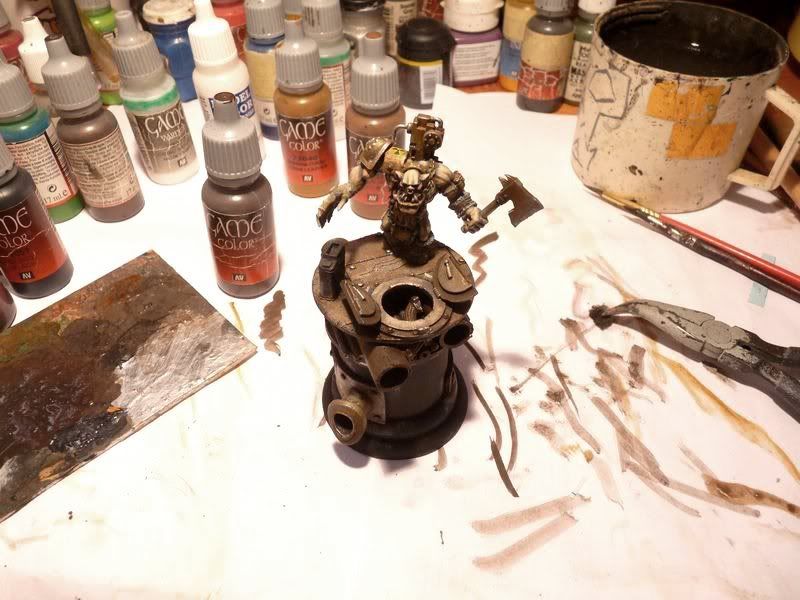
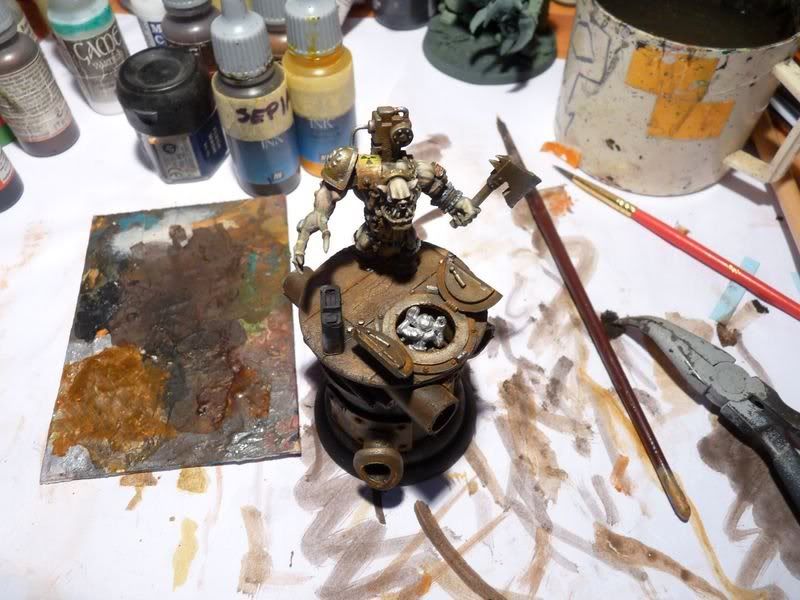
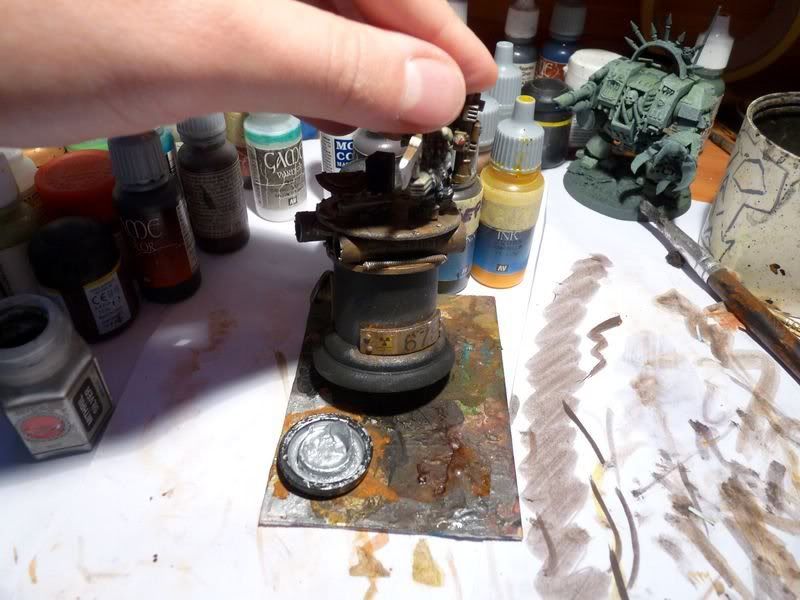
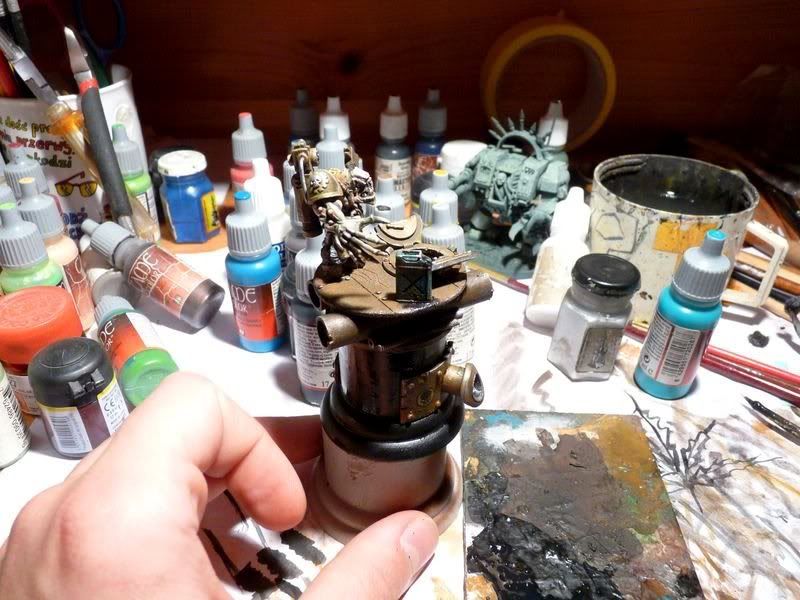
 So it?s painting time. As I wrote there are many ways to paint a model, many techniques and tricks to choose but when comes to weathring/painting rust I like to paint stuff as easy as it's possible. I started by painting all metal elements with diluted light brown tome (GW snakebite leather, Vallejo cobra leather iirc). Take a time between painting layers - diluted paint dries pretty slow but if you paint another layer too hast you can accidentally wipe what has already been painted.

 Another step is glazing metal elements with darker brown ? I used beasty brown (GW ? bestial brown) this time. During painitng I realised I mixed paint with water on some (still wet) dark tone by accident and beasty brown turned a bit darker. I liked it anyway so it was no problem at all ? rust can be dark as well.
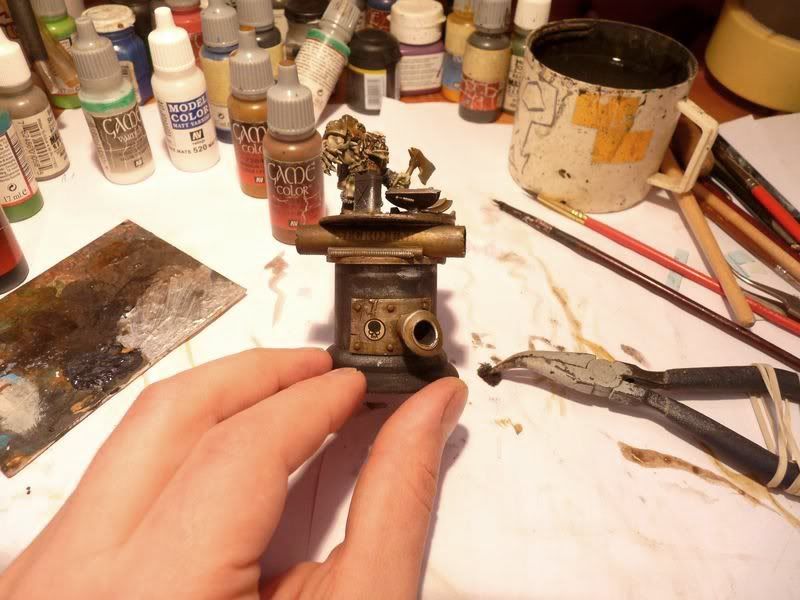
 The final brown tone I used is the darkest brown I could find in my arsenal. I think adding black to beasty brown would also work really fine.
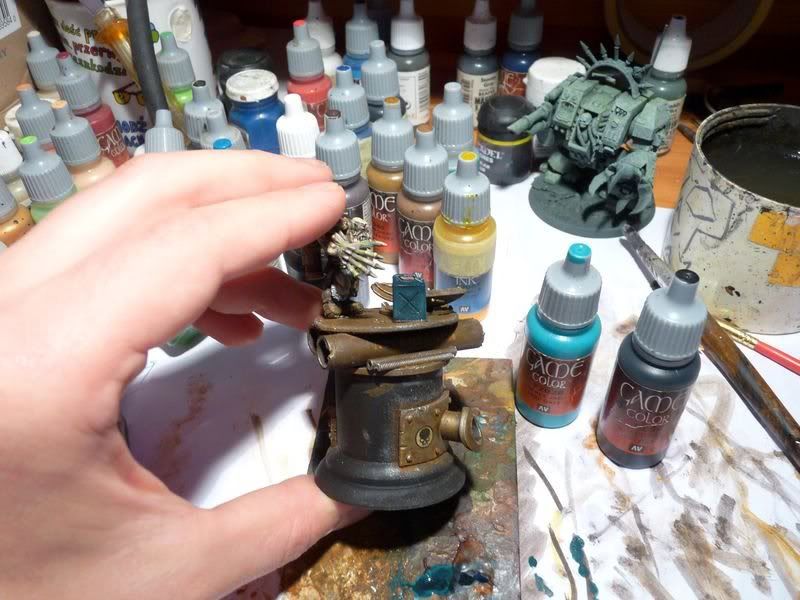
 Using diluted paints gives nice and matt tone to metalic surfaces but I decided I want something more "juicy". To achieve that I took sepia and yellow washes and painted them over browns. To make model more interesting you can also add different tones to wash-palette: red and purple would also work well.
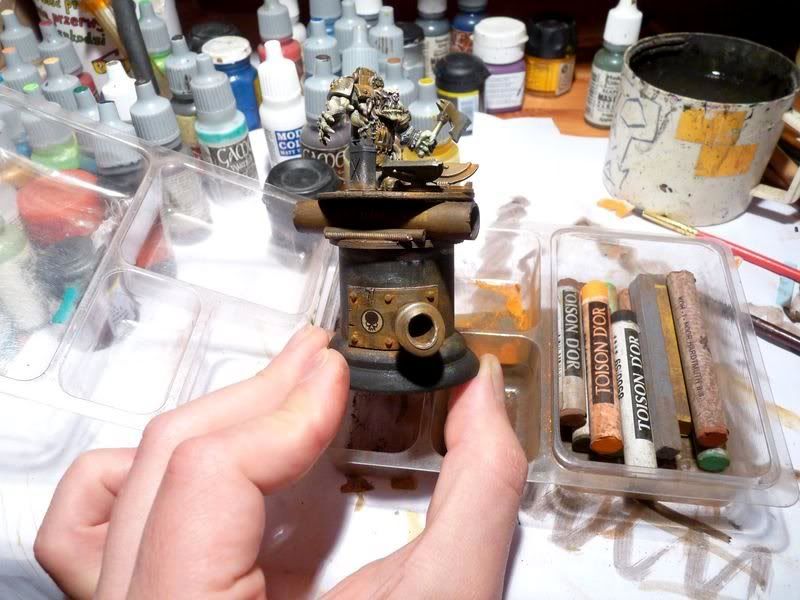
 To add more variation onto rusty surface you can use dry pigments next to painitng technique. As for materials used you can use ready-to-use pigments (Vallejo or MIG for example) or powdered chalk as I did.
Once again the procedure is pretty simple: take chalk / pigment powder and using dry brush apply it on metalic area: between floor tiles, around rivets or wherever else you wish. Now you have to somehow make the pigment to stay on the spot - at the moment you can simply blow it off the model. In case of large models I usually spray model with matt varnish to seal the powder but in this case I used turpentine: take some of this stuff on brush and then touch the pigmented surface with it: turpentine should bond pigment to the base. While working with such substance remember: TURPENTINE IS FLAMMABLE AND POISONOUS, so don't you even think about brushlicking ;-)

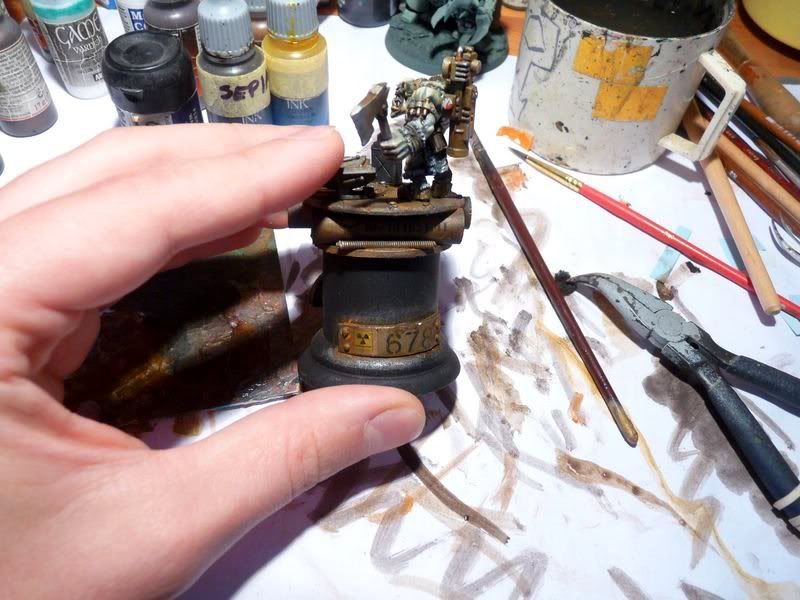 To get more contrast I slighty drybrushed dark rush with mithril silver. It can imitatate scratches or damaged surface ? looks nice from the distance anyway.
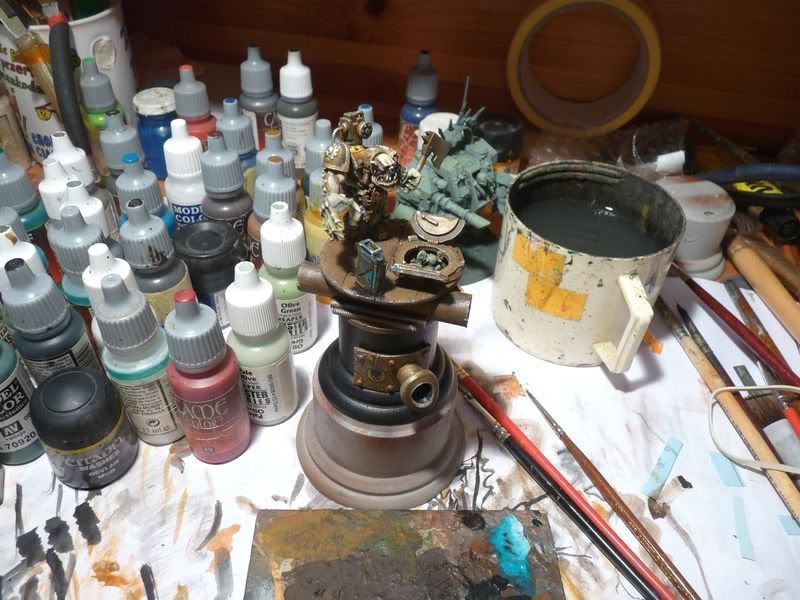
 At this stage I painted fuel can. I wanted to add some variety to 95% rusty base so I painted it using turquoise - pretty striking tone. Base color is turquoise + some black. Highlights were painted using pure turquoise and then turquoise + pure white. I didn't care about painting the can very neatly because the next step is adding rust and leaking oil.
Rust was painted exactly the same way as written above, the only exception is I decided to save some turquoise parts clear to make this part a bit more eyecatching. As for the oil - a bit ot diluted black and gloss varnish did the job.

 Main painting is done so I painted the plinth black and sealed it with satin varnish. I used watered down black to get smooth surface as didn't want to see any brush strokes. And while socle was getting dry I grabbed the snotling and prepared it for painting?
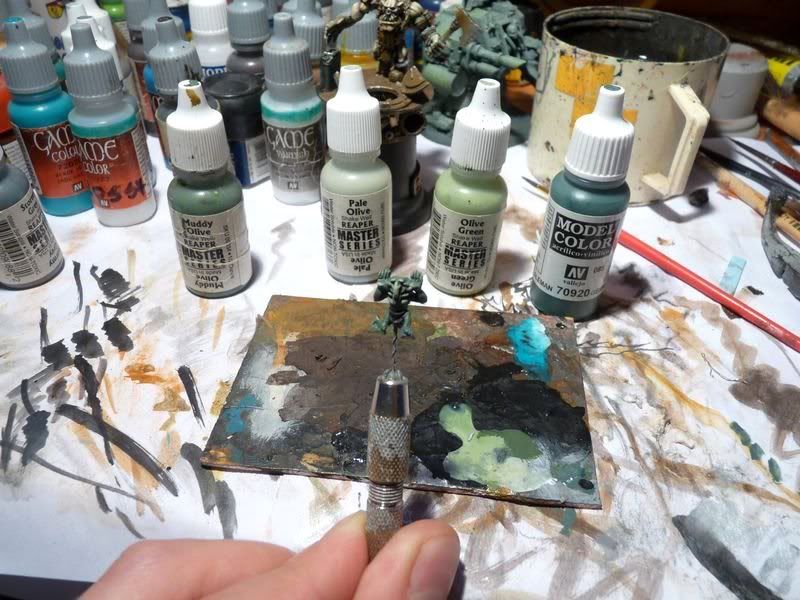
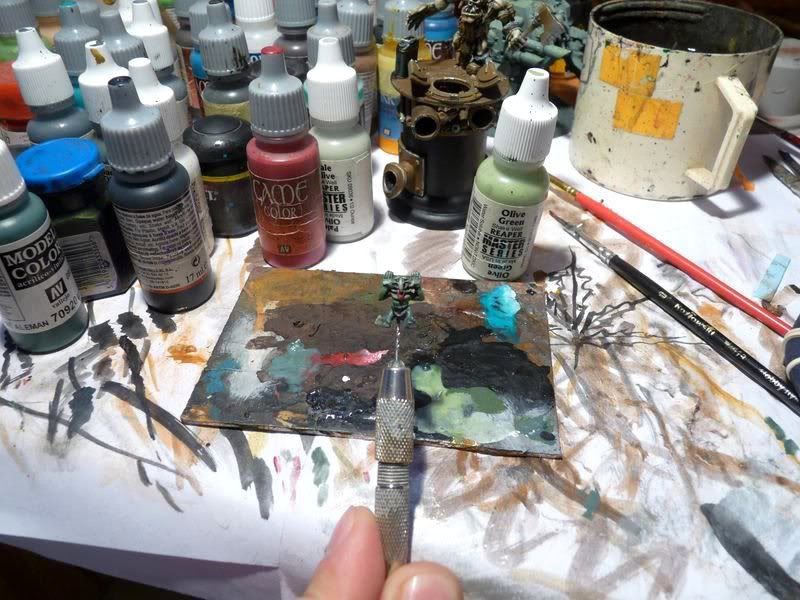
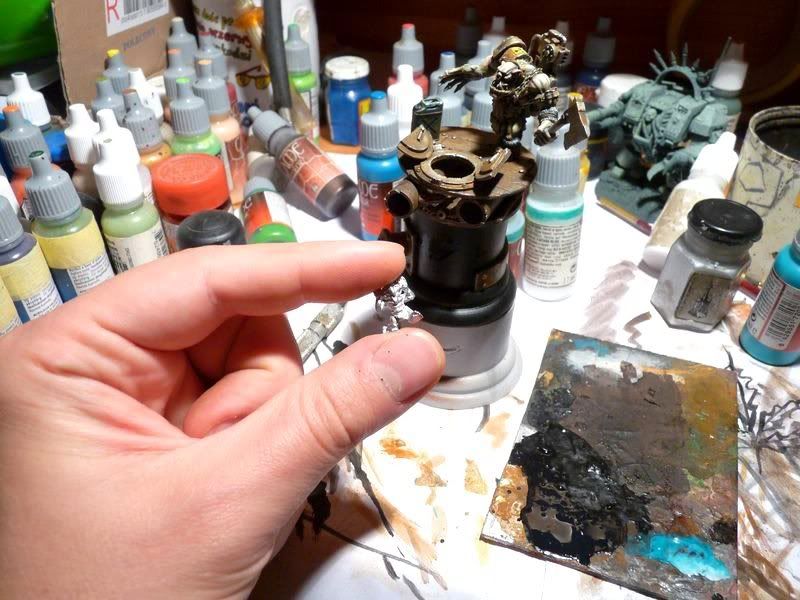 As for model preparations I just cut off the snotling's "basing peg" and twisted one of the legs to make it fit small space between thick pipe and plastic wires I took from lascannon set. I mixed german uniform and olive for base color and highlighted it adding pure olive first and pale olive as final touch. I also glazed the model slightly to give it more warm and natural look.
 The piece is done. Just after taking these pics I added some blue / turquoise oxidation here and there: I don't think it's even slightly natural but it makes model more interesting (imho) and besides - it's just a toy so I can paint it whatever way I want it ;-)
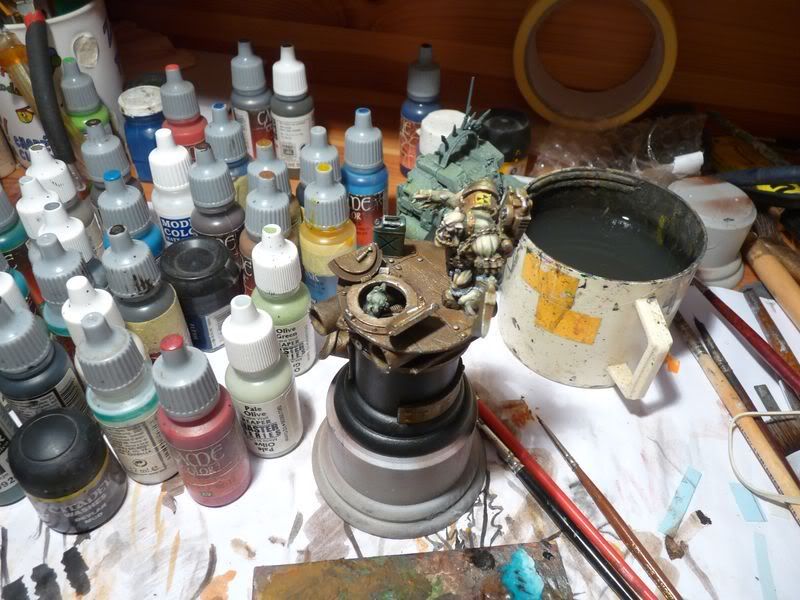 And the final pictures - I hope you found it intesting. If so I have good news: yet another text is being prepared so stay tuned!!!
Demi
No comments:
Post a Comment